
CHKDSK is an old yet effective disk repair utility that has been integrated into nearly every version of Windows. However, when you run it, you may encounter a frustrating error message:
"The type of the file system is RAW. CHKDSK is not available for RAW drives."
When this happens, the drive becomes inaccessible, and Windows may repeatedly prompt you to format it. But don't worry—this error doesn't necessarily mean your drive is permanently damaged or that your data is gone. Here, we'll briefly explain why this dread error appears and show you how to safely repair a RAW drive. Stay with us!
Overview of CHKDSK Is Not Available for RAW Drives
What Is a RAW Drive and Why CHKDSK Cannot Run on It?
Before a storage device can be used, it must have a file system—such as NTFS, FAT32, exFAT, or APFS—created on it. If your drive's file system is missing or corrupted, the operating system will not be able to access it. In this state, the drive is referred to as a RAW drive.
CHKDSK, on the other hand, relies on a valid file system to repair disk errors. This is why you may see the message: "CHKDSK is not available for RAW drives."
Common Causes of a RAW Drive
Several factors can cause a drive to enter a RAW state, including:
- Virus or malware infection
- Abrupt ejection during formatting or file transfer
- Physical damage or wear on the drive
- Improper removal of external drives, sudden power loss, or system crashes
- Corrupted partition table or MBR
- Driver conflicts
Now, let's take a closer look at how to fix the 'CHKDSK is not available for RAW drives Windows 10' issue!
How Do I Fix CHKDSK Is Not Available for RAW Drives?
Step 1: Check the Drive for Physical Problems
So, how can you fix the "Check Disk not available for RAW drives" error? On some occasions, RAW drive errors are caused by faulty cables, ports, or hardware failures rather than file system corruption.
Start by ensuring the drive is properly connected to your computer. Inspect the USB or SATA cable for any visible damage, and try using a different port or cable to eliminate connection issues. It's also helpful to connect the disk to another Windows machine to see if it's detected. For hard drives, pay attention to unusual noises, such as clicking or grinding, which may indicate mechanical failure.
If physical damage is suspected, stop using the drive immediately and seek professional assistance. Any DIY repairs, such as formatting or running disk health monitoring tools, could potentially cause further damage.
Step 2: Rescue Data from the RAW Drive
When you encounter the "CHKDSK is not available for RAW drives SD card" error, the very first thing to do is to perform data recovery. Tenorshare 4DDiG is a powerful data recovery software, especially effective at extracting files from drives that are unreadable, inaccessible, or in a RAW state. It works with over 2,000 types of storage devices, including USB sticks, memory cards, HDDs, SSDs, etc. Here's more details about this tool:
- Supports recovery of multiple data types.
- Offers a high recovery rate with fast scanning speed.
- Provides a free trial for Windows users.
- Requires no technical knowledge; user-friendly interface.
- Allows inspection of files before performing recovery.
- Offers disk image recovery.
Here's an example of how to recover data from a RAW drive with the aid of 4DDiG:
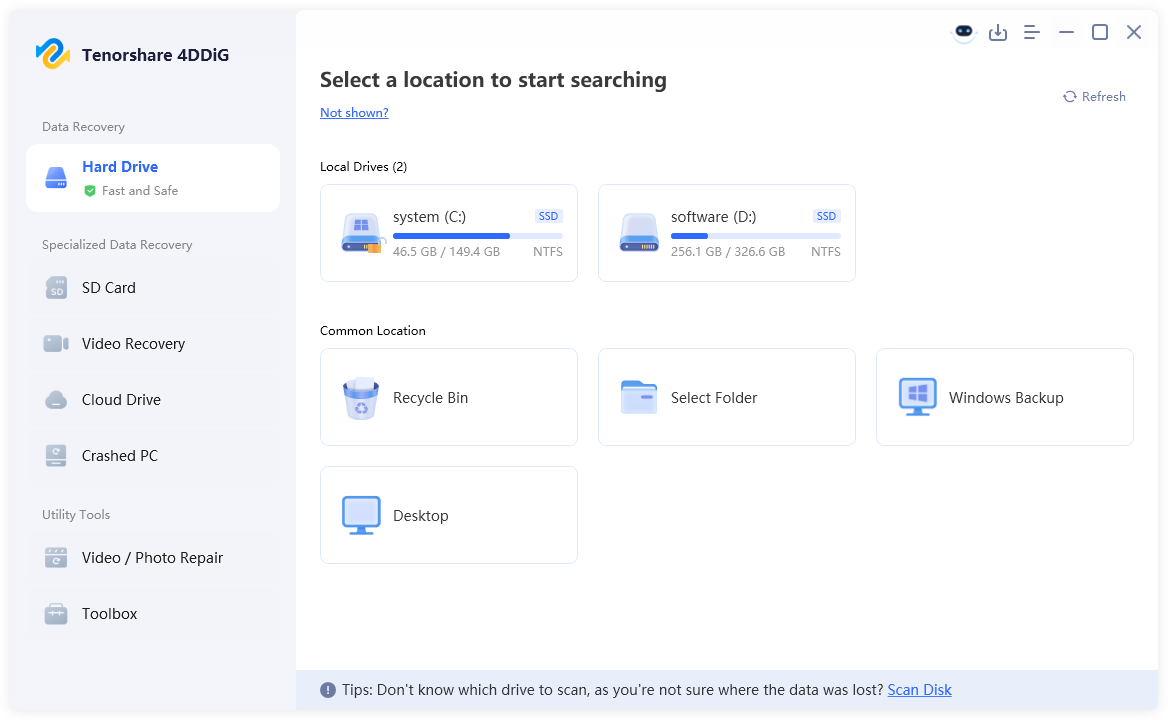
- First, install and run the Tenorshare 4DDiG data recovery tool on your Windows computer. From the list of detected storage devices, select the RAW drive from which you want to recover data, then click on "Scan" to begin the process.
- 4DDiG will perform a comprehensive scan of the RAW drive. Once the scan is complete, the software will display a list of recoverable files. You can use the built-in filters or the search box to quickly locate the files you are looking for.

- Plus, you can use the preview feature to verify the integrity of the desired files. After confirming, select the target files and click the "Recover" button in the bottom-right corner. When choosing a recovery location, consider saving the files to a cloud storage service or another separate drive to avoid overwriting any remaining data on the RAW drive.
Step 3: Reformat the RAW Drive
Once your data has been safely recovered, it's time to create a new, recognizable file system on the RAW drive. Fortunately, Windows offers several built-in tools to help you get the job done. Here's how to convert your RAW drive to a normal one:
Use Disk Management
- Press Win + R, write diskmgmt.msc, and hit the Enter key. Then, locate the RAW drive in the list.
- If the drive shows as RAW, right-click it and select "Format." Choose a proper file system, assign a drive letter, and confirm.
- However, if the drive appears as unallocated, right-click the unallocated space and pick "New Simple Volume." Next, follow the wizard to create a new partition.
- Once completed, re-run CHKDSK on the problematic drive to check if the "CHKDSK is not available for RAW drives Windows 10" issue has been resolved.
Use DiskPart
- Start by running Command Prompt as an administrator.
- Type diskpart and press Enter to launch the tool.
- List all disks by typing list disk.
- Select the RAW drive using select disk X (replace X with the proper disk number).
- Clean the drive with clean.
- Afte that, run the create partition primary command.
- Type format fs=ntfs quick (or replace NTFS with exFAT) and hit enter.
- Finally, input exit to close DiskPart.
Final Words
Now you should no longer need to worry about the error message "The type of the file system is RAW. CHKDSK is not available for RAW drives." By following the steps outlined in this post—checking for physical issues, recovering data, and restoring a new file system using Windows tools—you can safely regain access to your drive. Plus, remember to always back up your data regularly to avoid future surprises.


