

When I first upgraded my PC and attempted to run a new game on high settings, I expected a smooth and flawless performance. But what I got instead was lag, choppy textures, and an overall disappointing experience.
That’s when I realized that the issue wasn’t my CPU or RAM; it was my graphics card’s limited VRAM.
What is VRAM?
VRAM, or video RAM, is the dedicated memory your GPU uses to process visual data. Whether you're gaming, editing 4K videos, or rendering 3D models, VRAM plays a huge role in how well your system handles the job.
In this guide, you will learn two reliable ways to check your VRAM on Windows 11, so you can figure out whether your graphics card is holding you back or ready to handle whatever you throw at it.

Steps to Check VRAM via Settings
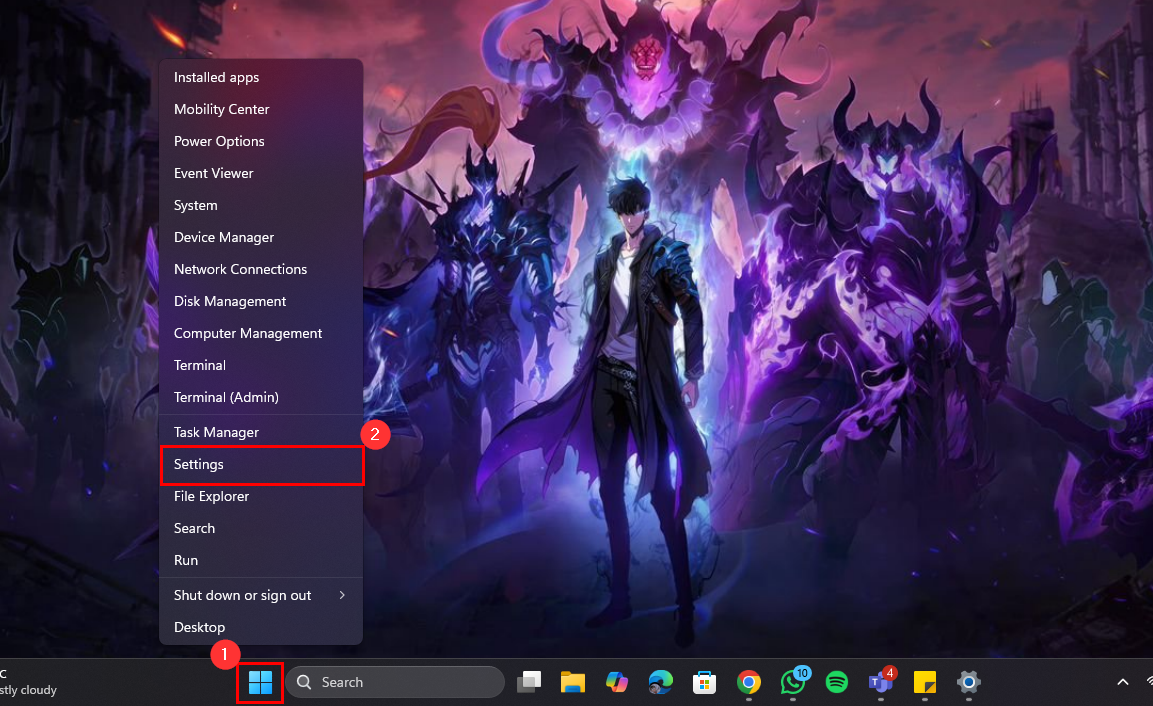
Step 1: Right-click the Start button on the taskbar and select "Settings"
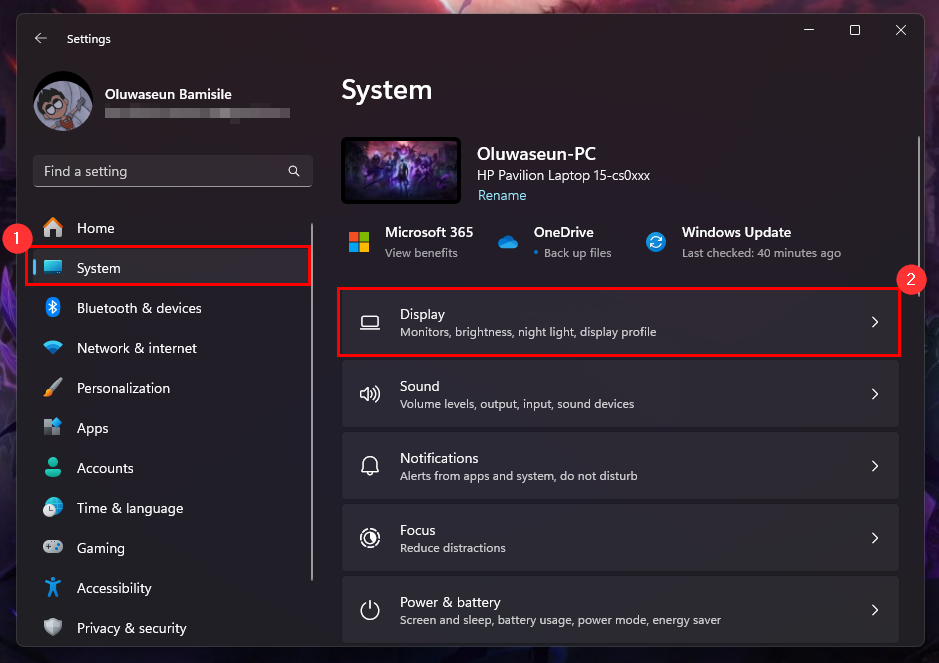
Step 2: Switch to the System tab and select "Display"
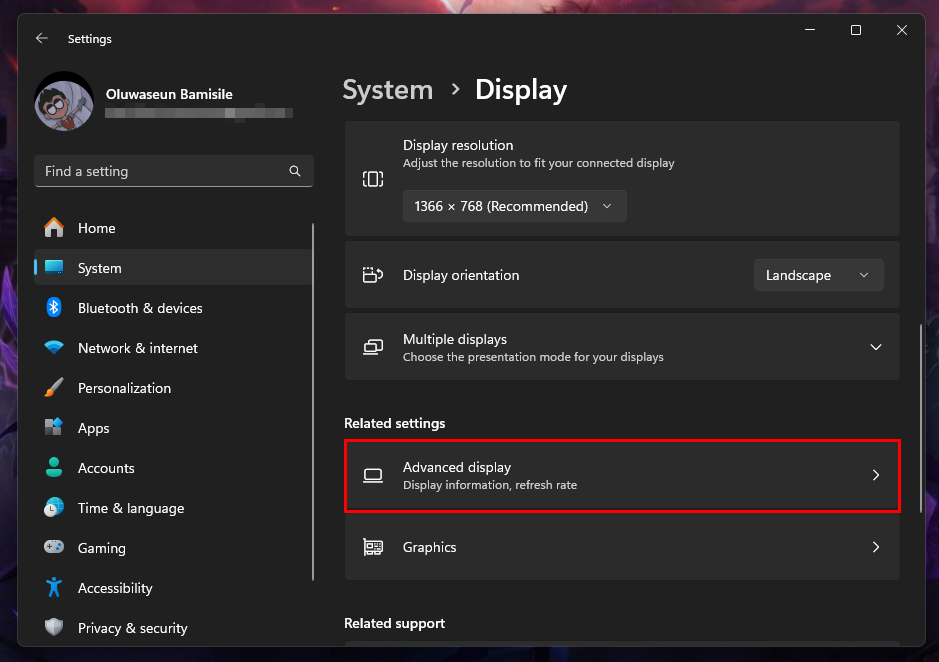
Step 3: In the Related settings category, select "Advanced display"
Step 4: Under "Internal Display", click "Display adapter properties for Display 1"
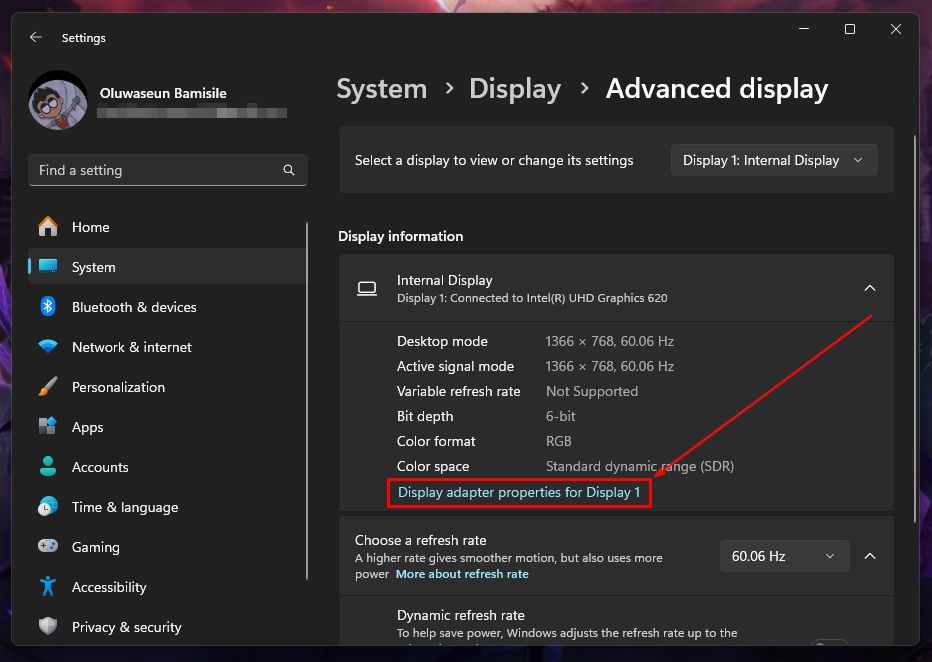
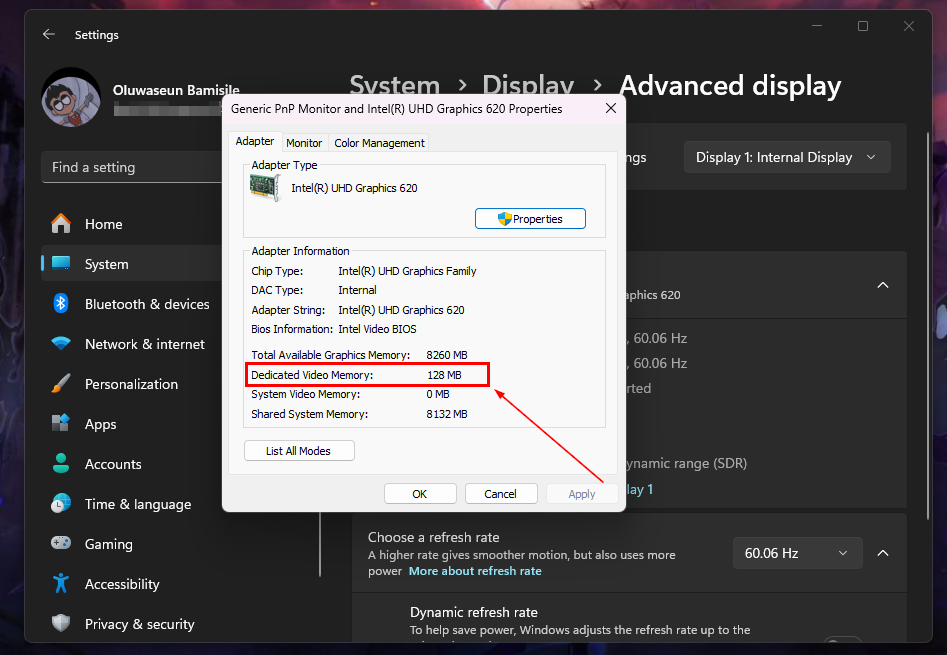
Step 5: On the Properties dialogue that pops up, you will see your PC's VRAM in the Adapter Information section
Steps to Check VRAM Through the DirectX Diagnostic Tool
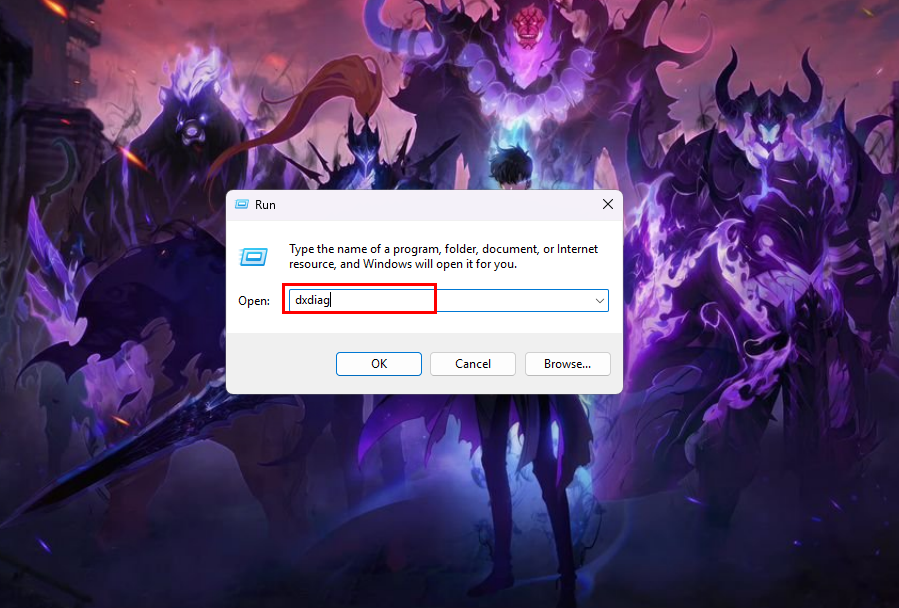
Step 1: Press Windows + R, type "dxdiag", and press Enter
Step 2: In the DirectX Diagnostic Tool window, switch to the Display tab
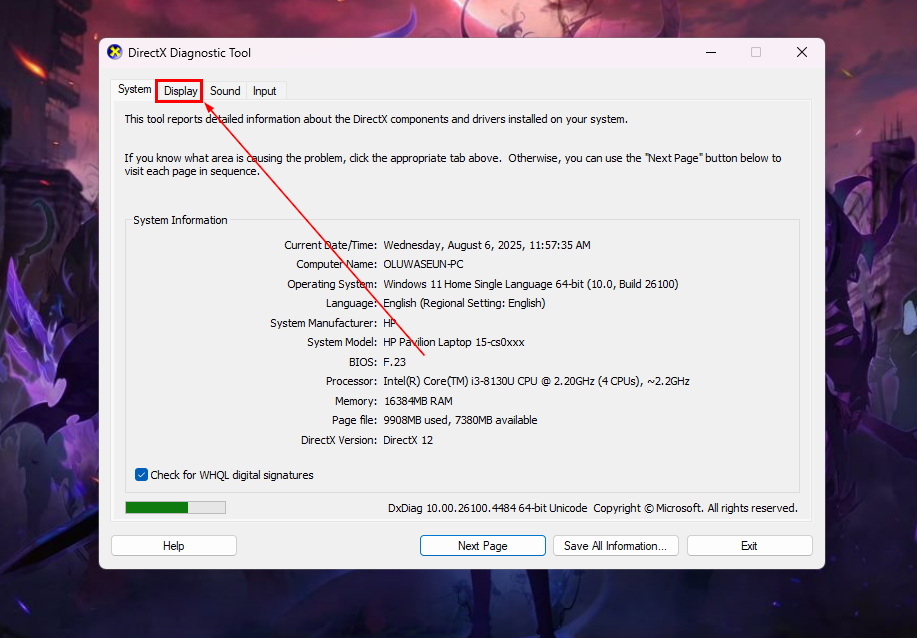
Step 3: Look for Display Memory (VRAM) to see how much your GPU is working with

Conclusion
VRAM can make or break your experience with graphics-heavy apps. If you’ve been wondering why games look choppy or why your editing software lags during previews, your VRAM could be maxed out.
But once you know what you're working with, you can make smarter decisions like lowering graphics settings, upgrading your GPU, or managing your workload better.
Image credit: Oluwaseun Bamisile/Techloy.com


