

You do a lot of important things with your phone, from banking apps, personal photos, and all those saved passwords. It’s a digital diary you don't want to fall into the wrong hands. Google knows this, which is why they built Advanced Protection, a free, ultra-secure mode that keeps your phone safe.
Advanced Protection is not the average security setting. It’s like putting your phone in maximum lockdown. Your phone auto-locks if someone snatches it and Chrome won’t even let you visit risky sites.
If you’ve ever worried about losing your phone, getting hacked, or accidentally downloading malware, this should be useful to you. However, this feature is only available on Google Pixel and other Android 16 devices. In this guide, we will show you how to enable advanced protection.
How to Enable Advanced Protection on Google Pixel
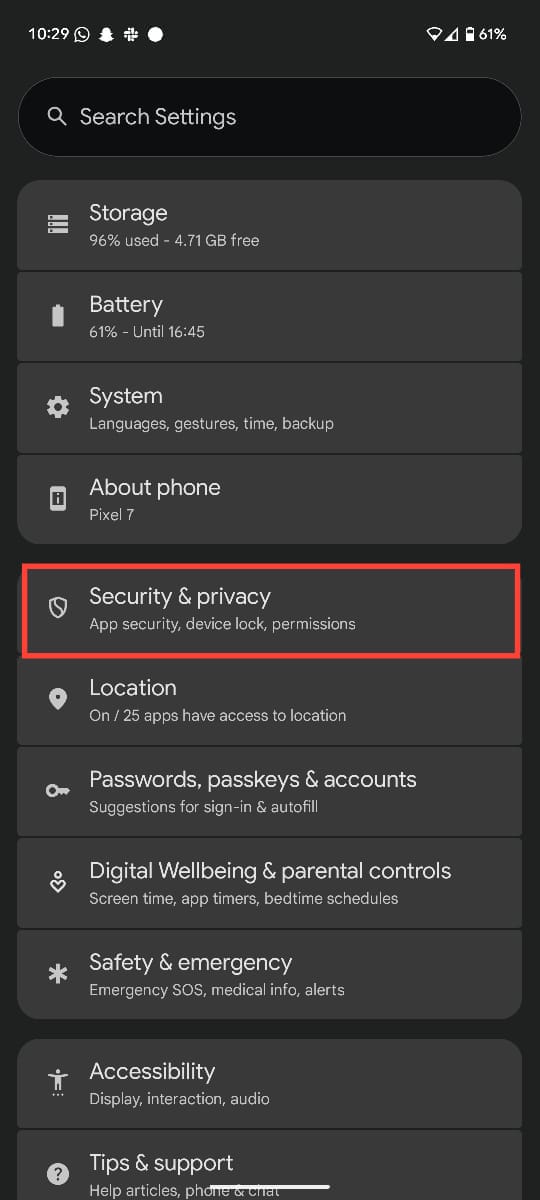
Step 1: Open the Settings app on your Google Pixel phone and scroll down and select Security and Privacy.
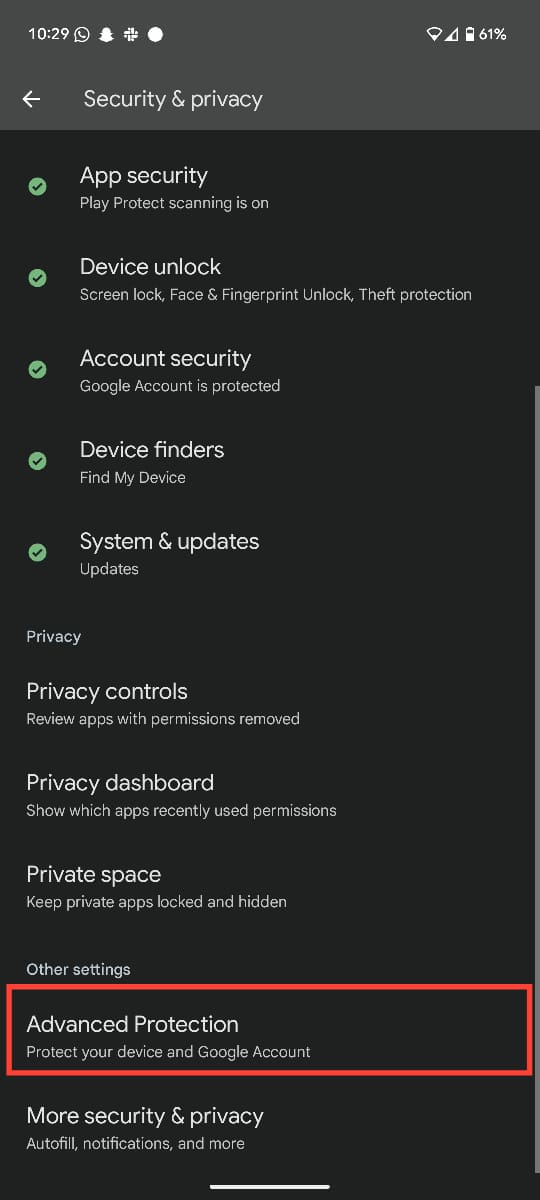
Step 2: Scroll down and choose Advanced Protection under Other settings.
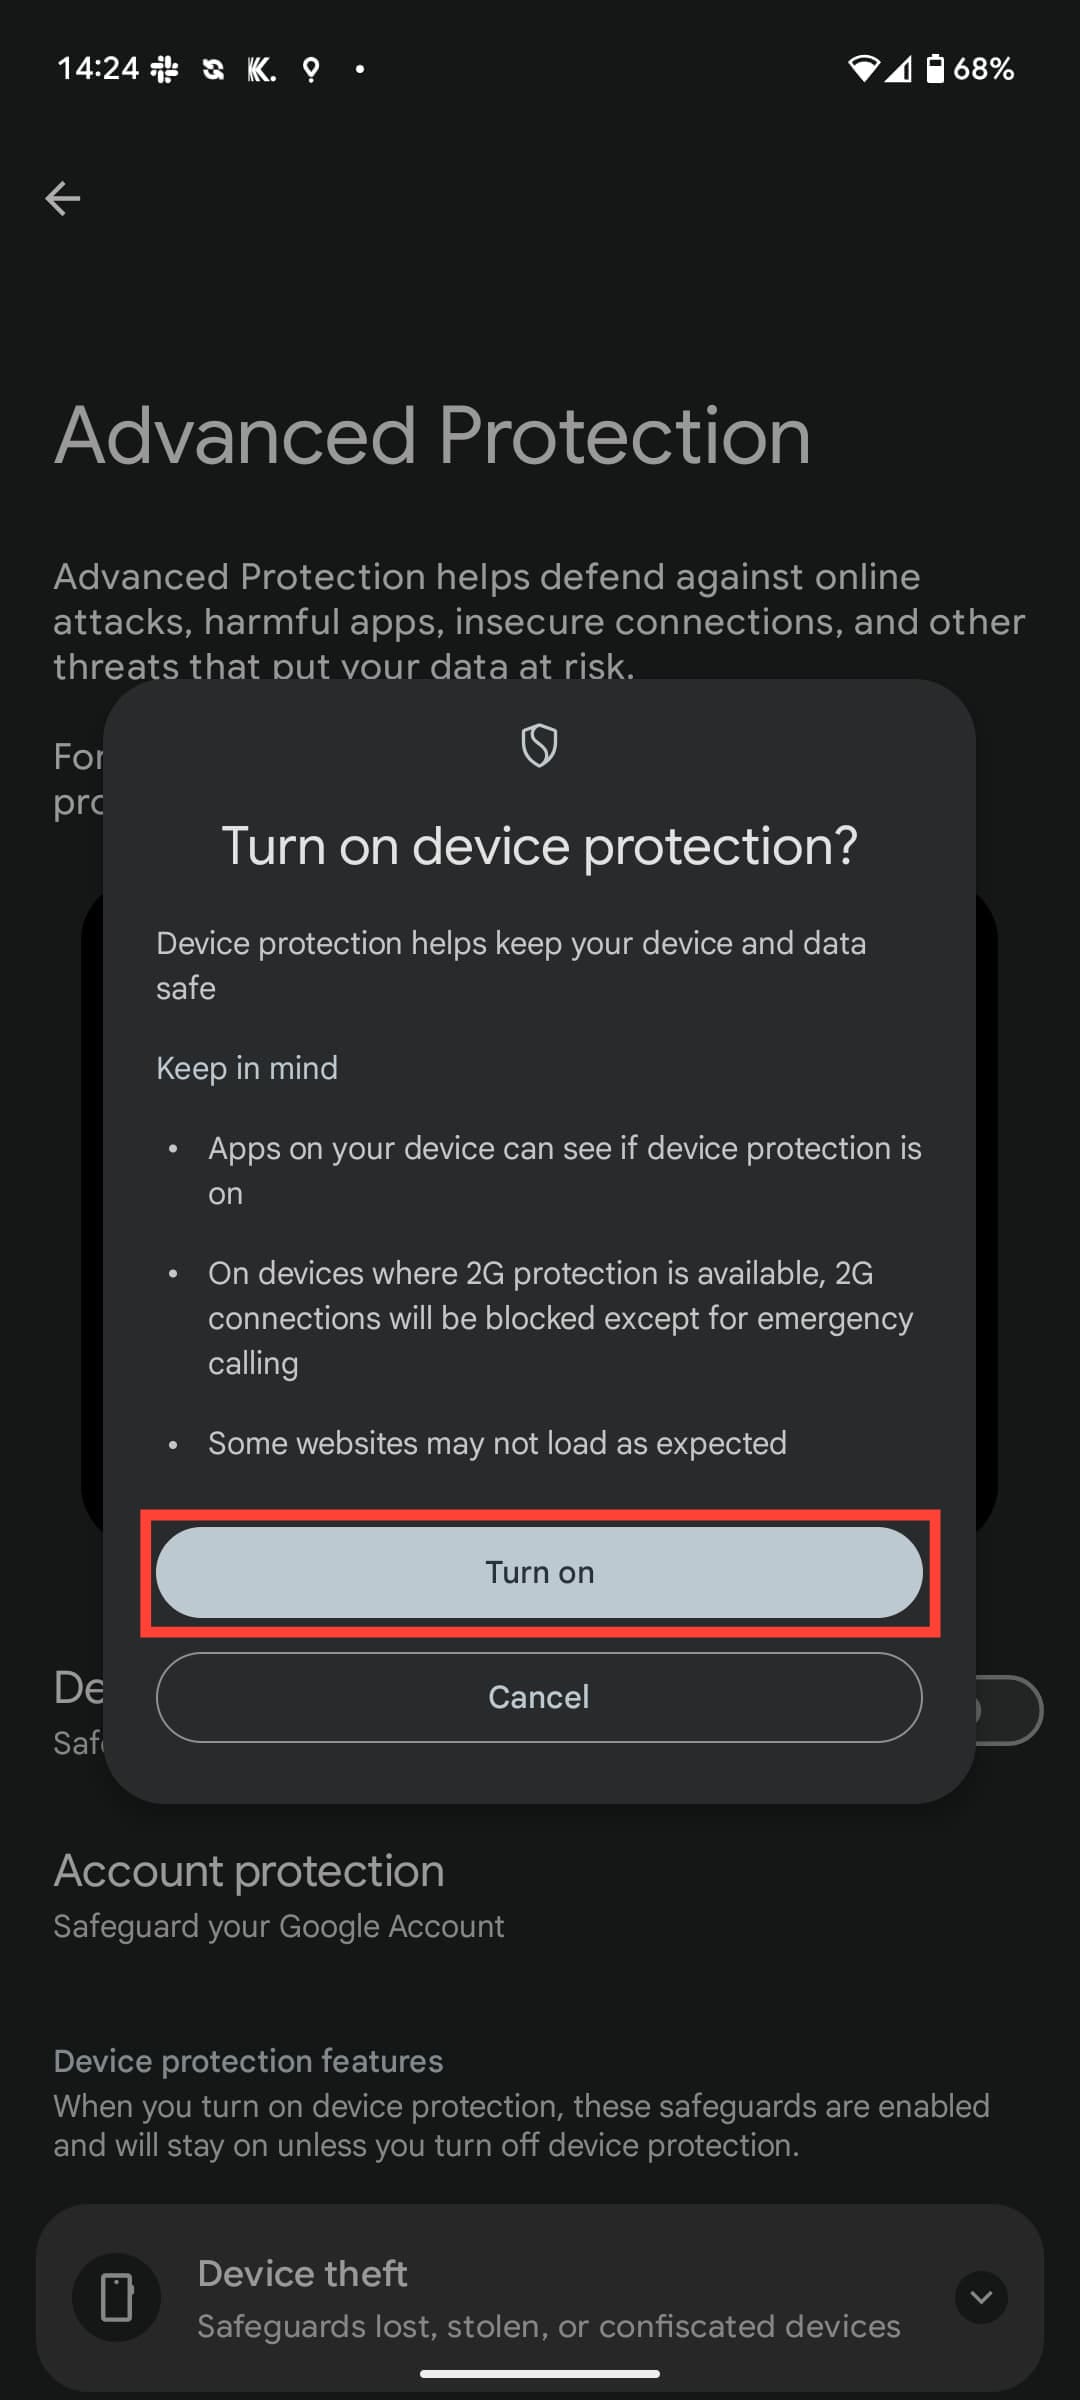
Step 3: Toggle on Device Protection.
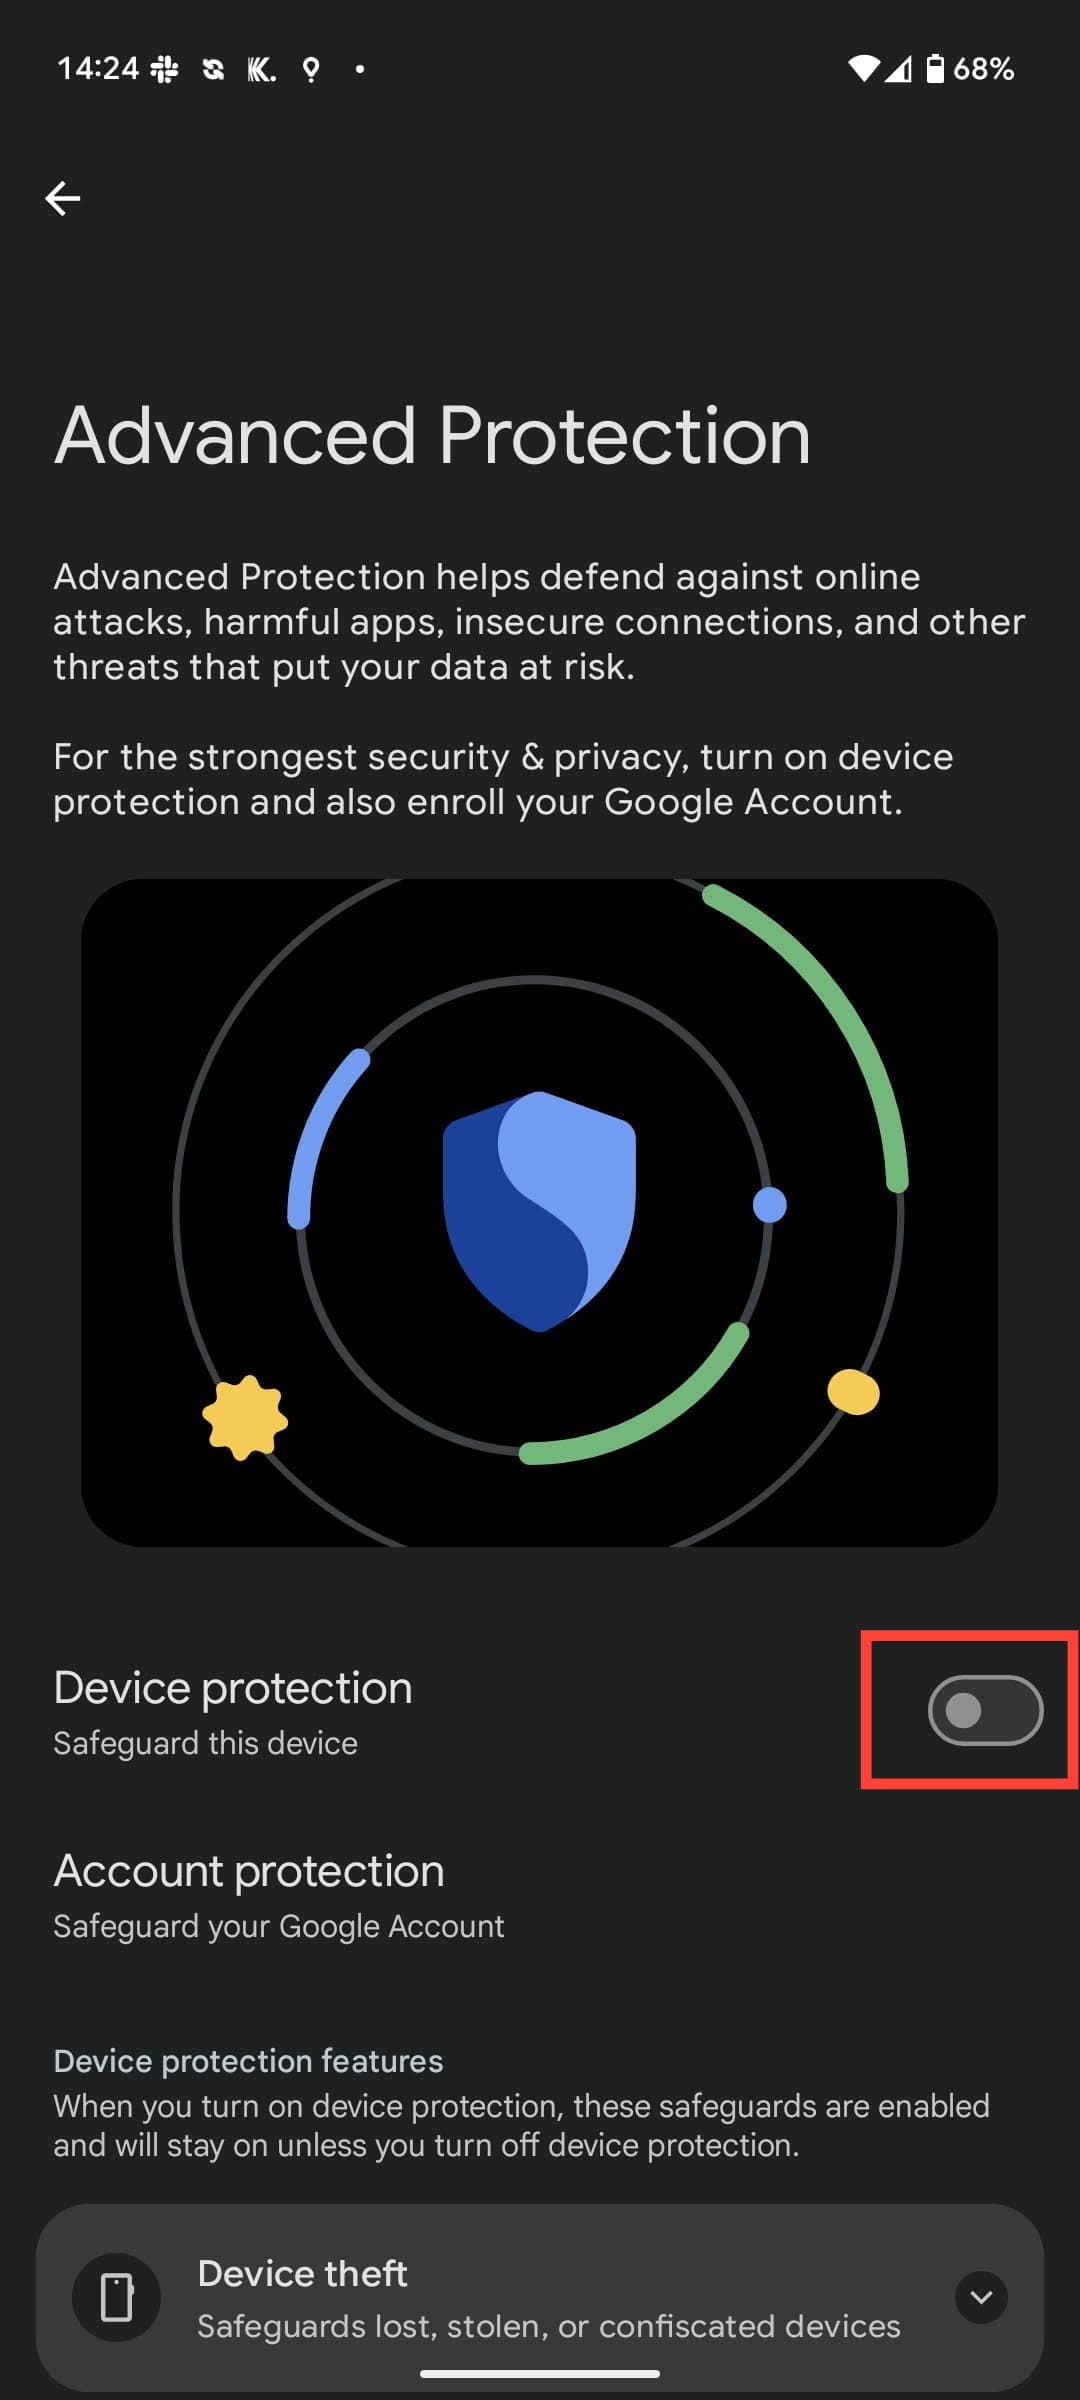
Step 4: Select Turn on to confirm the operation. After this, you'll receive a prompt to restart the phone, so restart your phone.
Conclusion
Advanced Protection is great, but it isn’t for everyone. If you’re the type who sideloads weird apps or lives on the edge of internet safety, you might find it too restrictive. But for the rest of us, especially if your phone has sensitive work emails, crypto wallets, or just a lifetime of embarrassing selfies, it’s a handy feature.
The best part is that you’re not locked in. Try it for a week, see how it feels, and disable it if you hate it. But my guess is once you’ve tasted that sweet, sweet peace of mind, you won’t want to go back.
Image Credit: Oyinebiladou Omemu/Techloy.com


