
For many creators, the first time you hear a drone’s rotors spin up is equal parts excitement and nerves. You’re suddenly in charge of a flying camera — one that can soar above rooftops, capture sweeping views of endless fields, and reveal perspectives you’d never get on foot.
The Ruko U11MINI 4K is a lightweight, beginner-friendly option that still offers the kind of footage you’d expect from pricier gear. If you’ve just unboxed yours, this guide will walk you through everything from setup to your first smooth aerial clip, with tips to help you avoid rookie mistakes.

1. Know the Rules Before You Take Off
Before your first flight, it’s worth spending a few minutes on local regulations. In the US, that means checking the FAA guidelines:
- Registration: Drones over 250g need to be registered. The U11MINI 4K comes in just under that, but rules can change, so it’s smart to confirm.
- Airspace awareness: Stay clear of airports, helipads, and restricted areas. Apps like B4UFLY can help.
- Altitude limits: Most countries cap recreational flights at around 120 meters (400 ft).
Taking five minutes to learn the rules saves you from fines and awkward conversations with local authorities — and lets you focus on flying.
2. Get Your Gear Ready
A smooth flight starts with a quick pre-check:
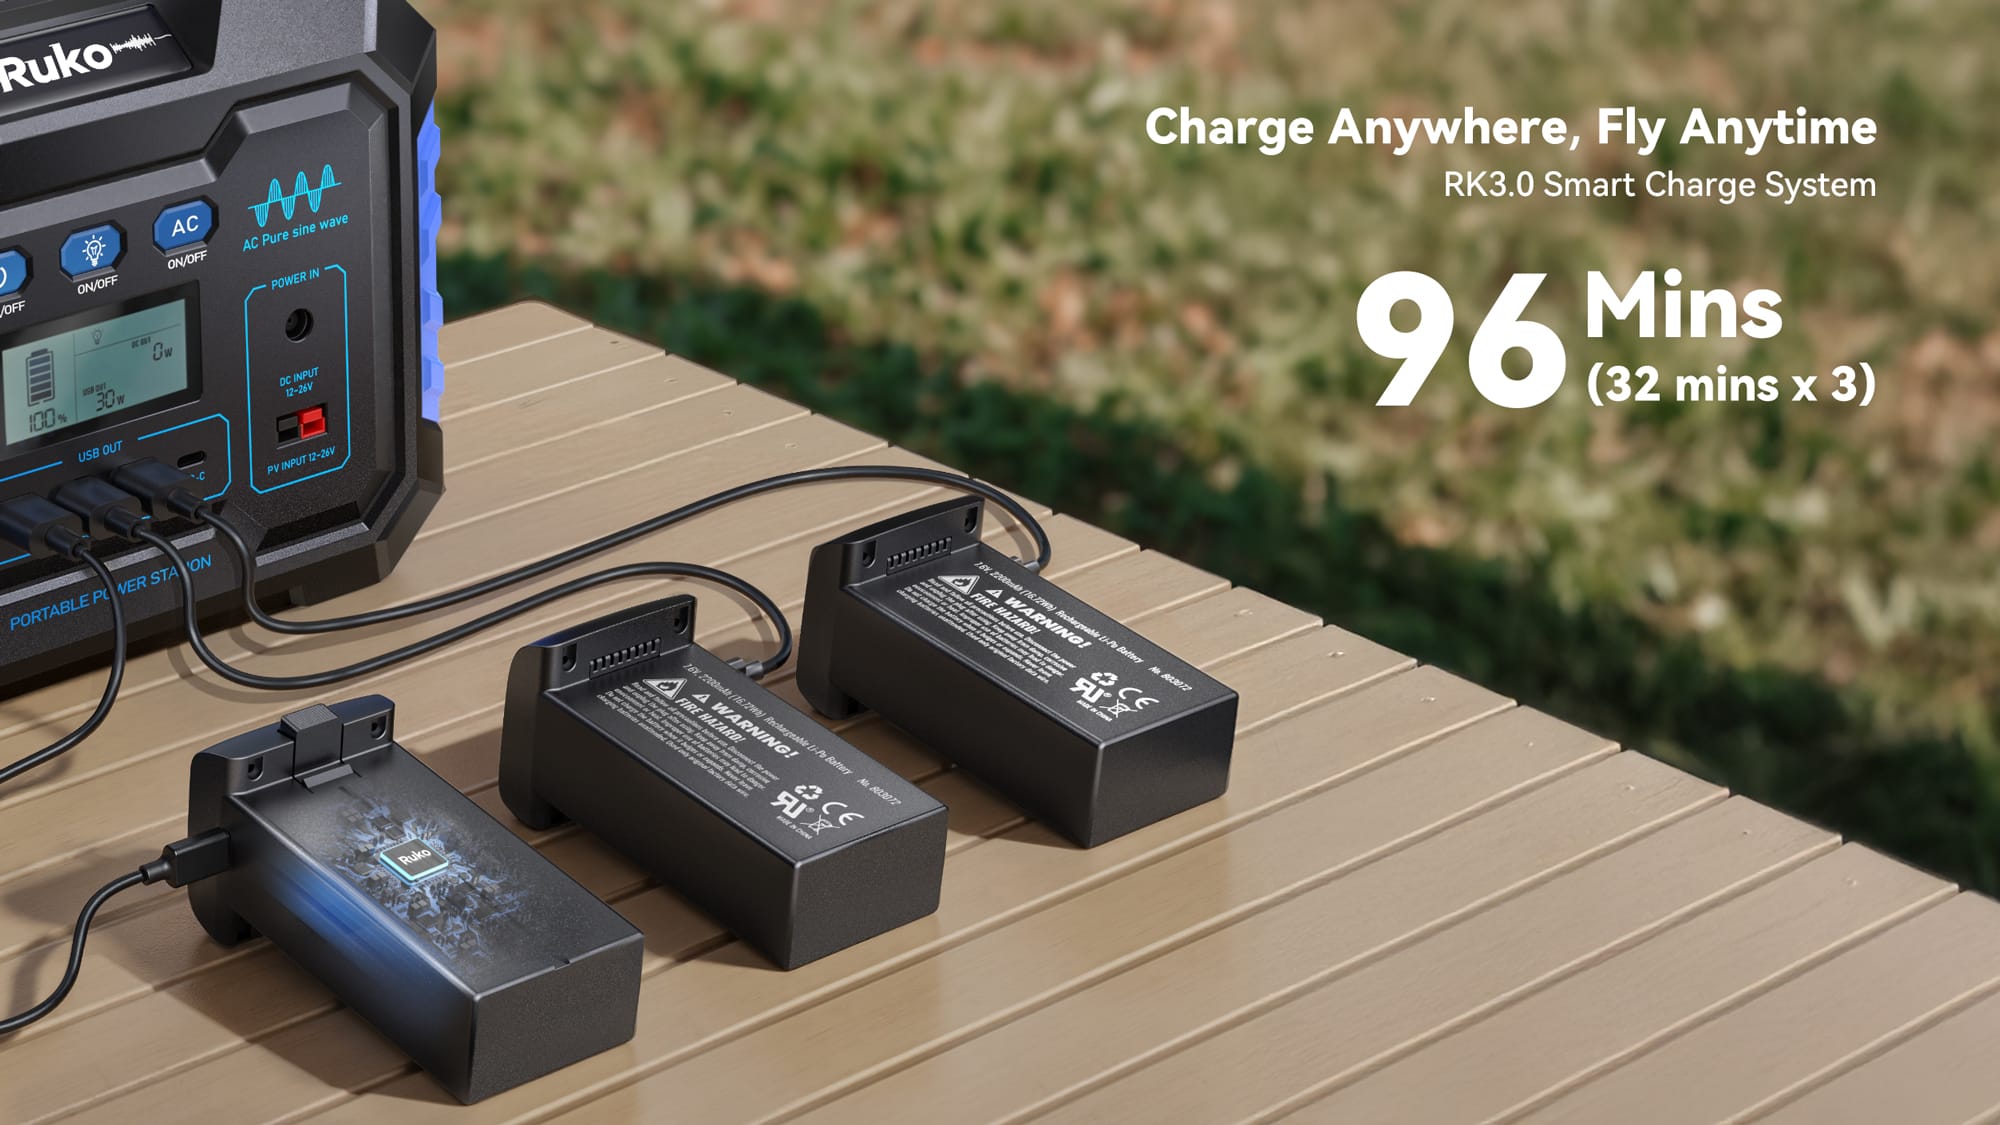
Battery: Charge both drone and controller batteries fully. A half-charged battery can ruin a session, but if you have the U11MINI 4K’s three-battery kit, you can easily swap packs and keep flying for extended shoots.
Propellers: Inspect for nicks or bends; replace if damaged. The U11MINI 4K comes with two full sets of propellers, so you’ll always have spares on hand. Even so, it’s good practice to inspect them for nicks or bends before each flight and replace any damaged ones.
Gimbal cover: Remove before flight, but keep it handy for transport.
App connection: Install the Ruko U11 app, pair it with the controller, and confirm live video feed.
Small habit: Before heading out for a shoot, I always check that the SD card is properly inserted and working — nothing’s worse than realizing mid-flight that your footage isn’t being saved. If you’re worried about compatibility, consider using Ruko’s own 128GB memory card, which is tested to work seamlessly with the U11MINI 4K.
3. Find the Right Flying Spot
Your first flight isn’t the time to navigate tight urban alleys. Instead:
- Choose a wide, open field with no trees or power lines.
- Avoid strong wind — lightweight drones, even with stabilization, will drift.
- Keep the sun behind you for better visibility on the controller’s screen.
If you’re near water, be mindful of moisture — sea spray and electronics don’t mix well.
4. Your First Take-Off: Step-by-Step
Step 1: Power On and Pair
Turn on the drone first, then the controller. Wait for the GPS signal to lock — this gives you a more stable hover.
Step 2: Unlock the Motors
The U11MINI 4K can take off safely without calibration. To start the motors, push both control sticks inward toward the 5 o’clock and 7 o’clock positions, or simply use the one-touch take-off option in the app.
Step 3: Gentle Lift-Off
Push the throttle stick upward slowly. Let the drone hover at about 2 meters and watch for stability.
Step 4: Basic Movement Practice
- Forward/backward
- Left/right
- Yaw (rotation)
Keep movements slow — jerky inputs make for ugly footage.
Step 5: Safe Landing
Bring it down slowly and hold the throttle down until the motors stop. You can also use the RTH (Return to Home) feature in the app to return safely. The U11MINI 4K is equipped with GPS, air pressure, optical flow, and Time of Flight sensors for precise low-altitude flight and landing.
5. Capturing Smooth 4K Footage
Use the Gimbal to Your Advantage
Even with a smaller form factor, the U11MINI 4K’s 3-Axis Brushless Gimbal keeps shots surprisingly steady. Move the drone slowly, and let the gimbal handle micro-adjustments.
- Fly in Cinematic Mode
This reduces control sensitivity, making movements more gradual — perfect for smooth pans. - Mind the Light
Golden hour (just after sunrise or before sunset) gives your shots depth and warmth. Harsh midday light can flatten colors. - Think in Sequences
Instead of one long flight path, capture several short, deliberate moves: a slow rise over a hill, a sideways reveal of a building, a backward drift over a trail.
Explore Ruko's official website to learn more about aerial photography techniques.
6. Troubleshooting Common Issues
Drone drifting in hover:
Recalibrate sensors, check wind conditions.
Shaky video:
Ensure gimbal is unlocked and balanced; avoid sudden stick inputs.
Short battery life:
Fly at moderate speeds and avoid constant climbing; keep spare batteries handy.
7. FAQ
How long does the Ruko U11MINI 4K fly on one charge?
Around 32 minutes in ideal conditions. If you are worried that one battery is not enough for your photography, Ruko also offers a three-battery set for purchase, which provides a full 96 minutes of flight time.
Can I fly it in strong wind?
It can handle mild wind, but anything above 15 mph will affect stability.
Do I need FPV goggles?
No — the U11MINI 4K streams directly to your phone via the app.
Conclusion
The first few flights with any drone are a mix of learning curve and pure wonder. The Ruko U11MINI 4K makes that process easier with stable GPS-assisted flight, intuitive controls, and crisp 4K capture. Start simple, keep safety in mind, and soon your camera roll will be full of shots you didn’t think were possible from such a compact drone.


