Ever needed your IP address but had no clue where to look?
Whether you're setting up a home network, troubleshooting a connection issue, or just curious about how your device connects to the internet, finding your IP address is a handy tech skill.
Luckily, it only takes a few simple steps on a Windows computer—and no, you don’t have to be a tech wizard.
How to check your IP address on Windows
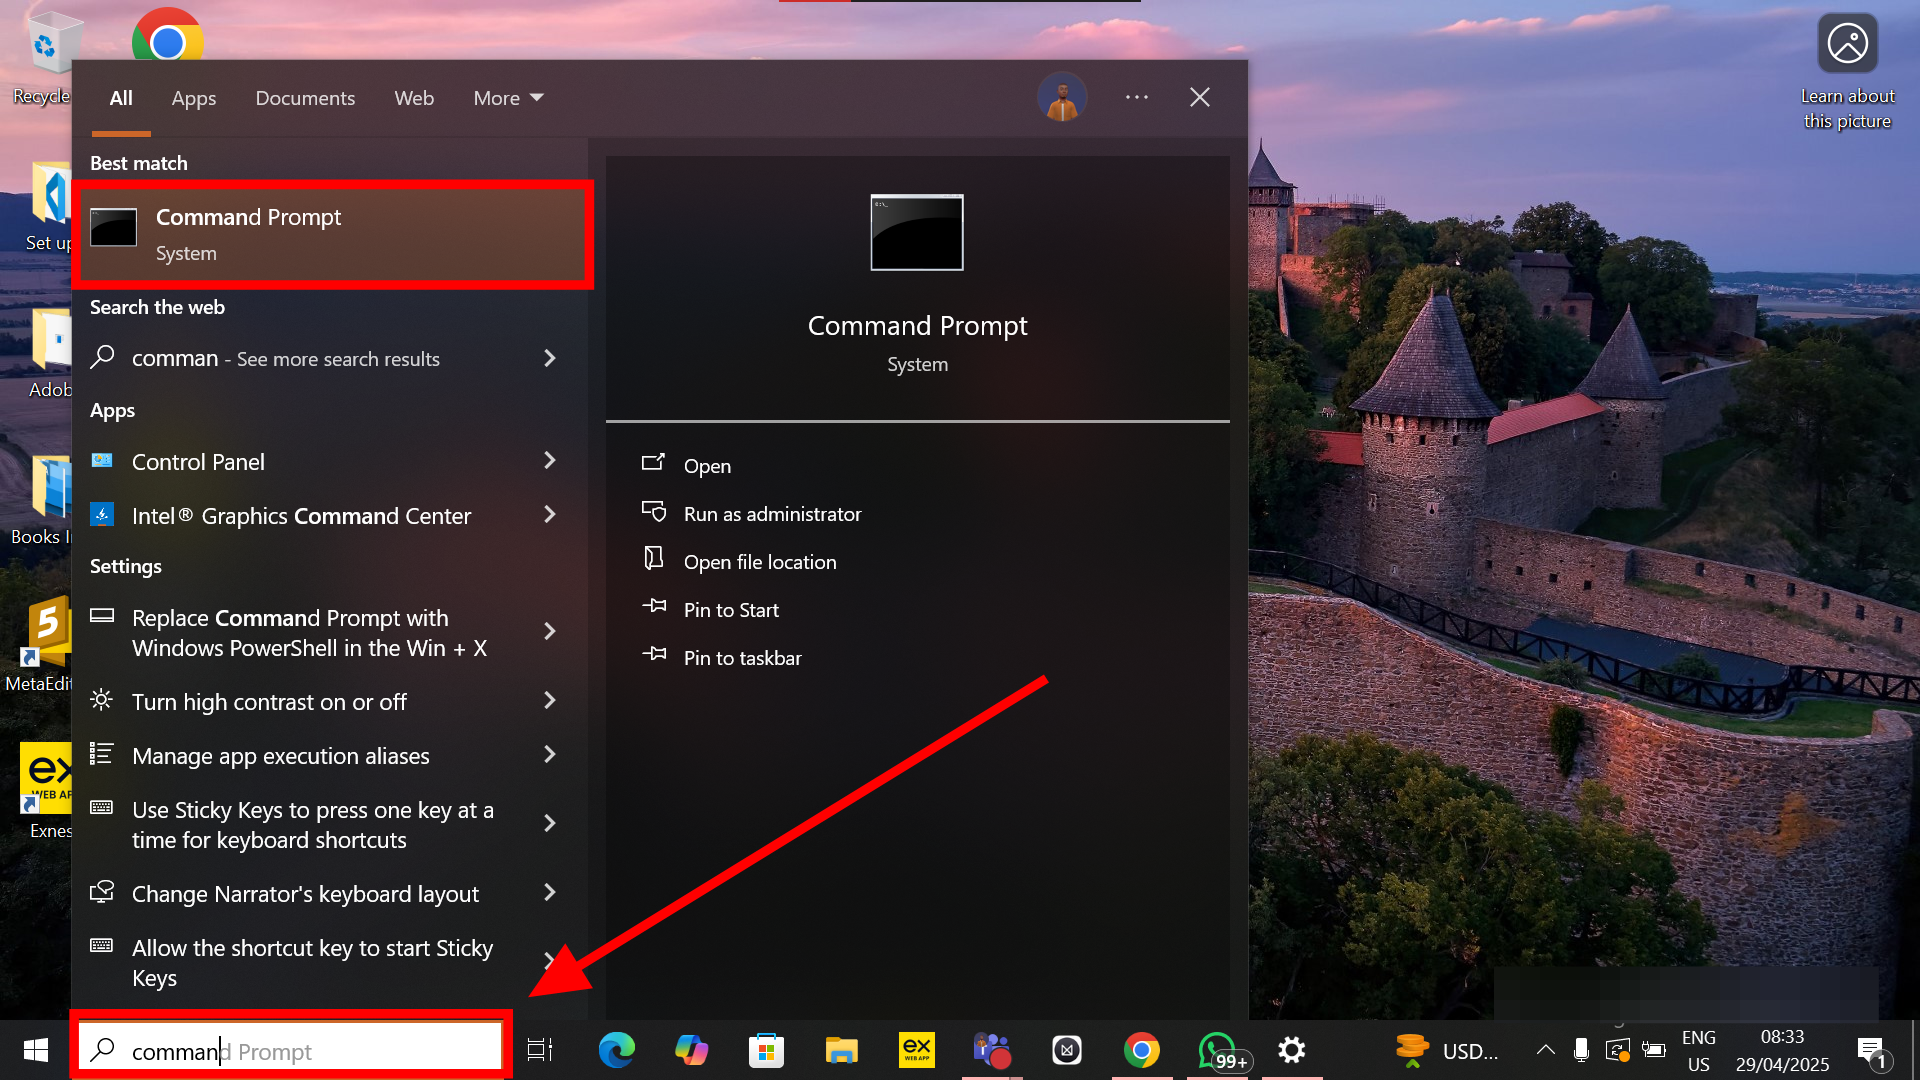
Step 1: Click on the Windows logo in the bottom-left corner of your screen (or hit the Windows key on your keyboard).

Step 2: Type “Command Prompt” in the search bar and select the app that appears.
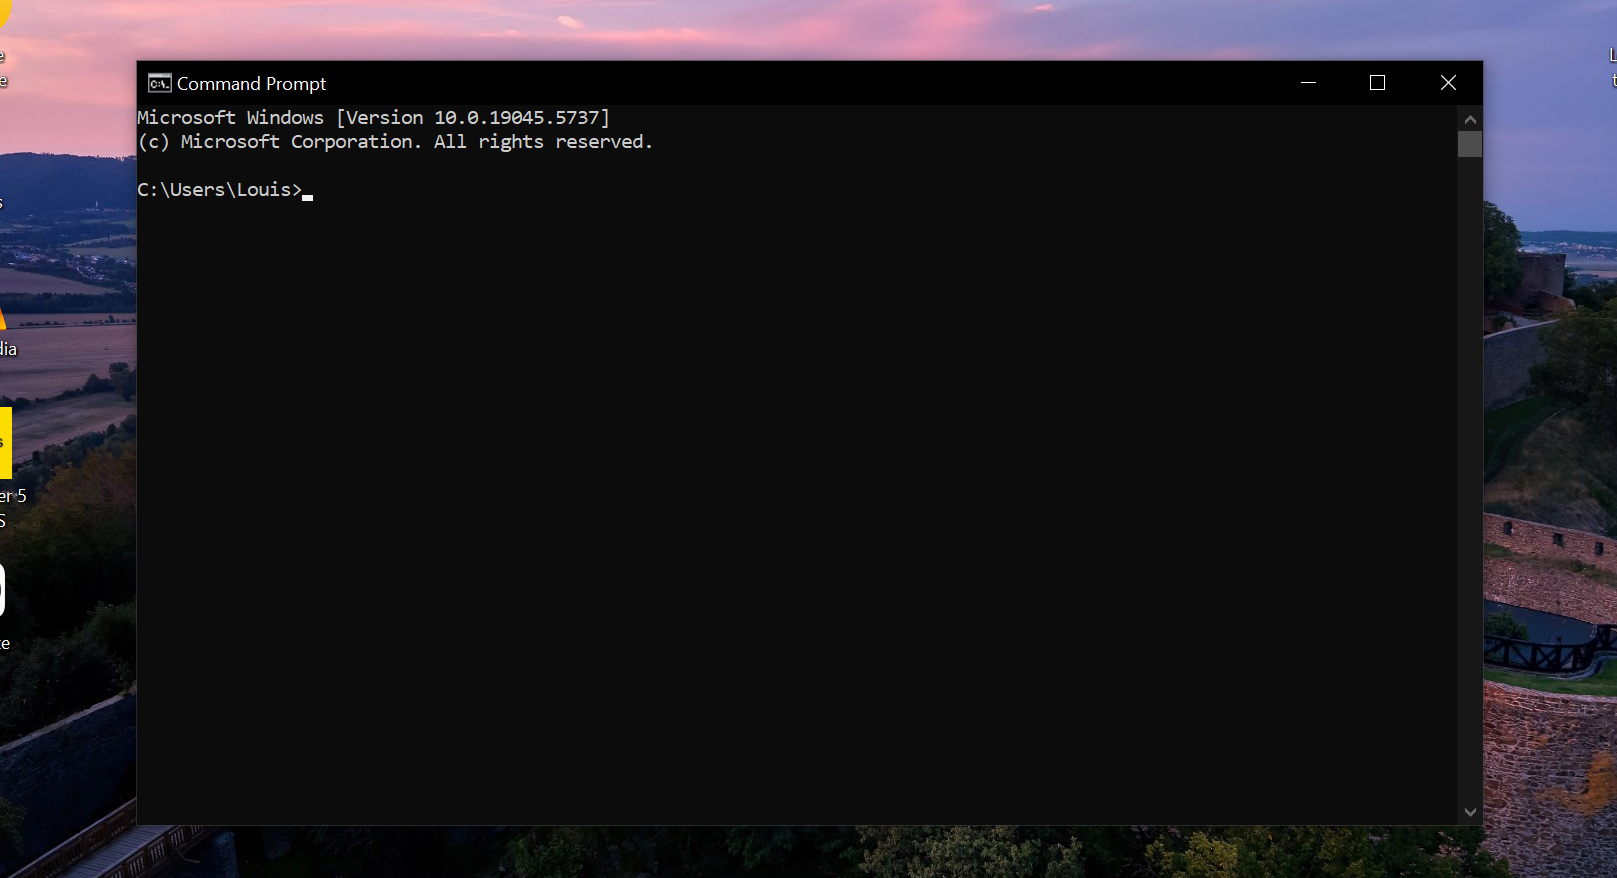
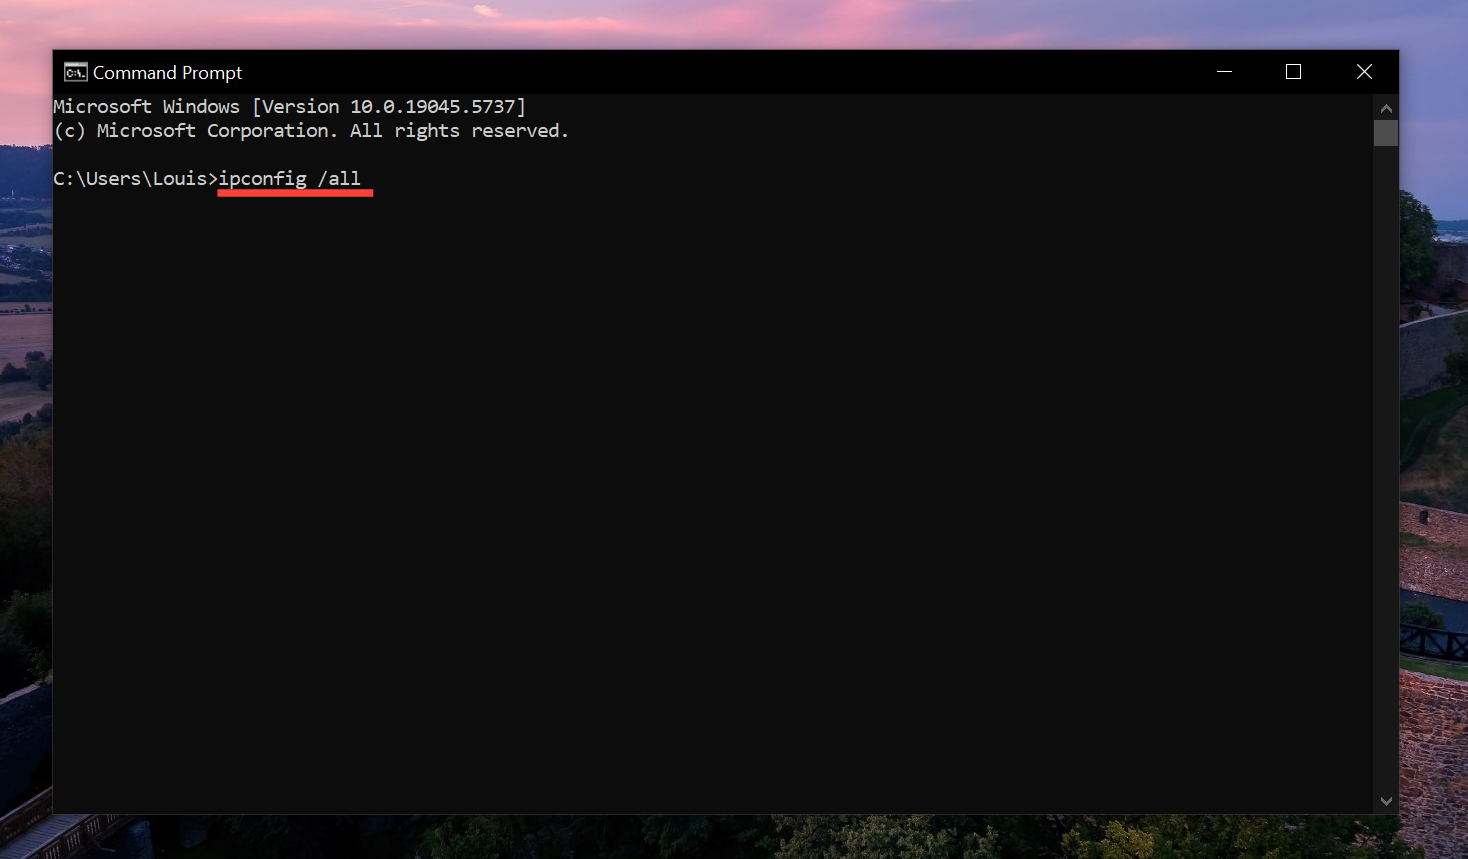
Step 3: When the black Command Prompt window opens, type this command and press Enter:
ipconfig /all(Yes, make sure there’s a space between “ipconfig” and “/all.”)
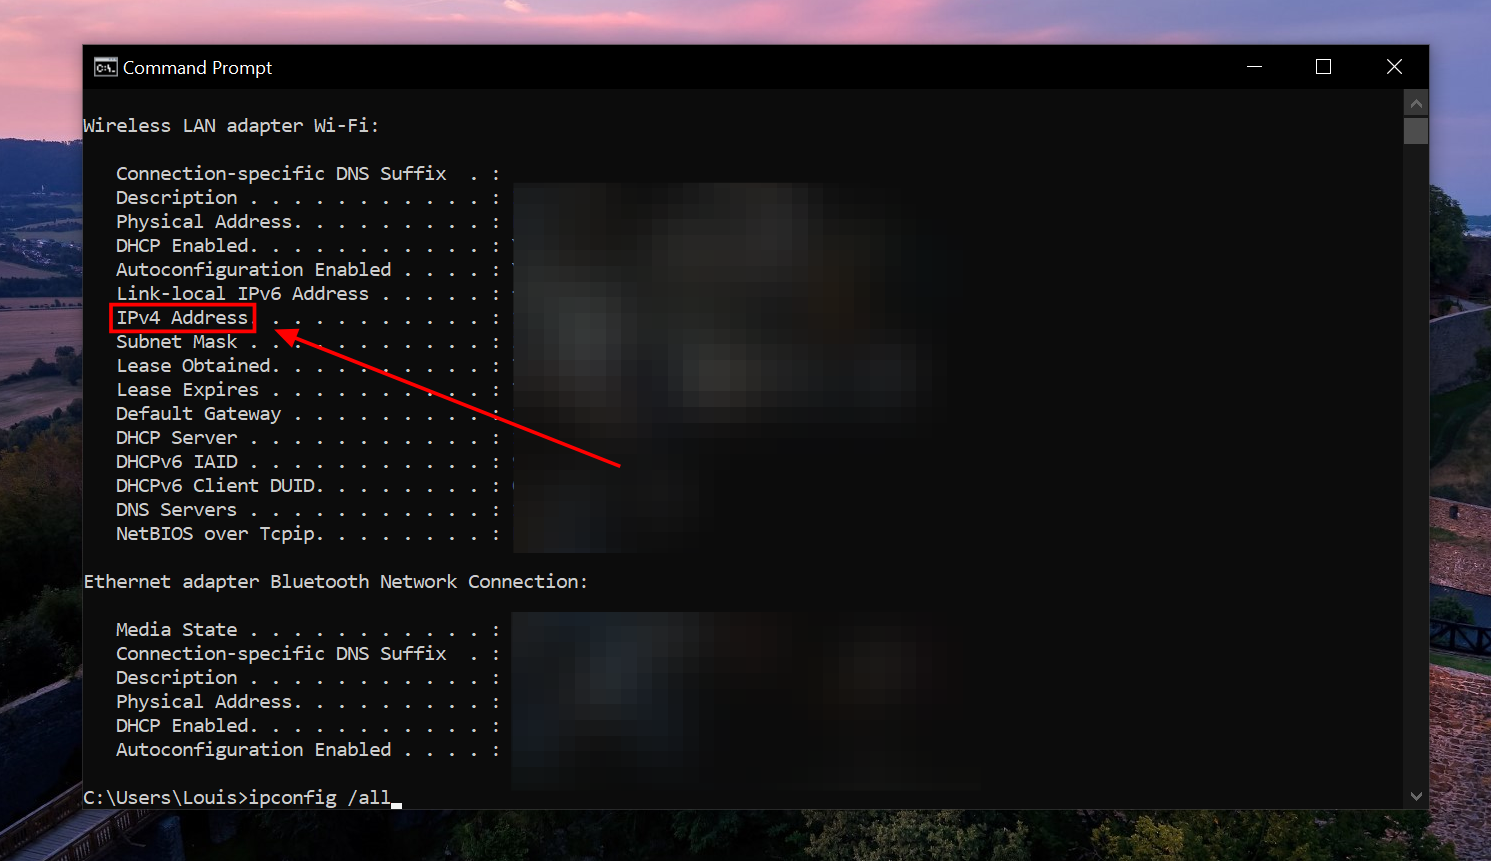
Step 4: A long list of details will pop up. Just scroll until you see IPv4 Address. The number next to it (something like 192.168.1.10) is your device’s local IP address.
Conclusion
And that’s it! You’ve found your IP address. This is especially useful for things like router setup, network diagnostics, or remote desktop connections. Just remember, this method shows your local IP address, which is how your device talks to others on your home network. If you're looking for your public IP address (how the internet sees you), you can just Google “What’s my IP”, and it’ll pop right up.
Knowing your way around simple network commands like this is a small step toward becoming more tech-savvy, and it might just come in handy when you least expect it.
Image Credit: Louis Eriakha / Techloy.com