

If you’ve ever had your Windows PC lag or take minutes just to process a simple task, then you know how discouraging it feels. You click, you wait, and nothing happens until minutes later, by then, your patience is already gone. More often than not, it’s because your CPU is working overtime at 100%.
When that happens, it's not surprising to see your PC taking ages to move, usually because the cooling system can’t keep up. Weirdly enough, running hot all the time won’t kill your CPU instantly, but over time, its lifespan can be shortened. Too many heavy apps running, outdated drivers, background junk, or even malware are usually to blame.
There are a few quick fixes you can try to bring that usage down and get your PC back to normal. One of the simplest involves a small tweak in Device Manager.

Steps to Fix 100% CPU Usage on Windows
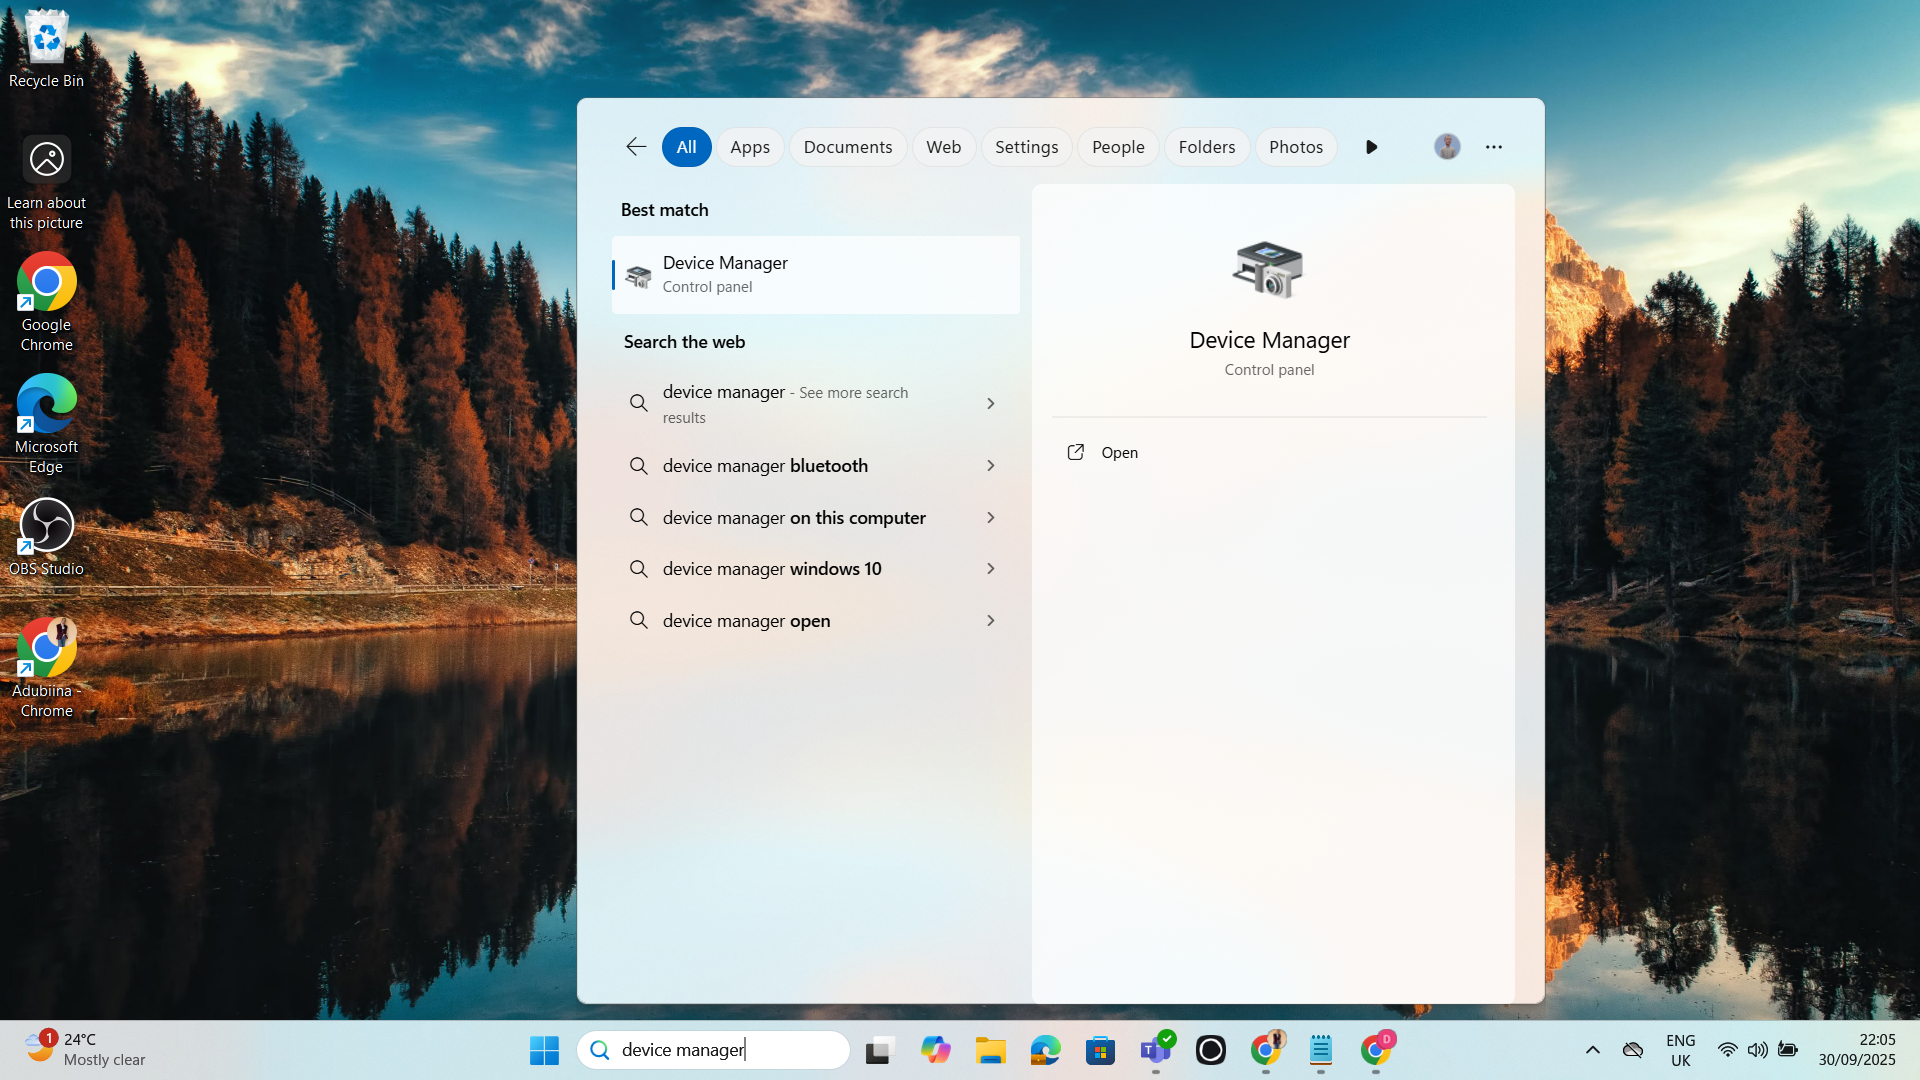
Step 1. On your Start menu, search for "Device Manager."
Step 2. Click on it and select "System devices."

Step 3. After that, scroll down and click on "High Precision Event Timer."

Step 4. Right-click it and select "Disable."

Disabling this will stop the timer from constantly requesting system resources, which helps free up CPU cycles and allows smoother performance.

Conclusion
Every system’s major parts, like the graphics card and RAM, take their cues from the CPU, and of course, that comes with limits. So, if you notice your CPU constantly maxing out, what you want to do is to disable the High Precision Event Timer.
But if that doesn’t address it, then you might want to update your drivers, turn off background apps that are running, or even run malware checks.
When all is said and done, keeping your system clean, updated, and well-optimized is the best way to stop your CPU from working overtime and keep your computer running smoothly.
Image credit: David Adubiina/Techloy


