If you’re like me, the Mac Dock can be both a blessing and a distraction. It’s great for quick access to apps, but when you’re deep into focused work, that row of icons can pull your attention away or clutter your screen space.
Whether you’re aiming for a cleaner desktop, working on a small display, or just want fewer visual interruptions, hiding the Dock can help streamline your setup.
Luckily, macOS gives you full control to hide or show the Dock whenever you like and it only takes a few clicks. Here’s a detailed step-by-step guide on how to do it.
How to Hide and Show the Dock on a MacBook
Method 1: Using System Settings
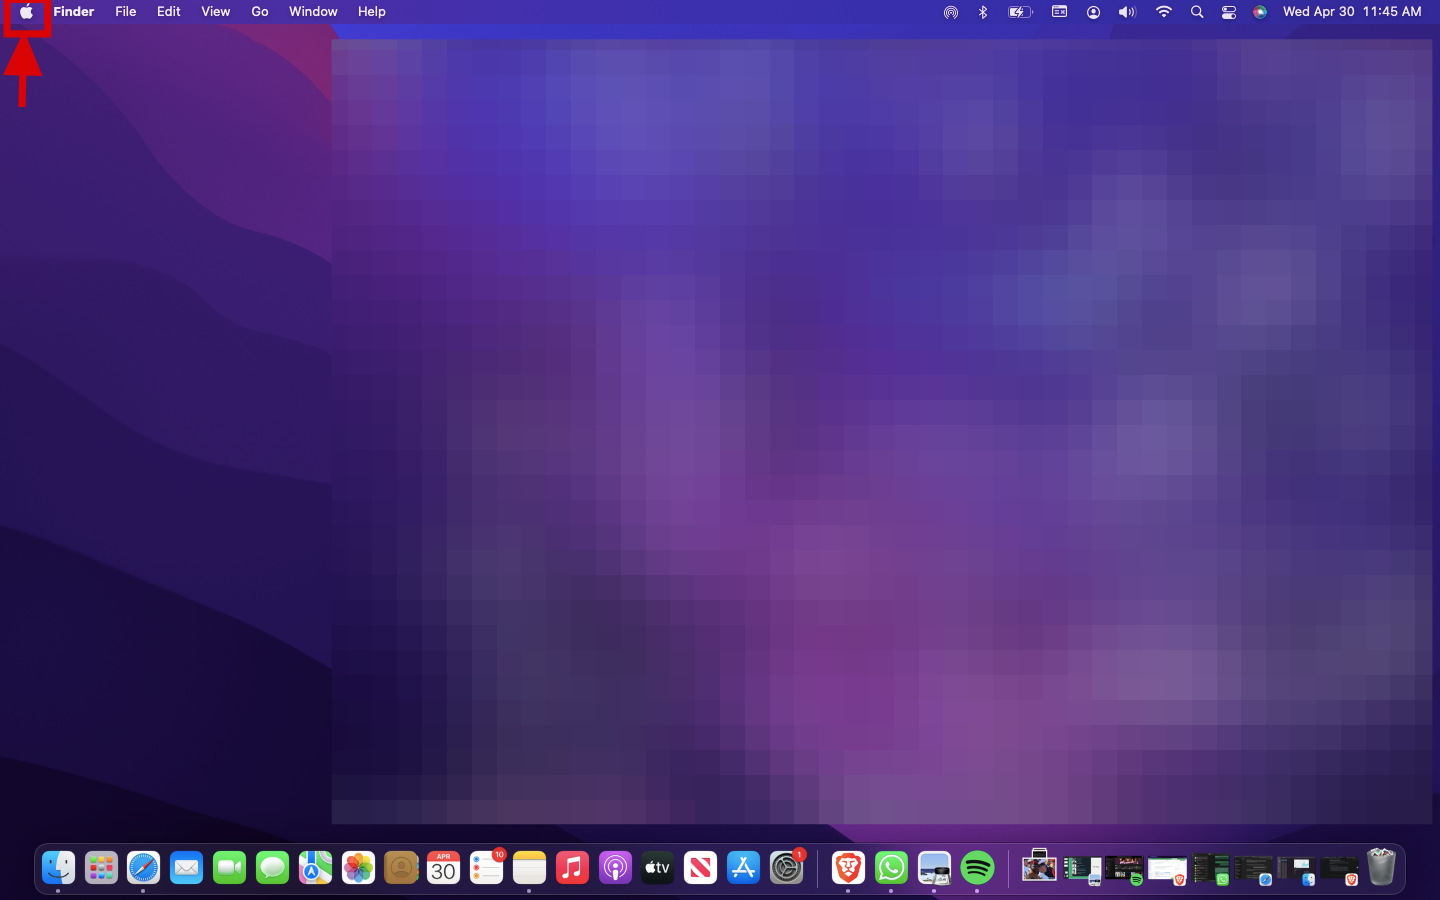
Step 1: Click the Apple logo to the top-left corner of your screen
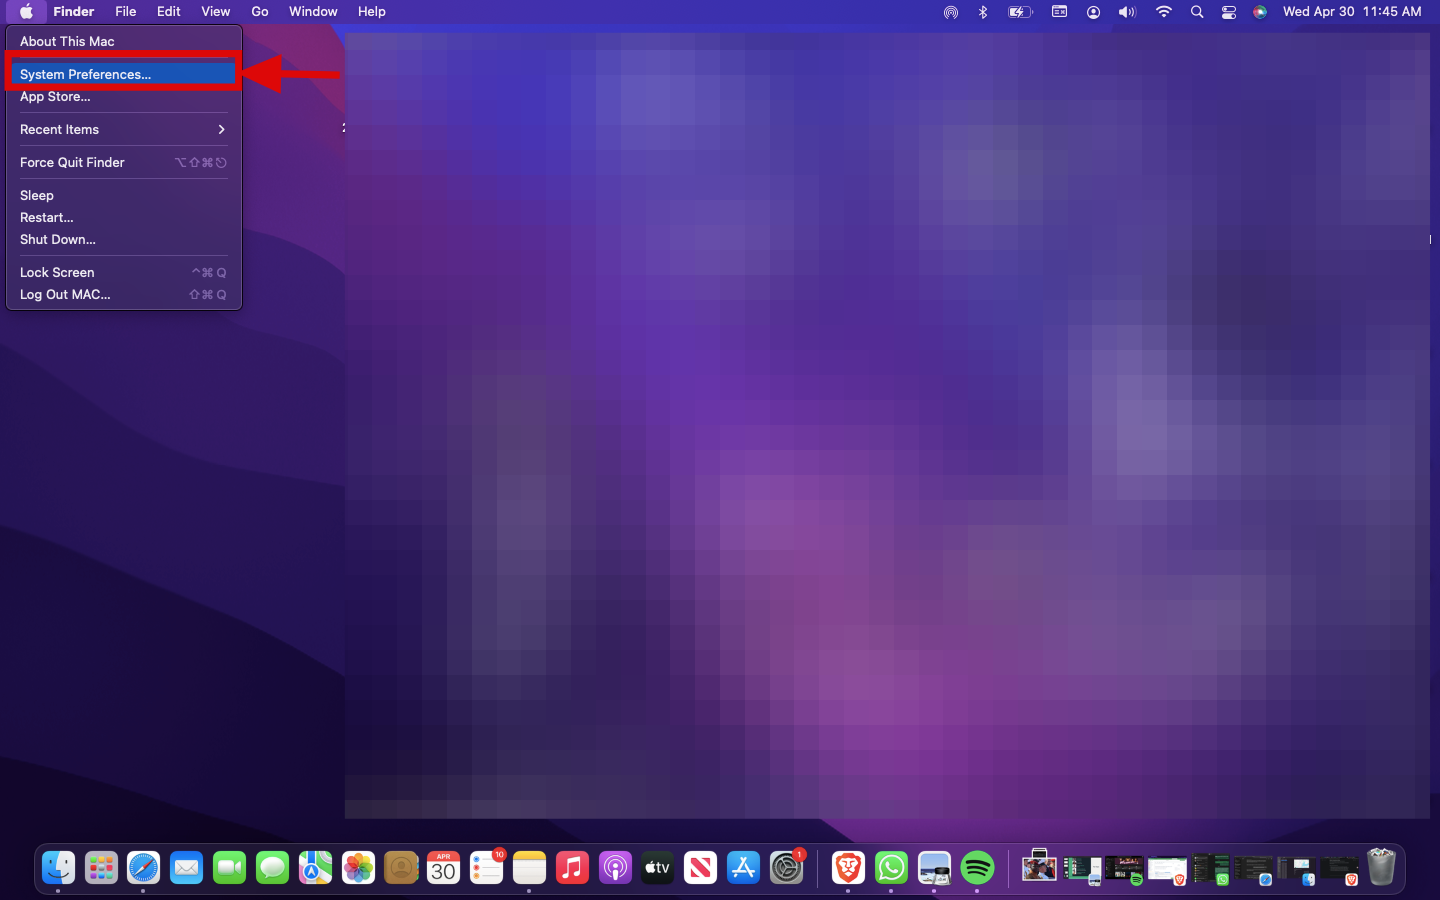
Step 2: Select System Settings On older versions of macOS, this may be labeled as System Preferences
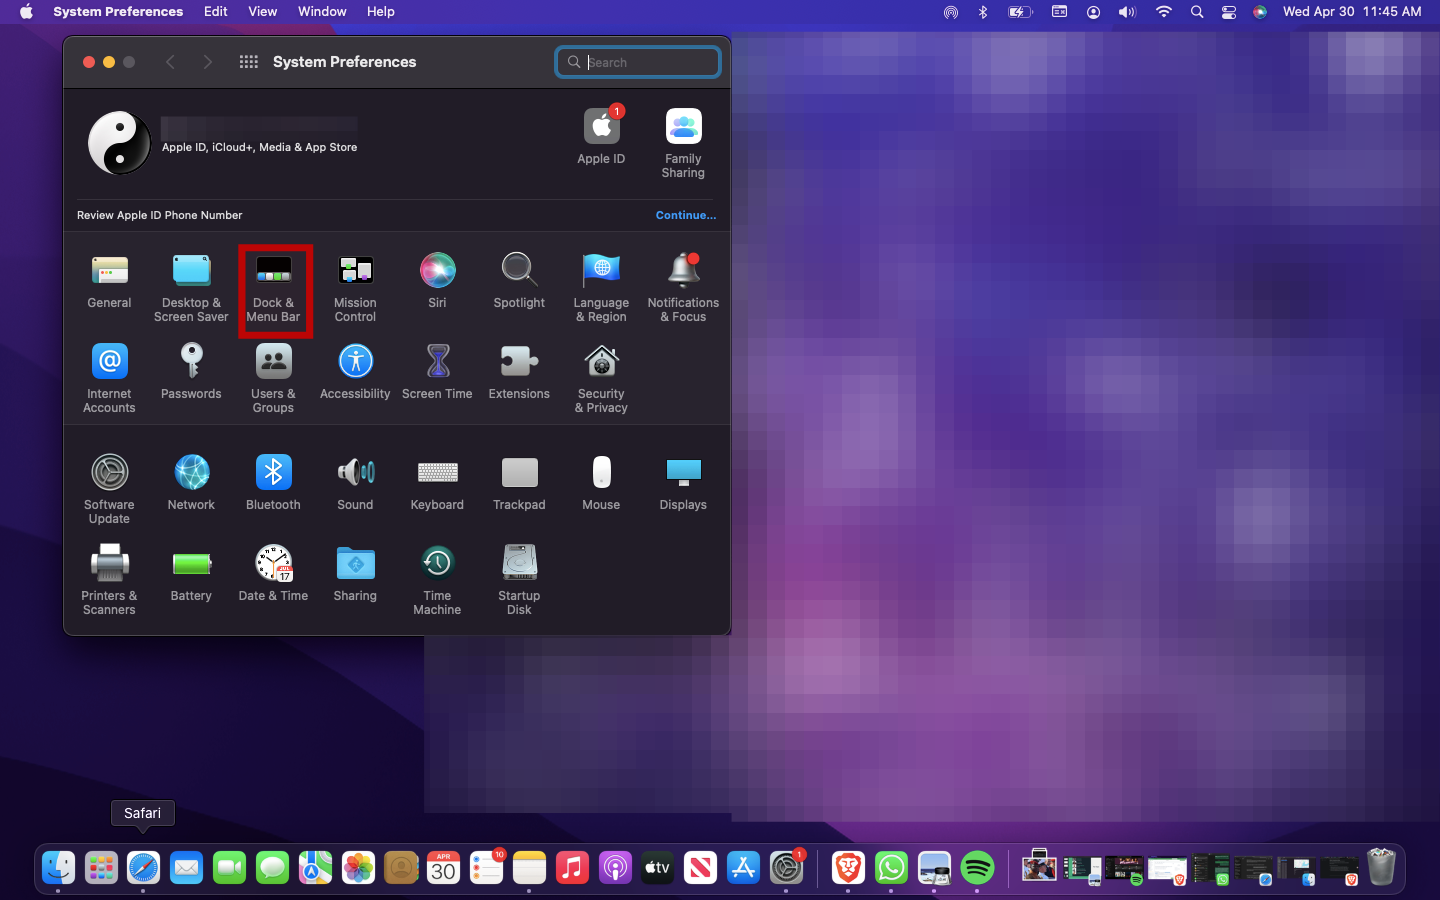
Step 3: Click on Dock & Menu Bar
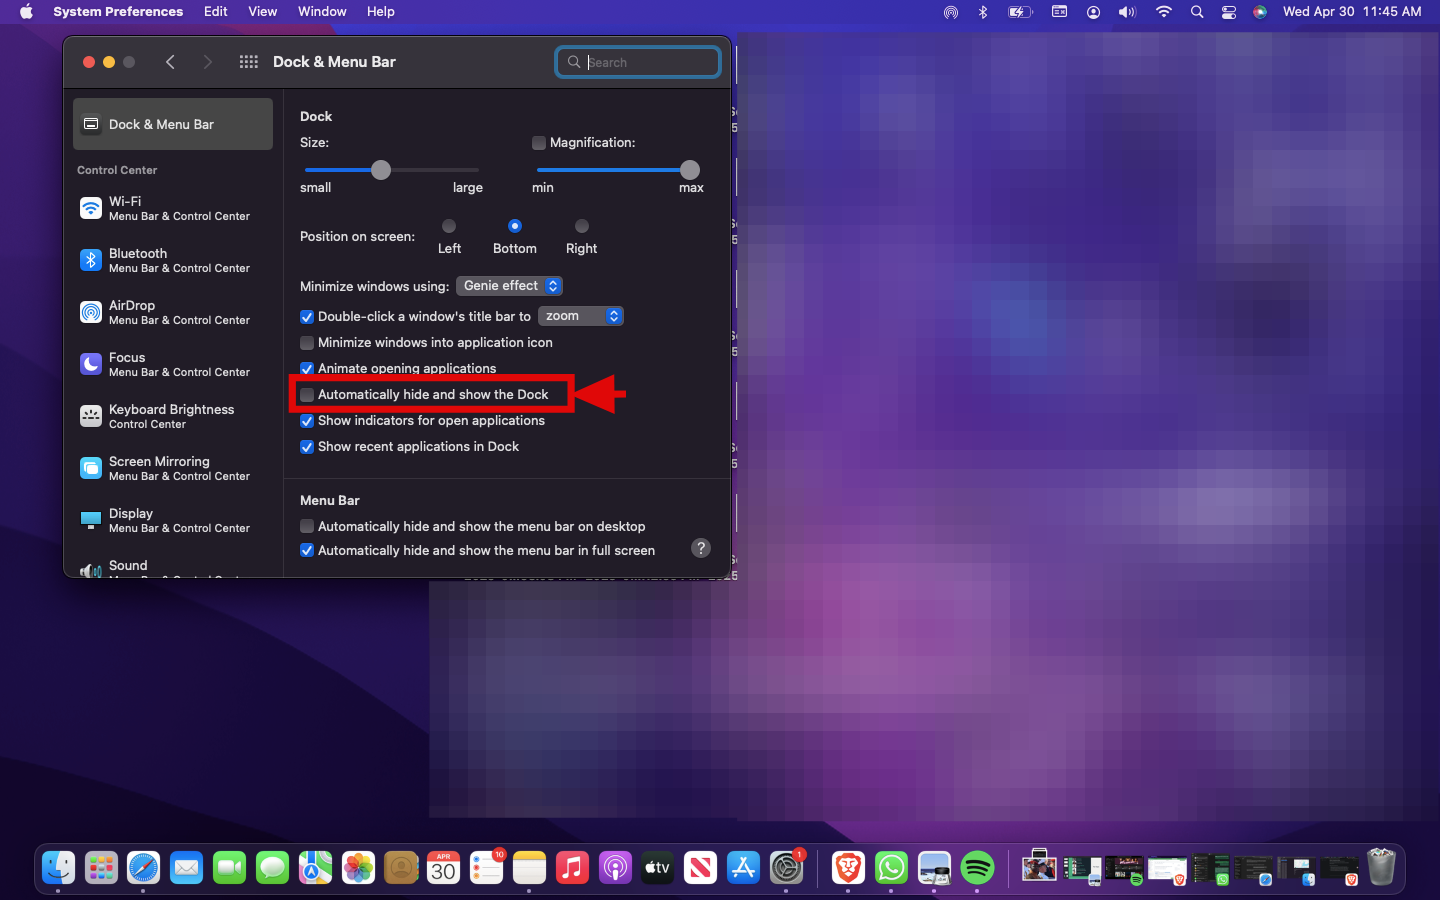
Step 4: To enable Auto-hide, go to the Dock section and find the check box labeled Automatically hide and show the Dock. Turn this on to hide the Dock when not in use
Method 2: Using Right-Click on the Dock
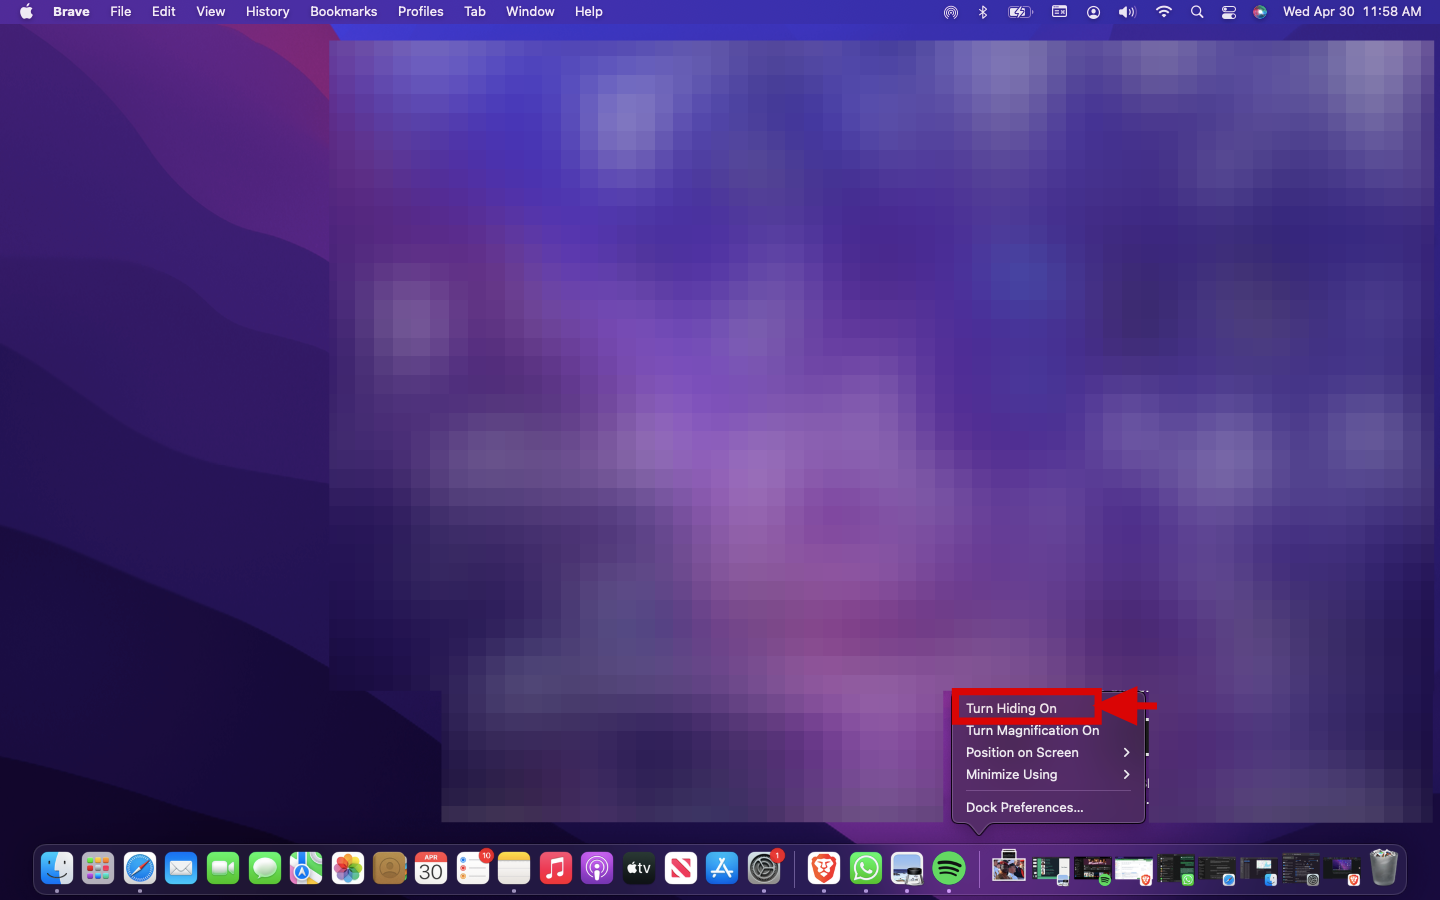
Step 1: Look for the vertical line between your apps and the Trash or Downloads folder, right-click the Line

Step 2: Click Turn Hiding On from the menu that pops up, this hides your dock

Conclusion
Hiding and showing the Dock on your Mac is a quick way to reduce distractions and free up screen space when you need it. Whether through settings, or a simple right-click, you can easily customize your workspace for better focus and flexibility.