

If you're diving into JavaScript development on Ubuntu, one of the first things you'll need is Node.js, a powerful runtime that lets you run JavaScript outside the browser. The good news is that installing Node.js on Ubuntu is super simple thanks to the built-in apt package manager.
In this guide, learn the easiest way to get Node.js and npm (Node Package Manager) up and running. Whether you're setting up a development environment or just experimenting, these steps will have you ready in minutes. If you’re new to Linux, you’ll get used to the simplicity of the terminal in no time, so let’s get started.
How to install Node.js on Linux
Step 1: Update Your System
Before installing anything new, it’s always a good idea to refresh your package list to make sure you’re getting the latest versions. On your terminal, run:
sudo apt update
This fetches the latest package info from Ubuntu’s repositories.

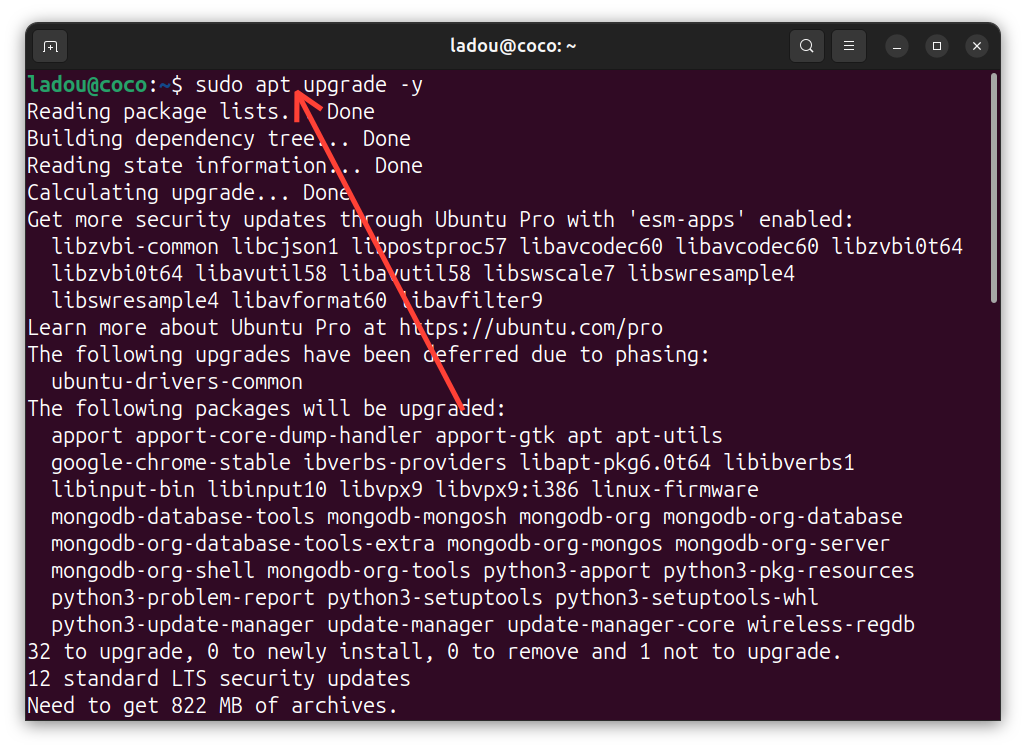
Step 2: Upgrade Installed Packages
Next, let’s upgrade any existing packages to avoid conflicts:
sudo apt upgrade -y
The “-y” flag automatically confirms the upgrade; no extra prompts needed. If you don’t put it, that’s fine, you’ll just have to type it in later after the command runs, to confirm the prompt.
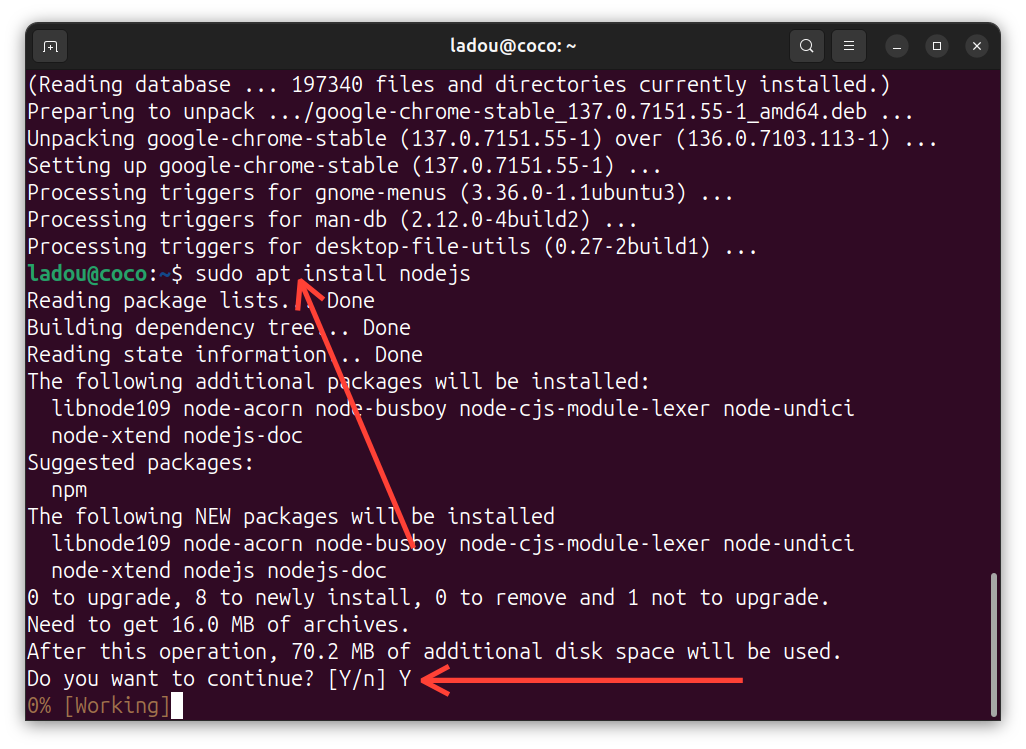
Step 3: Install Node.js
Now, install Node.js directly from Ubuntu’s default repositories:
sudo apt install nodejs -y
This installs the latest stable version available in Ubuntu’s official packages. (As mentioned earlier, if you notice in the image below, I didn't put the "-y" flag, and had to enter it below to confirm the prompt)
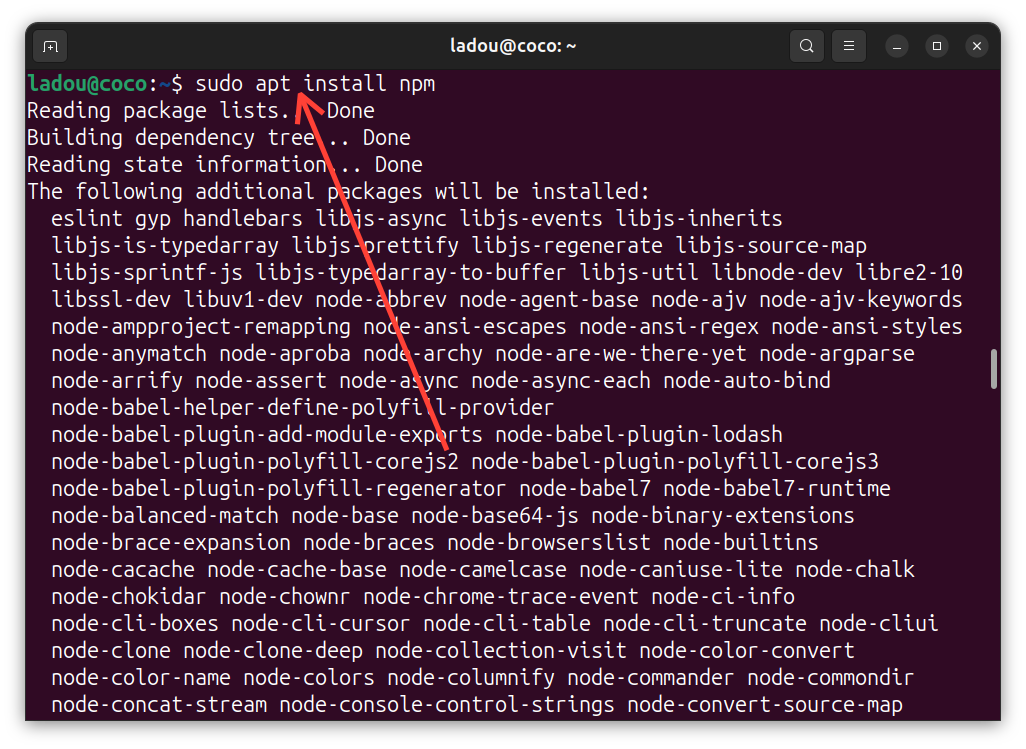
Step 4: Install npm (Node Package Manager)
Node.js sometimes comes with npm pre-installed, but if not, you can add it separately:
sudo apt install npm -y
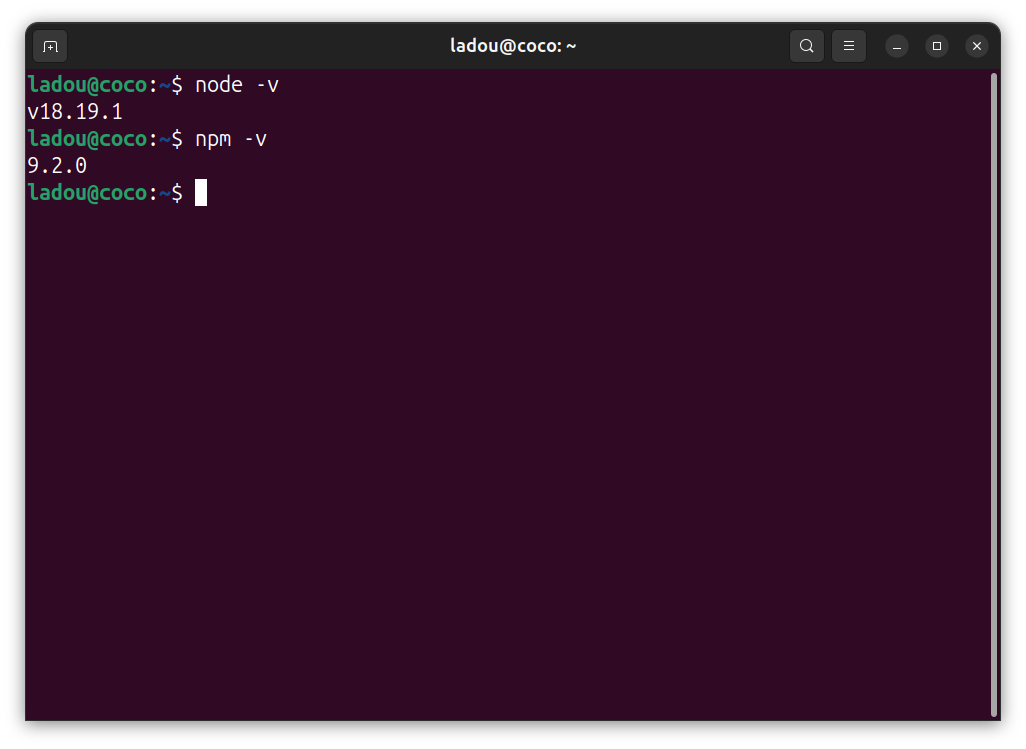
Step 5: Verify the Installation
Let’s make sure everything is installed correctly
Check your Node.js version and npm version by running:
node -v
npm -v
If both commands return version numbers (like v18.19.1), congratulations, Node.js is ready to use.

Conclusion
And just like that, you’ve got Node.js and npm installed on Ubuntu. This method is the simplest way to get started, though keep in mind that the default Ubuntu repos might not always have the latest Node.js version.
If you need a more recent release, consider using NodeSource (a third-party repo) or nvm (Node Version Manager) for flexible version switching. But for most basic use cases, this setup works perfectly.
Image credit: Oyinebiladou Omemu/Techloy.com


