

Upgrading your Ubuntu system to the next release can feel a little daunting, but it doesn’t have to be. Whether you're running an Ubuntu Server or a cloud image, this guide will walk you through the process step by step.
Before diving in, it's worth noting that Long Term Support (LTS) releases (like Ubuntu 20.04 or 22.04) are generally the best choice for stability; they get five years of updates, while interim releases only get nine months. If you're on an LTS version, you can only upgrade to the next LTS (not skip ahead). For example, if you're on 18.04 LTS, you’ll need to upgrade to 20.04 LTS first before moving to 22.04 LTS.
This guide will show you the entire process, from preparing your system to handling post-upgrade cleanup. We’ll cover how to safely update your packages, free up disk space, and then upgrade.

How to upgrade your Ubuntu release
Step 1: Check the Release Notes
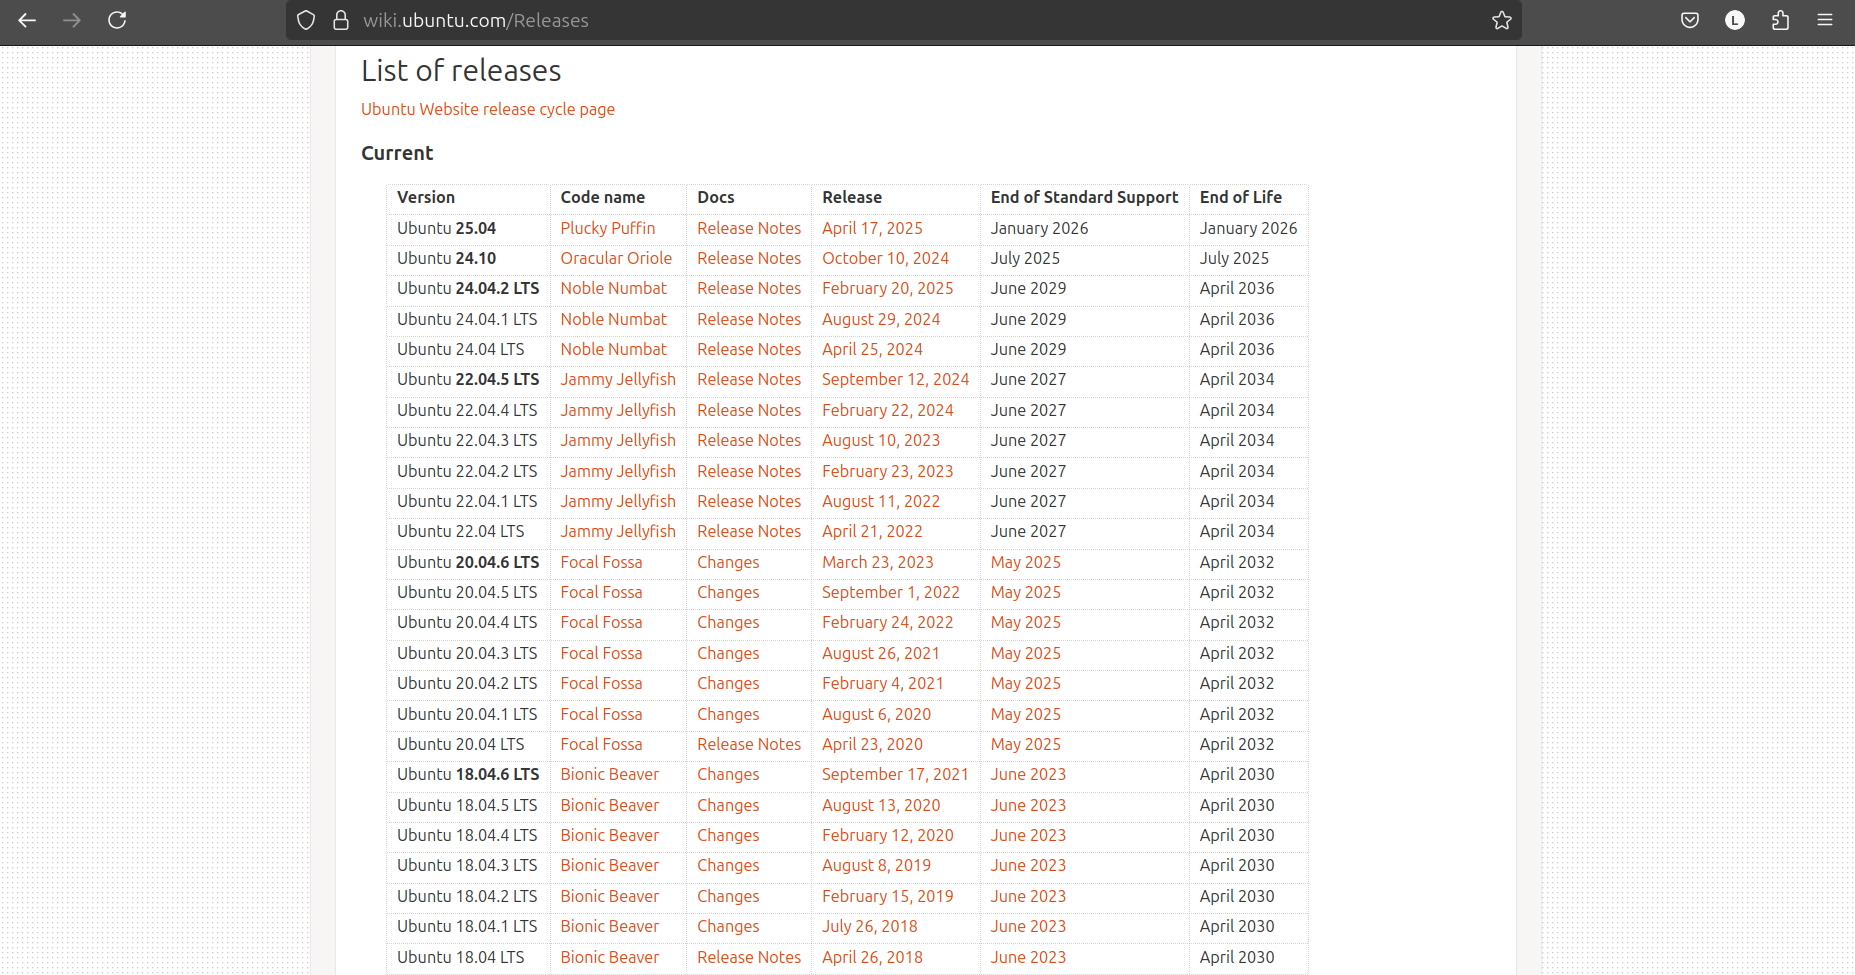
Before upgrading, always check the Ubuntu Wiki releases for the new version’s release notes. This helps you spot any known issues or major changes that might affect your system.
Step 2: Fully Update Your System
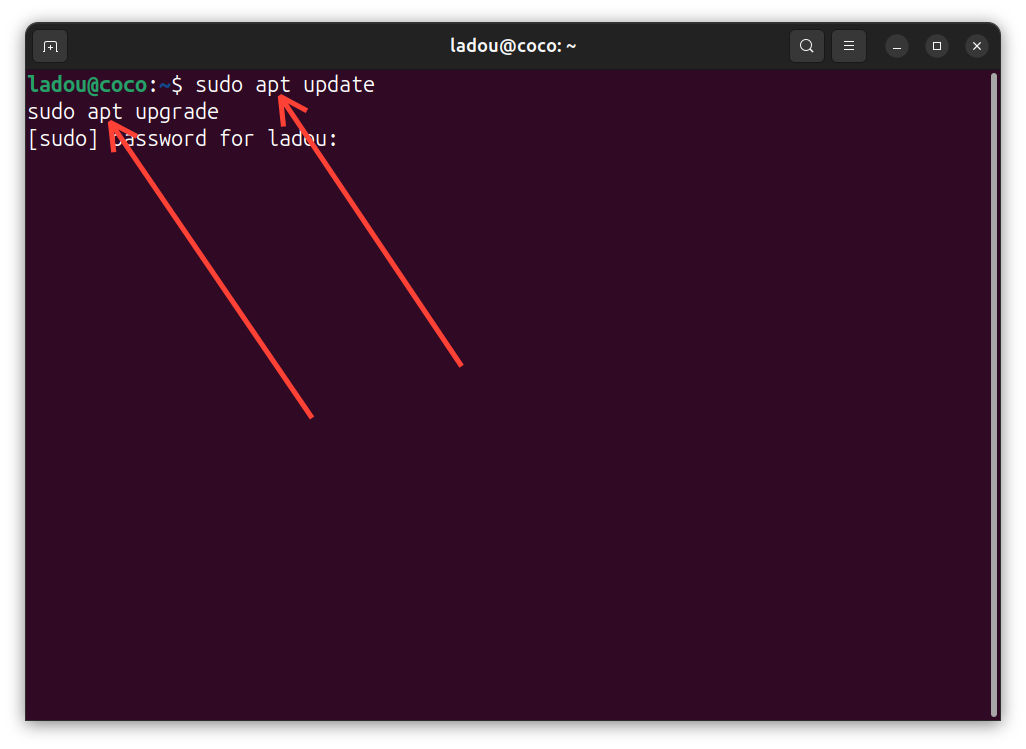
An upgrade works best when your current system is fully updated. Run these commands and enter your password to ensure everything is up to date:
sudo apt update
sudo apt upgrade
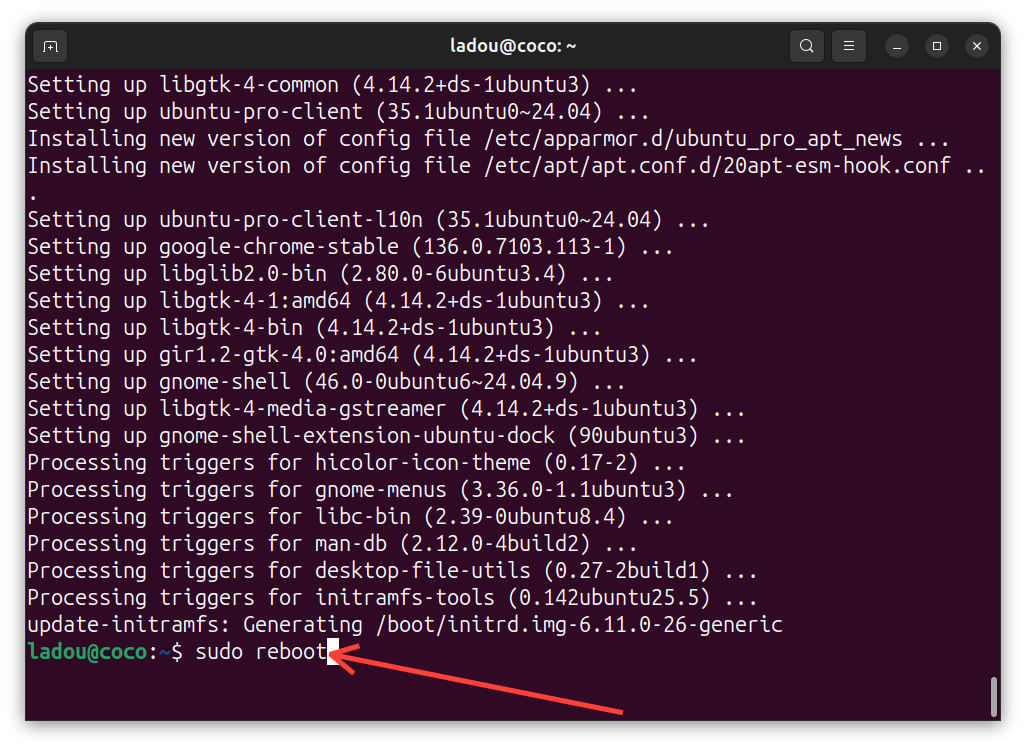
After updating, reboot your system to make sure you’re running the latest kernel:
sudo reboot
Step 3: Check Disk Space
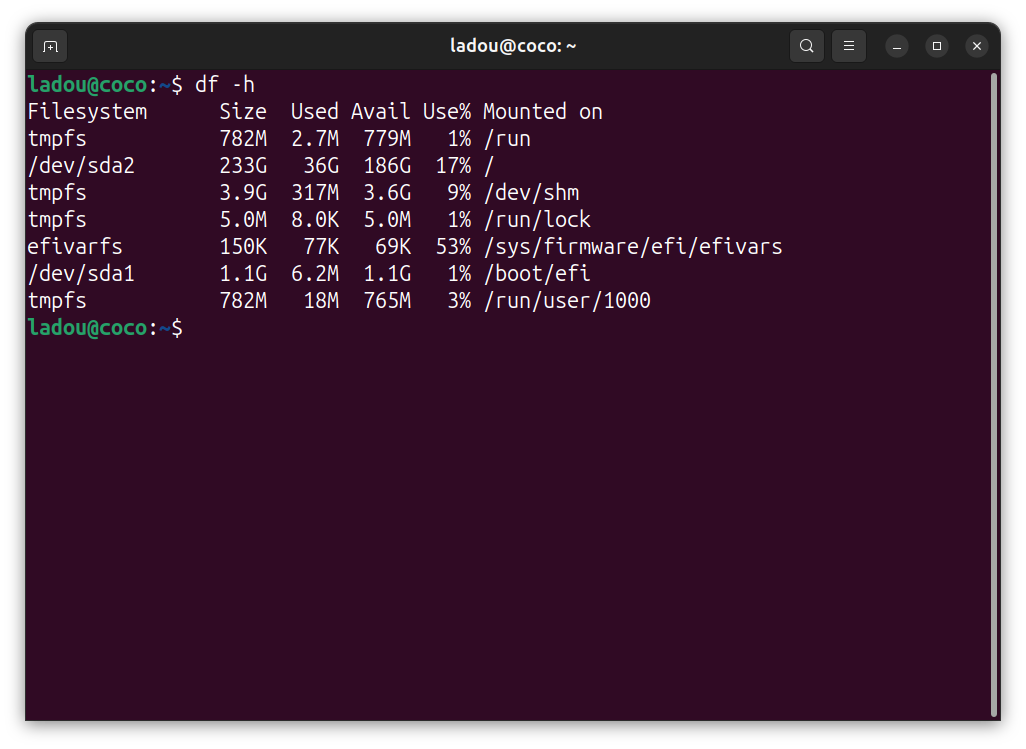
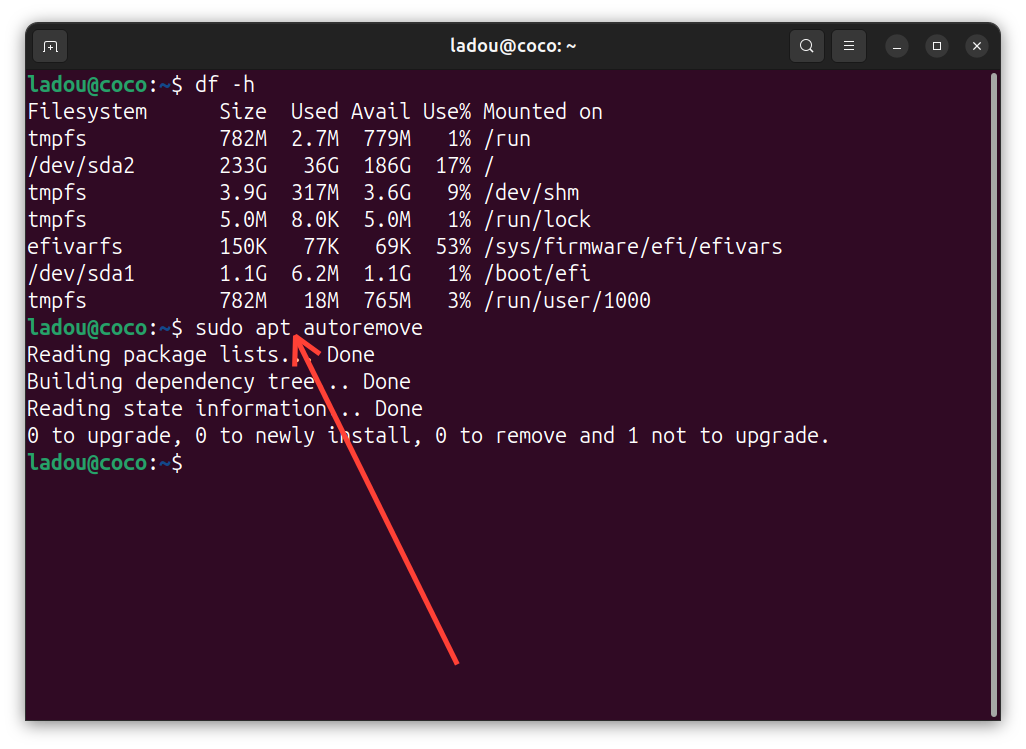
Upgrading requires downloading hundreds of new packages, so you’ll need a few gigabytes of free space. Run this command to check:
df -h
If you're running low, consider cleaning up old packages with (I always remove unused packages, so I have nothing here):
sudo apt autoremove
Step 4: Start the Upgrade
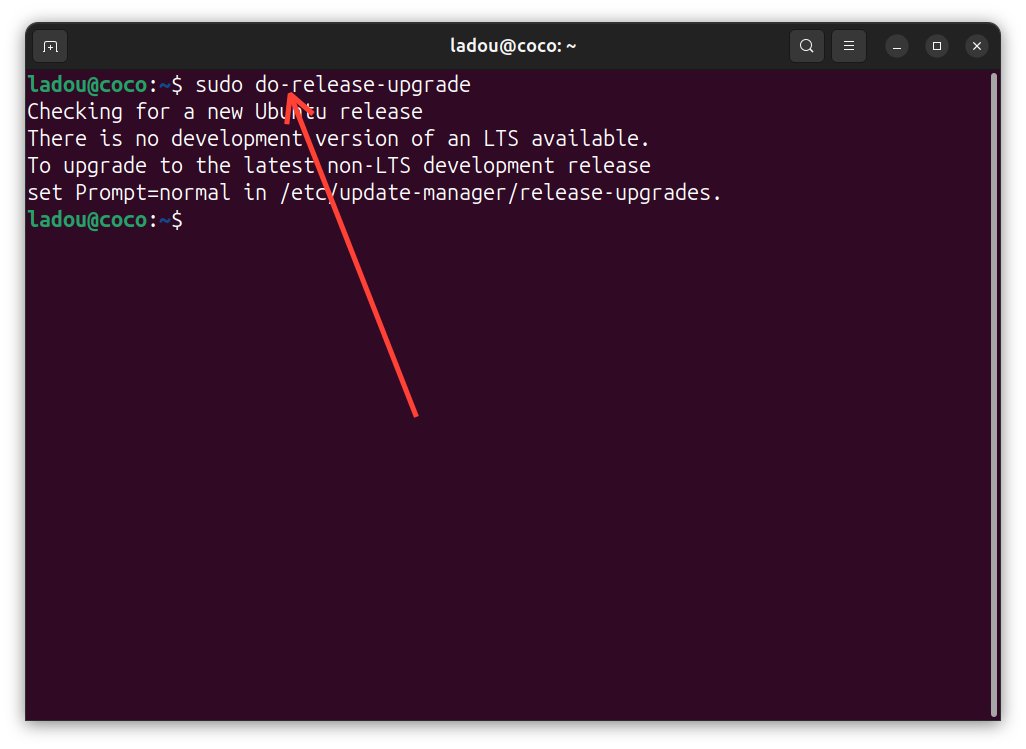
Now, run the upgrade command (I use the LTS, and on the current version, so this won't work for me at the moment):
sudo do-release-upgrade
Step 5: Remove Obsolete Packages (Optional)
After the upgrade, you may be asked if you want to remove old, unused packages:
Remove obsolete packages? [y/N]
Type "y" to clean them up.
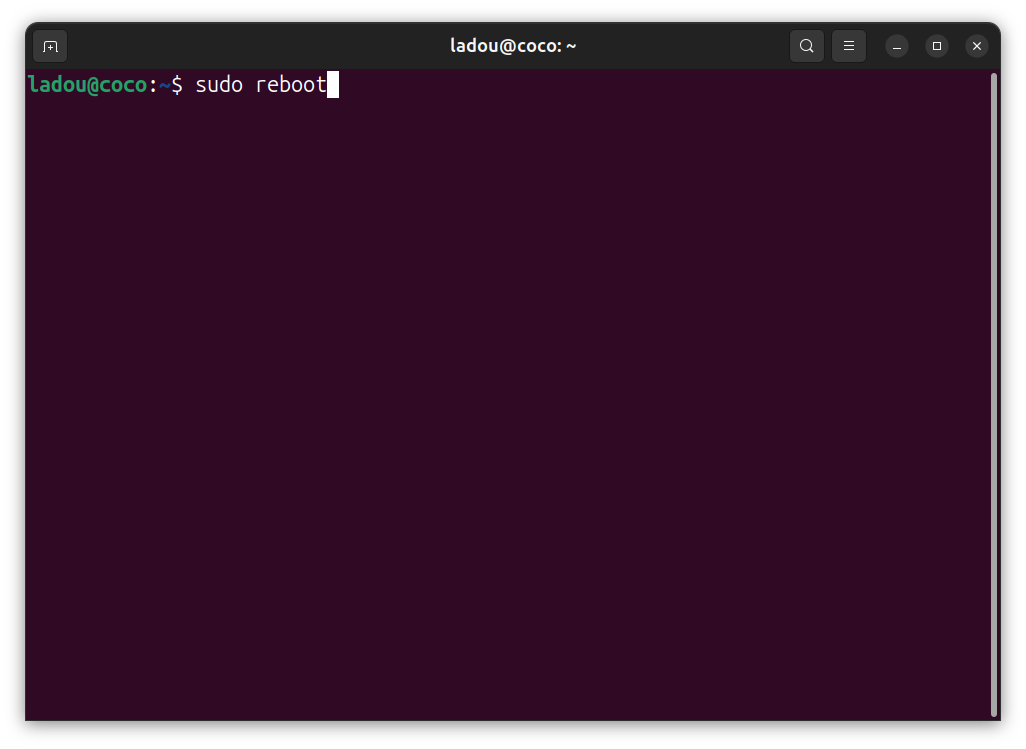
Step 6: Reboot to Finish
Once everything’s done, reboot your system to complete the upgrade:
sudo reboot
Conclusion
Upgrading Ubuntu is a straightforward process when approached methodically. By following the checklist, updating your system, and carefully reviewing changes, you reduce the chances of unexpected issues. And while the upgrade itself may take some time, the benefits of a newer, more secure system are well worth it.
Remember, if you’re on an LTS release, you don’t need to rush; Canonical’s long-term support means you can upgrade at your own pace. And if you ever run into trouble, the Ubuntu community and official documentation are great resources for troubleshooting.
Image credit: Oyinebiladou Omemu/Techloy.com


