



You’ve seen them on TikTok: an old family photo in which someone suddenly blinks, smiles, or turns their head. It’s not magic – it’s AI‑powered video generation.
Instead of shooting new videos from scratch, you can turn existing photos into short, lifelike clips. This guide compares several AI video generators, then shows you how to add hooks, captions, and backend settings to give your TikTok videos the best chance of going viral.
Why AI‑animated photos work on TikTok
TikTok’s algorithm rewards completion rate and rewatches. When viewers see a static image come to life – a blink, a gentle head turn, or flowing hair – their brain pauses for a second. That small “how did they do that?” moment makes them rewatch, comment, and share.
AI animation tools exploit this effect by adding natural micro‑movements to faces, objects, or landscapes.
Comparing popular AI photo‑to‑video tools
Several tools can turn a still image into a short video. Each has strengths and weaknesses.
If you want the fastest, most natural face animation with no prompt engineering, Vimi is a solid starting point. But the other tools work well too, depending on your content type.
Step‑by‑step workflow (works with any tool)
Step 1 – Pick a good hero photo
- Clear face or main subject (avoid busy backgrounds)
- Some emotion (smiling, surprised, curious)
- Resolution at least 1080×1080 pixels
- Avoid group shots with multiple faces – the AI can get confused
Step 2 – Generate the animation
- Upload your photo to the tool of your choice.
- Select a motion preset: gentle head turn, eye blink + smile, slow zoom + breathing.
- Generate and download the MP4 (most tools take 5–15 seconds).
Step 3 – Add TikTok‑native “seasoning”
A raw animation rarely goes viral. Open TikTok’s editor and add these elements:
- Hook (first 3 seconds): Text overlay that creates curiosity. Examples:“This photo is 10 years old. Watch what happens next 👀”“AI made my grandma blink.”
- Timed captions (for mute viewers): Short bursts that sync with the motion.Second 1: “Old photo…”Second 2 (blink): “She just blinked.”Keep each on screen for 1‑2 seconds.
- Trending audio (low volume): Pick a sound from TikTok’s library, lower volume to 20‑30%, and add a 10‑15 second voiceover.
- Optional transition: If using two animated photos, cut hard between them (no fade). Keep it under 0.3 seconds.
Step 4 – Backend settings (often ignored)
- Caption & hashtags: Write a short, engaging line. Use 3‑5 hashtags – include one general like #AIvideo, and one niche like #familyphotos.
- Auto‑captions: Turn them on, then quickly fix any errors.
- Posting time: Check your TikTok analytics → “Followers” tab → post 15‑20 minutes before peak hours.
- Location: Add a broad location (e.g., “London”). TikTok shows your video to nearby users first.
- Allow Duet & Stitch: Always turn these ON. They let others reuse your clip, giving you free distribution.
- First comment strategy: After posting, reply to the first comment with a 15‑second screen recording showing how you made the animation using your chosen tool.
Advanced moves (tool‑agnostic)
1️⃣Reverse the animationGenerate a normal clip, then reverse it in CapCut or InShot. A reverse blink (eyes opening from closed) looks surreal and often drives rewatches.
2️⃣Combine real video with AI animationStart with 0.5‑1 second of real footage (you waving). Then cut to an AI‑animated photo of you waving. The contrast tricks the brain into rewatching.
3️⃣Batch produce 10 videos in 20 minutesCollect 10 photos. Run each through your chosen AI tool (many queue in the background). Download all, then add hooks and captions using TikTok’s draft feature. Schedule them for different days. Consistency beats luck.
Which tool should you choose?
There’s no single “best” tool.
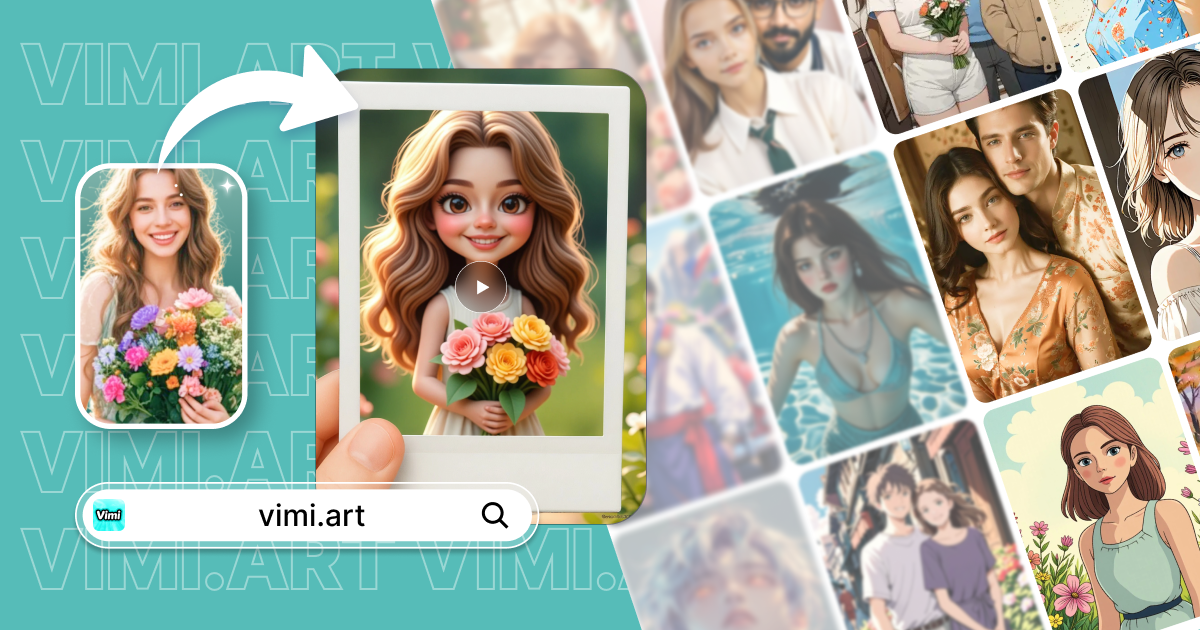
- Use Vimi if you want the fastest, most natural face animations with zero learning curve.
- Use Pika Labs if you enjoy controlling motion with prompts.
- Use LeiaPix for landscapes or product photos where depth matters.
- Use CapCut if you want a free option and never leave the TikTok ecosystem.
No matter which tool you pick, the key to going viral isn’t the technology – it’s the story. A single photo + a three‑second animation + a line like “This was my great‑grandfather” can get millions of views.
Final word
AI has lowered the barrier to video creation. With one photo and a few minutes, anyone can make engaging TikTok clips. Start with a photo you love, try one of the tools above, generate your first animation, add a hook and captions, and post. Then watch what works and refine.


