
Wink AI takes on the kind of image work that previously came down to either having real editing skill or just living with an imperfect photo. Blurry shots end up sharper, faces pick up real detail again, and the result reads like a cleaner version of the same photo instead of something heavily manipulated. The free tier covers most everyday situations, exports are downloadable without watermarks, and the scene-specific modes perform well on content types that trip up generic enhancers.
Why Image Enhancement Matters in The First Place?
Blurry photos have a way of showing up at the worst possible moment. A product shot taken in indoor lighting comes out softer than the lens promised. A portrait that captures a real expression has facial motion that wasn't obvious until the photo was already saved. A scanned image from years ago looks faded in a way that feels permanent. The image itself is fine, sometimes genuinely great, but the lack of sharpness undercuts everything else about it.
Fixing this used to mean opening editing software and pulling levers by hand, sharpening edges, balancing colour, and sometimes layering filters until the result almost looked right. AI tools have quietly become very good at this, good enough that defaulting straight to manual editing without considering the alternative makes less sense than it used to. Wink AI is one of the more refined options in this space, and the way it handles a blurry portrait says a lot about whether the broader promise holds up.
Testing Wink on A Blurry Portrait
The test for this review focused on a single blurry image, the kind that gets stuck in everyone's gallery. A casual indoor shot where the subject's face had lost sharpness because of motion or focus issues. The objective behind the test was to see whether the platform could take an image that would typically get deleted and produce something usable instead, with the process moving through Wink image enhancer from the initial upload right through to the finished download.
Step 1: Upload the image
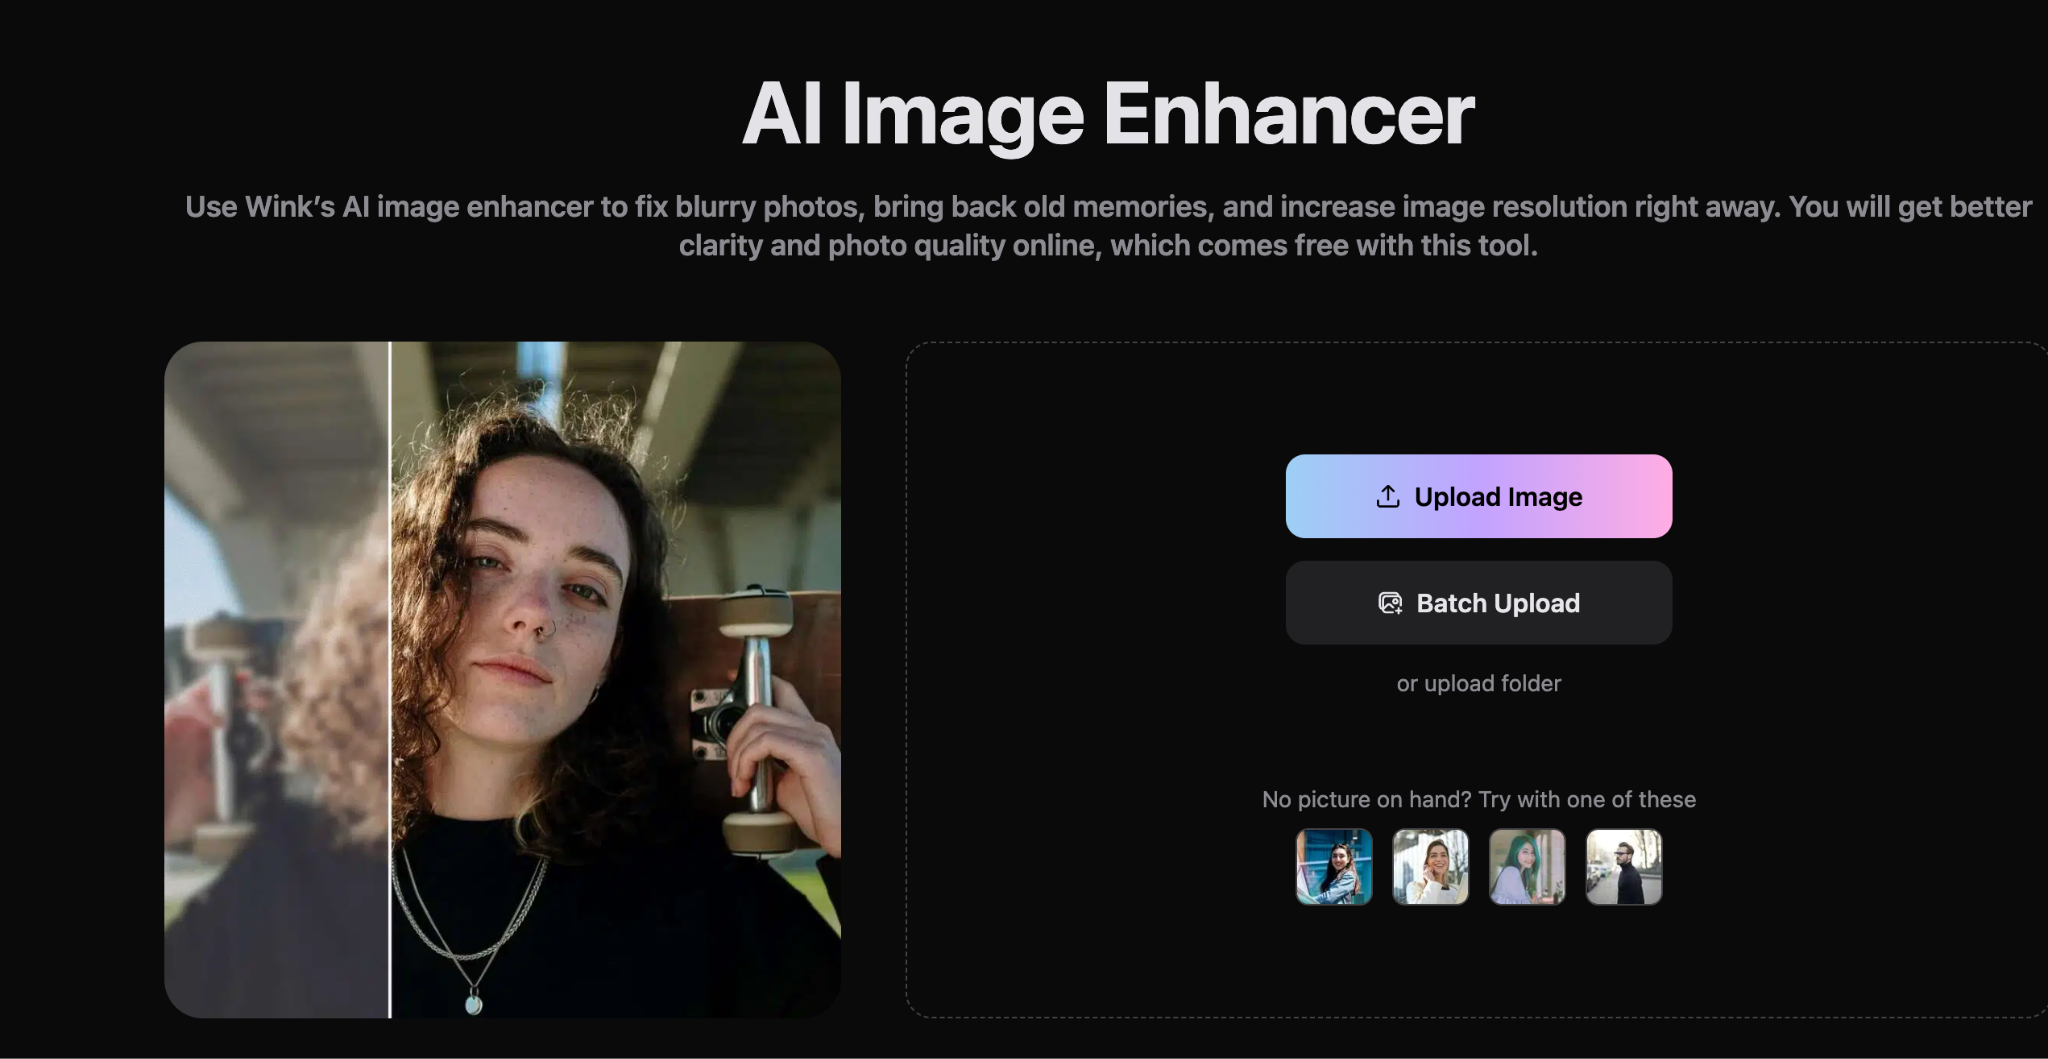
The starting point is to open Wink's image enhancer in the browser and drop the photo into the upload area. The tool accepts standard formats, including JPG and PNG. The upload finished in about three seconds, with the image appearing in the workspace ready for processing. No signup, no plugin install, no waiting through a load screen.
Step 2: Choose an enhancement mode
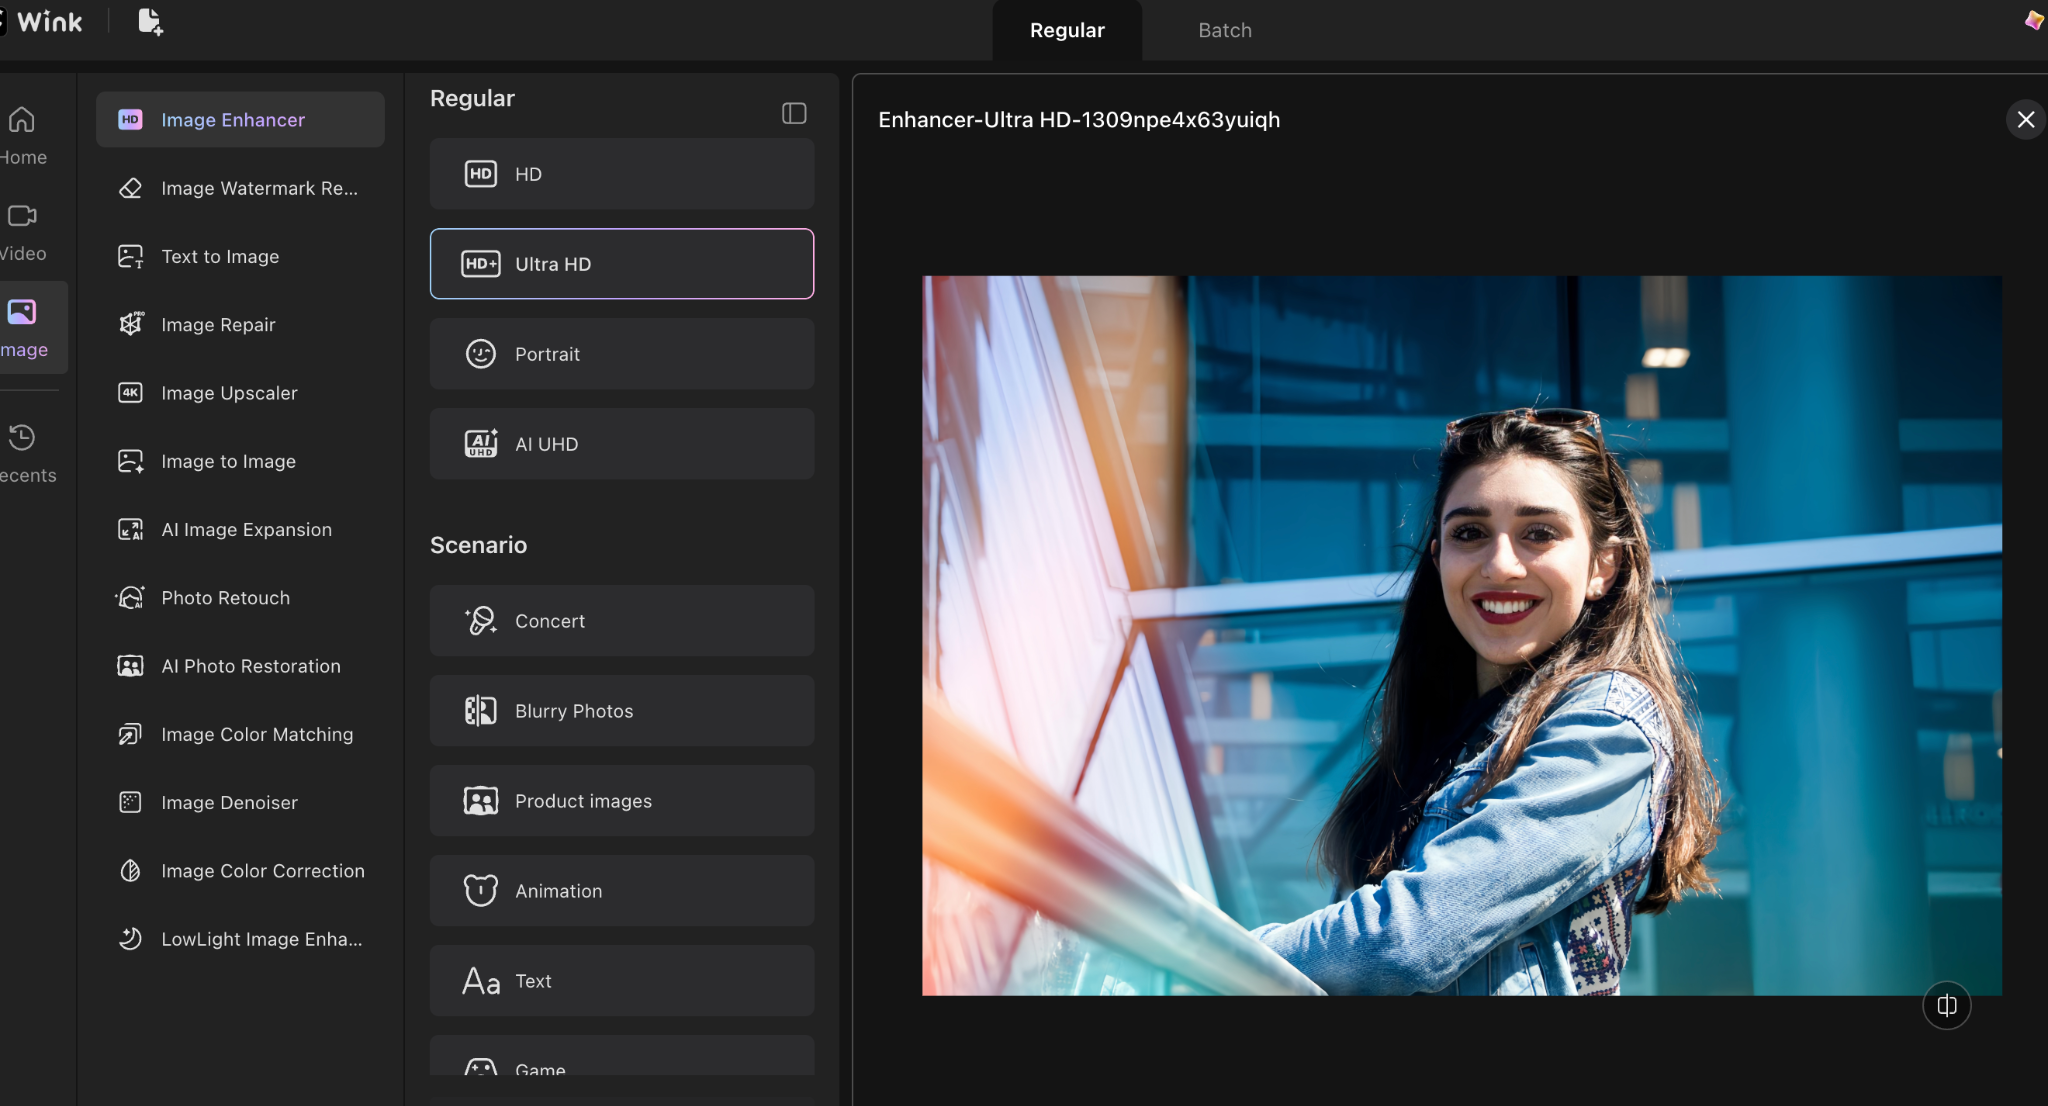
Once the photo loads, the next decision is the enhancement mode to use. Wink offers general options such as HD and Ultra HD, as well as scene-specific modes for portraits, products, text, and other content types. The Ultra HD mode was the obvious choice for the test image, and selecting it took a single click.
Step 3: Export the result
A single click on the export button downloaded the enhanced version straight to the device. The output came through without a watermark and matched the resolution shown in the preview. Total time from upload to finished file landed at around eight seconds.
What the Output Actually Looked Like
After processing, the before-and-after slider made the difference immediately visible without needing to flip between tabs. Edge sharpness lifted across the face. The subject's eyes regained focus, hair detail returned, and the soft blur from motion faded out without leaving the photo looking harsh or over-edited. Skin texture retained its natural quality rather than being smoothed into something plastic, and colours stayed close to the original. Colour shift is one of the most common failure points in cheaper enhancers, and Wink clearly avoids it.
Batch Enhancement for High-volume Work
Most users who need an enhancer aren't working on one photo at a time. Online sellers fixing product images for store listings, content creators prepping shots for social posts, photographers cleaning up entire shoots before delivery, all of this happens in volume, and processing each image individually is not realistic past a certain point. Wink's batch upload addresses this directly by letting an entire folder of images run through the chosen enhancement mode together. Processing speed stays roughly the same as single uploads, which makes batch jobs genuinely fast rather than just technically possible. The scene-specific modes carry over, so a folder of portraits gets portrait-tuned enhancement while product photos get product-tuned processing.
Pros and Cons
Pros:
- Restores blurry photos to sharp, natural-looking quality
- Portrait mode keeps faces realistic without plastic smoothing
- No watermarks on free exports, which is rare in this category
- Processing time stays under 15 seconds for single images
- Scene-specific modes outperform generic enhancers
- Batch upload handles real workflow volumes.
Cons:
- Portrait mode tunes toward a polished finish, which professional headshots may want to soften.
Conclusion
The blurry image test came back as a real lift. Detail returned to the face, the motion blur faded, and the output looked like the same photo cleaned up rather than a manipulated version. The three-step workflow ran cleanly from upload to download in under ten seconds.
For anyone regularly dealing with imperfect photos, Wink's image upscaler is a genuinely useful tool to keep close. Manual editing still has its place for cases where precision around a specific detail benefits from direct human judgment. Still, for everyday work, most people actually need an enhancer to handle; defaulting to a tool like Wink first and bringing in manual touch-ups only when something calls for it is the smarter way to handle it.


