
Modern smartphones have revolutionized photography, allowing anyone to capture high-quality images without expensive equipment.
While professional cameras still have advantages, today’s phone cameras are powerful enough to produce stunning, pro-level shots with the right techniques. The key lies in understanding lighting, composition, and editing—skills that can transform ordinary snapshots into impressive photos.
In this article, we’ll explore practical tips to help you take professional-looking photos with just your phone, from optimizing lighting to editing like a pro.

What’s the Best Lighting for Professional Phone Photos?
Natural Light vs. Artificial Light – Which Is Better?
Lighting is the foundation of great photography, and understanding how to use it effectively can make or break your shots. Natural light, such as sunlight, is often the most flattering and versatile option. The "golden hours"—just after sunrise and just before sunset—offer gentle, warm lighting that brings out vibrant colors and minimizes harsh shadows. Artificial light, like lamps or LED panels, gives you more control but requires careful handling. Indoor lighting can often be too dim or uneven, leading to grainy or poorly exposed photos. If you must shoot indoors, position your subject near a window or use a simple ring light to brighten the scene. Avoid direct overhead lights, as they cast unflattering shadows.
How to Avoid Harsh Shadows and Overexposure
Harsh shadows and blown-out highlights are common problems in phone photography. To minimize shadows, avoid shooting in direct midday sunlight, which creates strong contrasts. Instead, seek shaded areas or use a reflector (even a white sheet of paper) to bounce light onto your subject. Overexposure occurs when bright areas, like the sky, lose detail because the camera lets in too much light. To fix this, tap on your phone’s screen to adjust exposure manually—lower it slightly to preserve highlights. Some phones also offer HDR (High Dynamic Range) mode, which balances bright and dark areas for a more even exposure. Backlit subjects, such as a person against a bright window, can appear too dark. Use your phone’s exposure compensation or tap to focus on the subject’s face to brighten it. Small adjustments like these can drastically improve your photos.
How Can Composition Improve My Phone Photos?
Rule of Thirds – The Key to Balanced Shots
The rule of thirds is a fundamental principle that helps create visually appealing photos. Imagine dividing your frame into a 3x3 grid—the points where the lines intersect are where you should place key elements, like a person’s eyes or a horizon. This creates balance and draws the viewer’s attention naturally. Most smartphones have a grid overlay in camera settings—enable it to guide your composition. Instead of centering your subject, position them along one of the grid lines for a more dynamic shot. For landscapes, align the horizon with the top or bottom grid line rather than the middle to emphasize either the sky or foreground.
Leading Lines and Framing for Depth
Leading lines—such as roads, fences, or architectural features—guide the viewer’s eye through the photo, adding depth and interest. Look for natural lines in your environment and use them to direct attention toward your subject. Framing involves using elements like doorways, windows, or foliage to "frame" your subject, creating focus and context. This technique adds layers to your image, making it feel more immersive. Experiment with different angles and perspectives to find the most compelling composition.
Should I Use Manual Mode or Auto Mode on My Phone?
Manual Mode vs. Auto Mode – When to Use Each
Auto mode is convenient for quick shots, but manual mode gives you greater control over settings like ISO, shutter speed, and white balance. Use auto mode for casual photography or fast-moving subjects where you need the camera to adjust instantly. Manual mode is ideal for low-light situations, creative effects, or when you want precise control. For example, lowering the ISO reduces grain in dim lighting, while adjusting shutter speed can blur motion or freeze action. If your phone supports RAW format, use it for higher-quality files that retain more detail for editing.
How to Adjust Exposure, Focus, and White Balance
Tapping on your phone’s screen sets focus and exposure, but you can fine-tune these manually in pro mode. Slide your finger up or down to brighten or darken the exposure. For sharper images, tap to focus on the most important part of the scene. White balance ensures colors look natural under different lighting. Auto white balance works well in most cases, but if colors appear too warm or cool, manually select a preset (e.g., daylight, cloudy, or tungsten) for accurate tones.
How Can Editing Enhance My Phone Photos?
Best Free and Paid Photo Editing Apps
Editing is where good photos become great. Free apps like Snapseed and Lightroom Mobile offer powerful tools for adjusting exposure, contrast, and color. Paid options like Adobe Photoshop Express provide advanced features like selective edits and healing brushes. Start with basic adjustments—brightness, contrast, and saturation—before moving to finer tweaks like sharpening or vignetting. Avoid over-editing; subtle changes often yield the most professional results.
Simple Edits That Make a Big Difference
Cropping can improve composition by removing distractions or emphasizing your subject. Adjusting shadows and highlights recovers lost details in dark or bright areas. A slight increase in clarity or sharpness enhances texture without making the image look unnatural. For portraits, subtle skin smoothing and teeth whitening can polish the shot. Always compare before-and-after views to ensure edits enhance rather than overpower the photo.
Conclusion
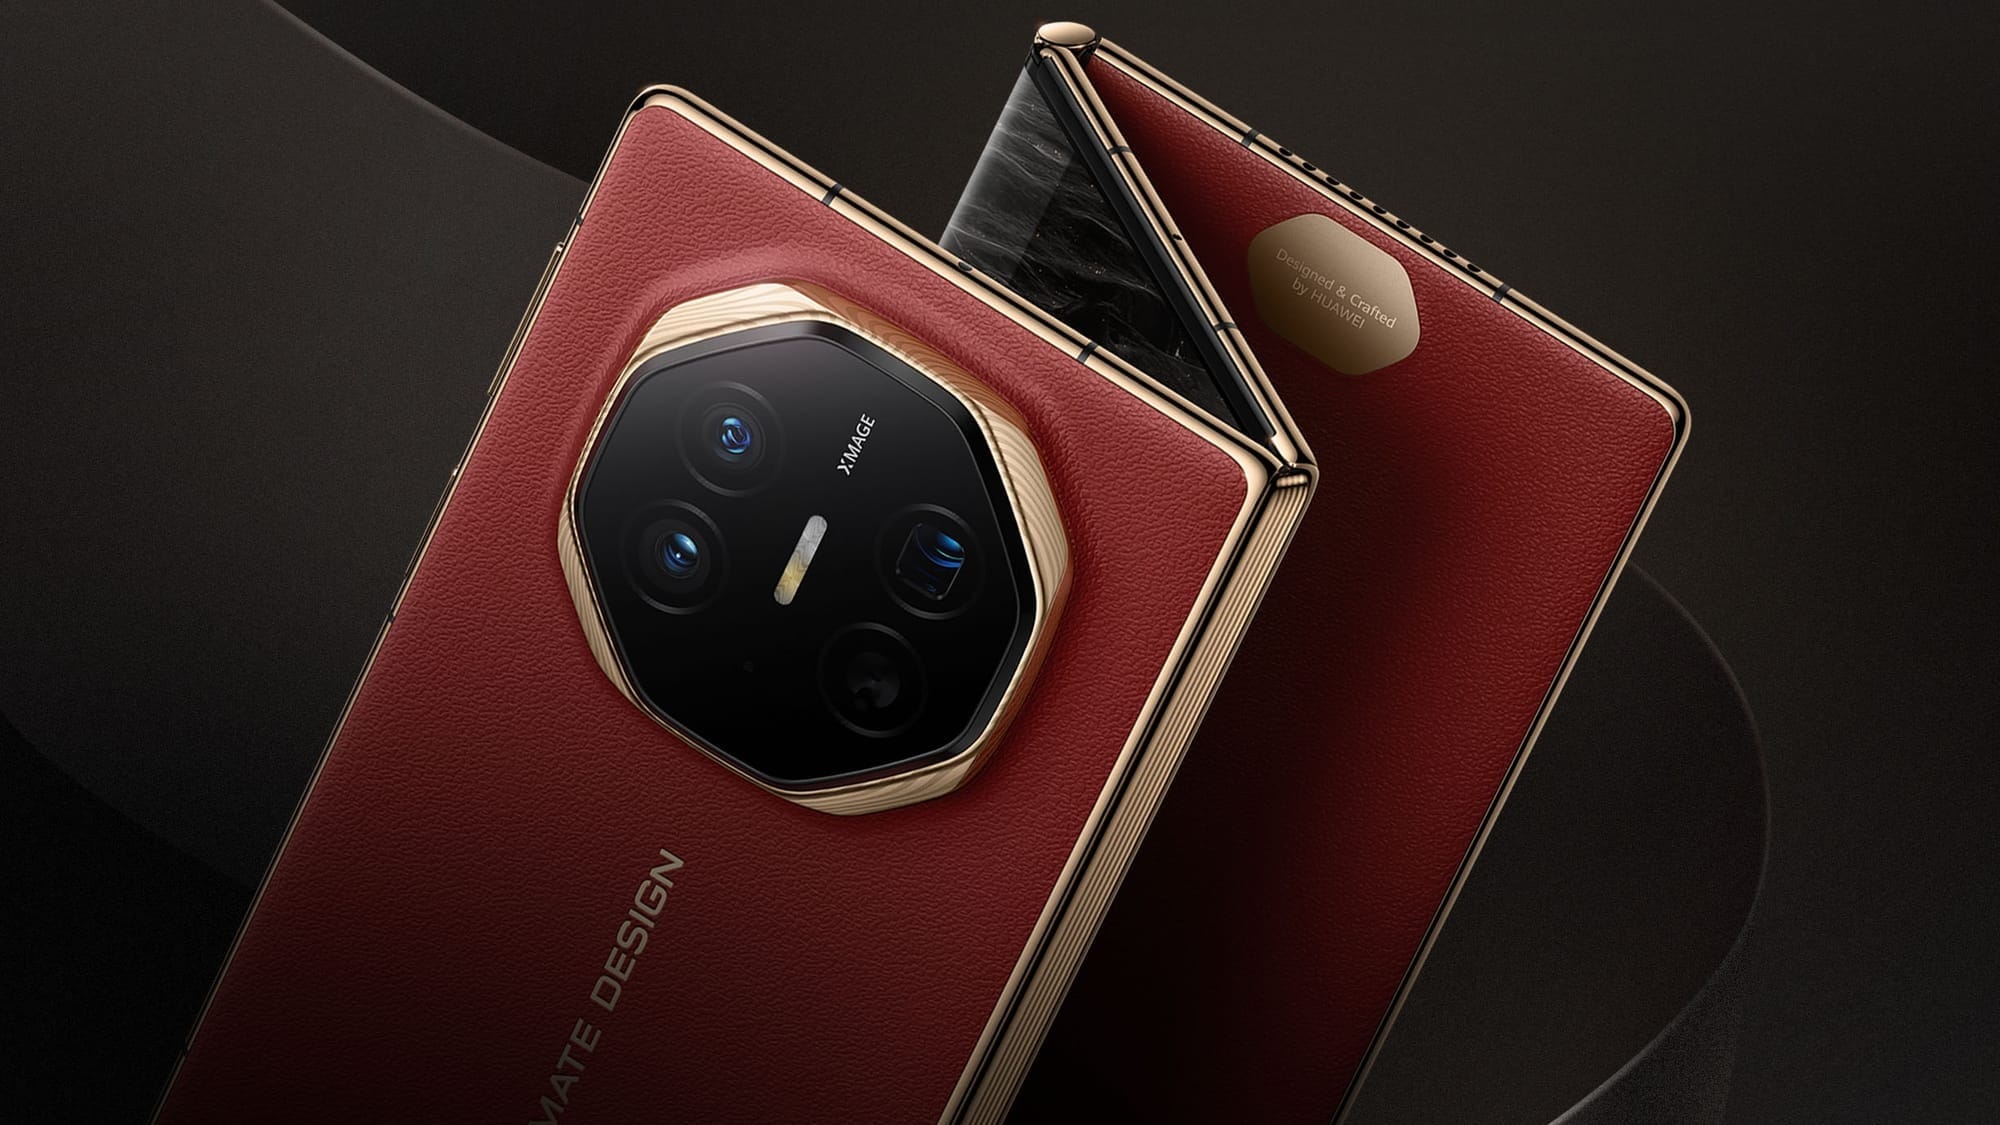
With the right techniques, your smartphone can rival professional cameras. Mastering lighting, composition, and editing unlocks the full potential of your device, allowing you to capture stunning images effortlessly. If you’re ready to take your photography further, consider upgrading to a high-end smartphone like the HUAWEI mate XT, featuring an advanced XMAGE Ultra-Light Camera system for exceptional clarity and color. Whether you’re a beginner or an enthusiast, these tips will help you create professional-quality photos with just your phone. Start practicing today and see the difference!


