Bought a new Mac and trying to play your iTunes movies or Apple Music tracks, only to be blocked? That’s because before your Mac can access any media linked to your Apple ID, it needs to be authorized.
This step lets Apple verify that the computer is allowed to play your purchased content, be it music, films, or audiobooks. It’s also essential if you want to sync your library across devices. But whether you’re setting up a new device or cleaning up old ones, knowing how to authorize and deauthorize your Mac is key. Here’s how to do it in a few quick steps.
How to Authorize and Deauthorize a MacBook on Apple Music
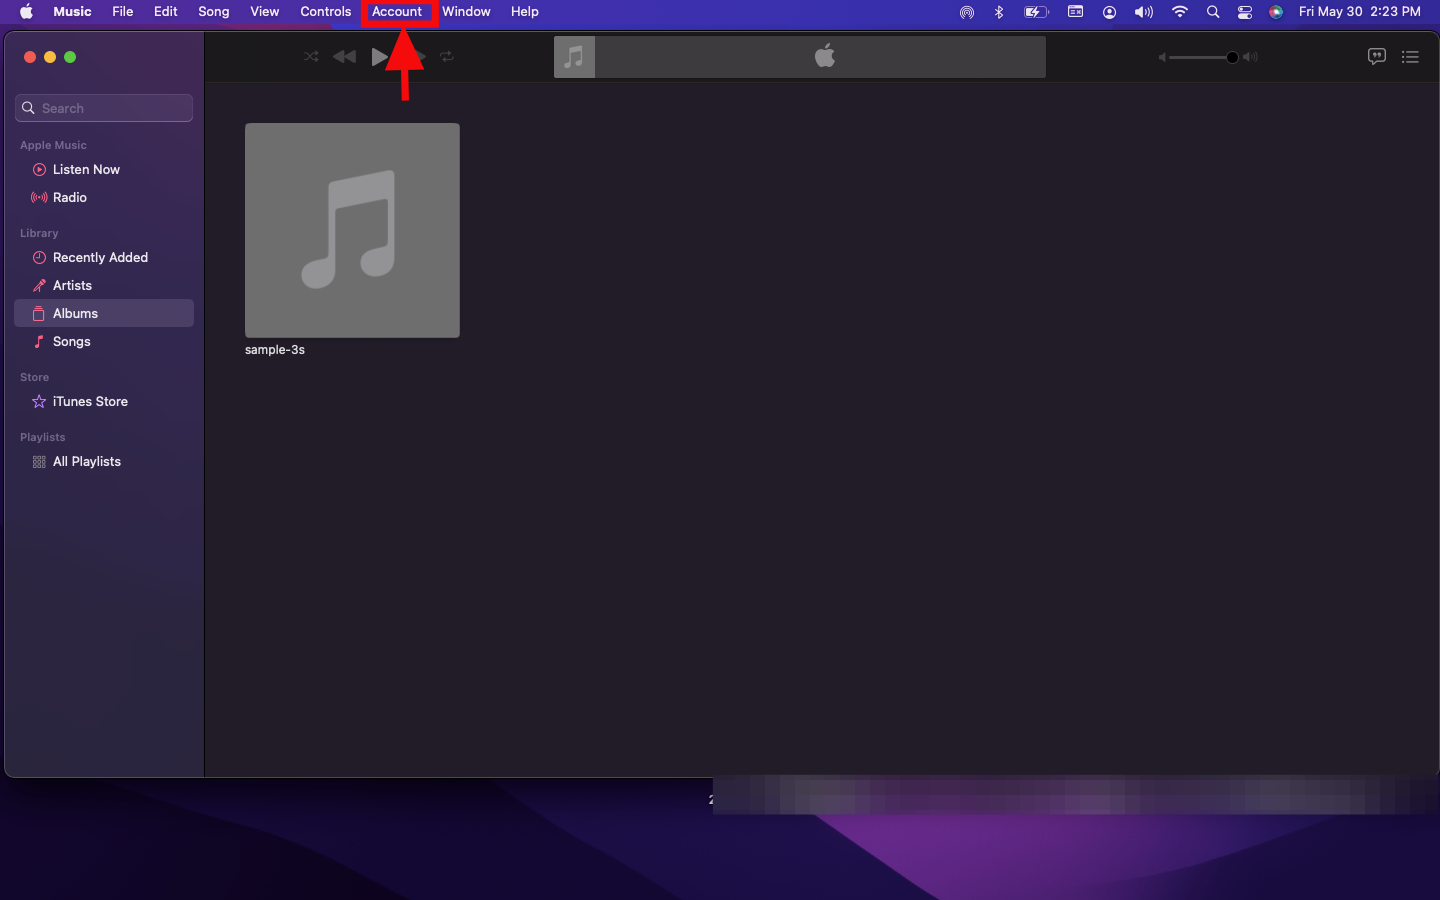
Step 1: Open Apple Music on your MacBook

Step 2: Then, click Account in the Apple Menu Bar at the top of your screen
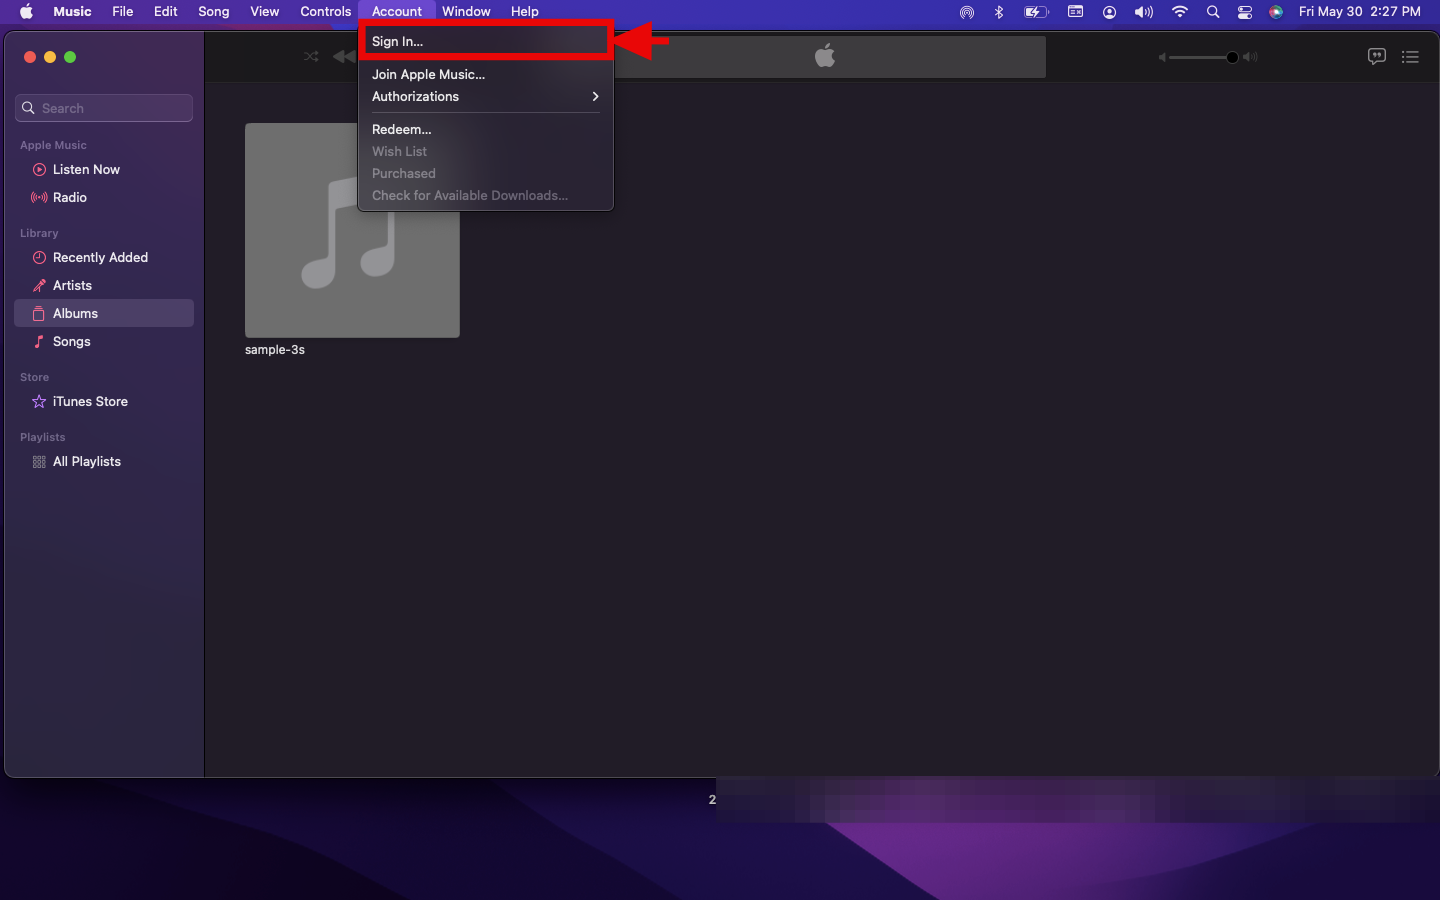
Step 3: Click Sign In
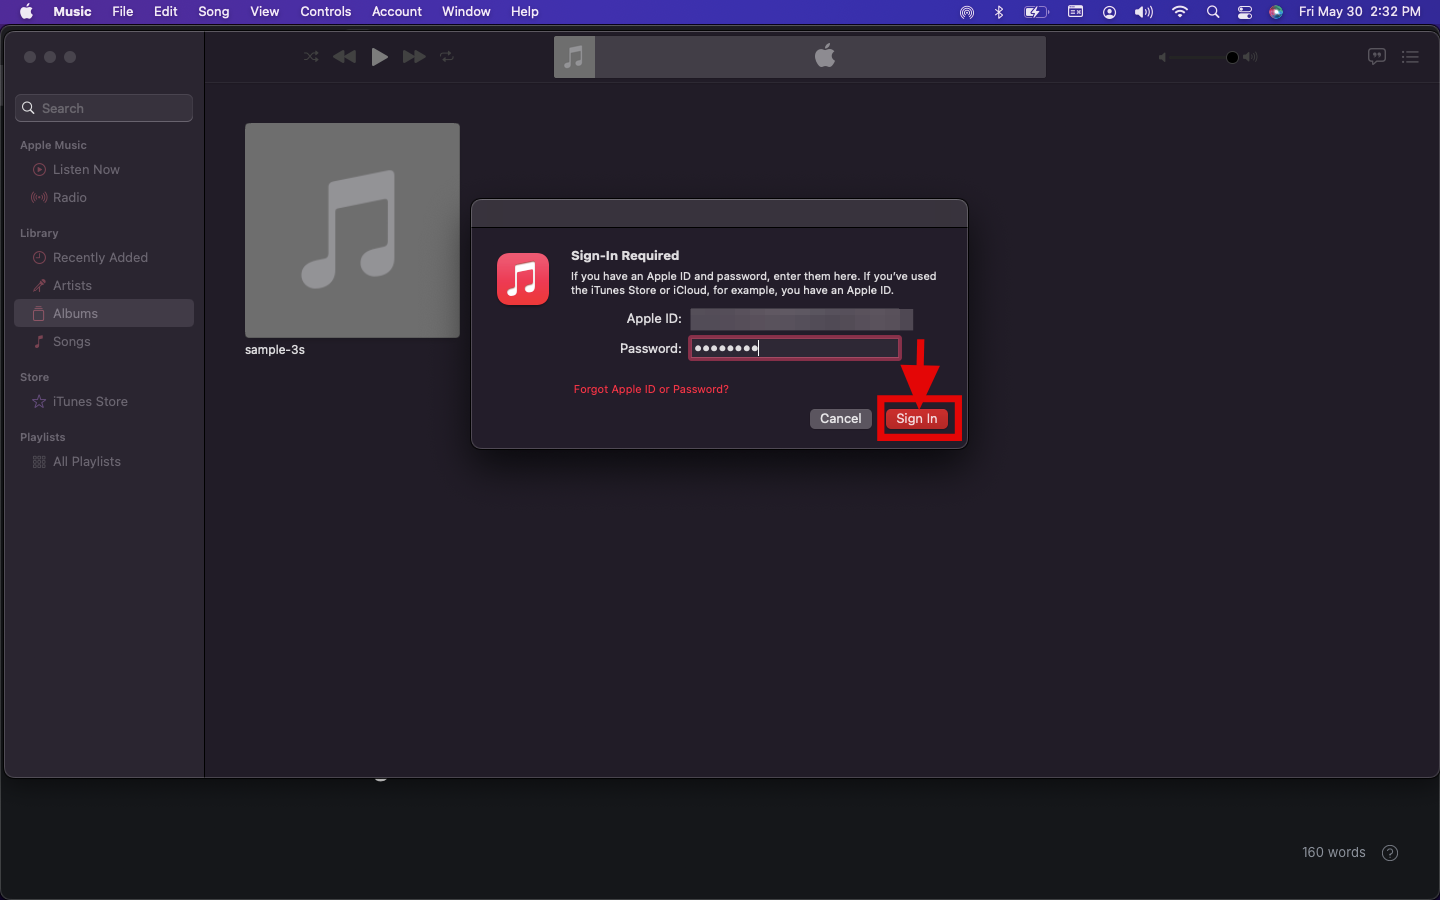
Step 4: Then, enter your Apple ID and Password, and click Sign In
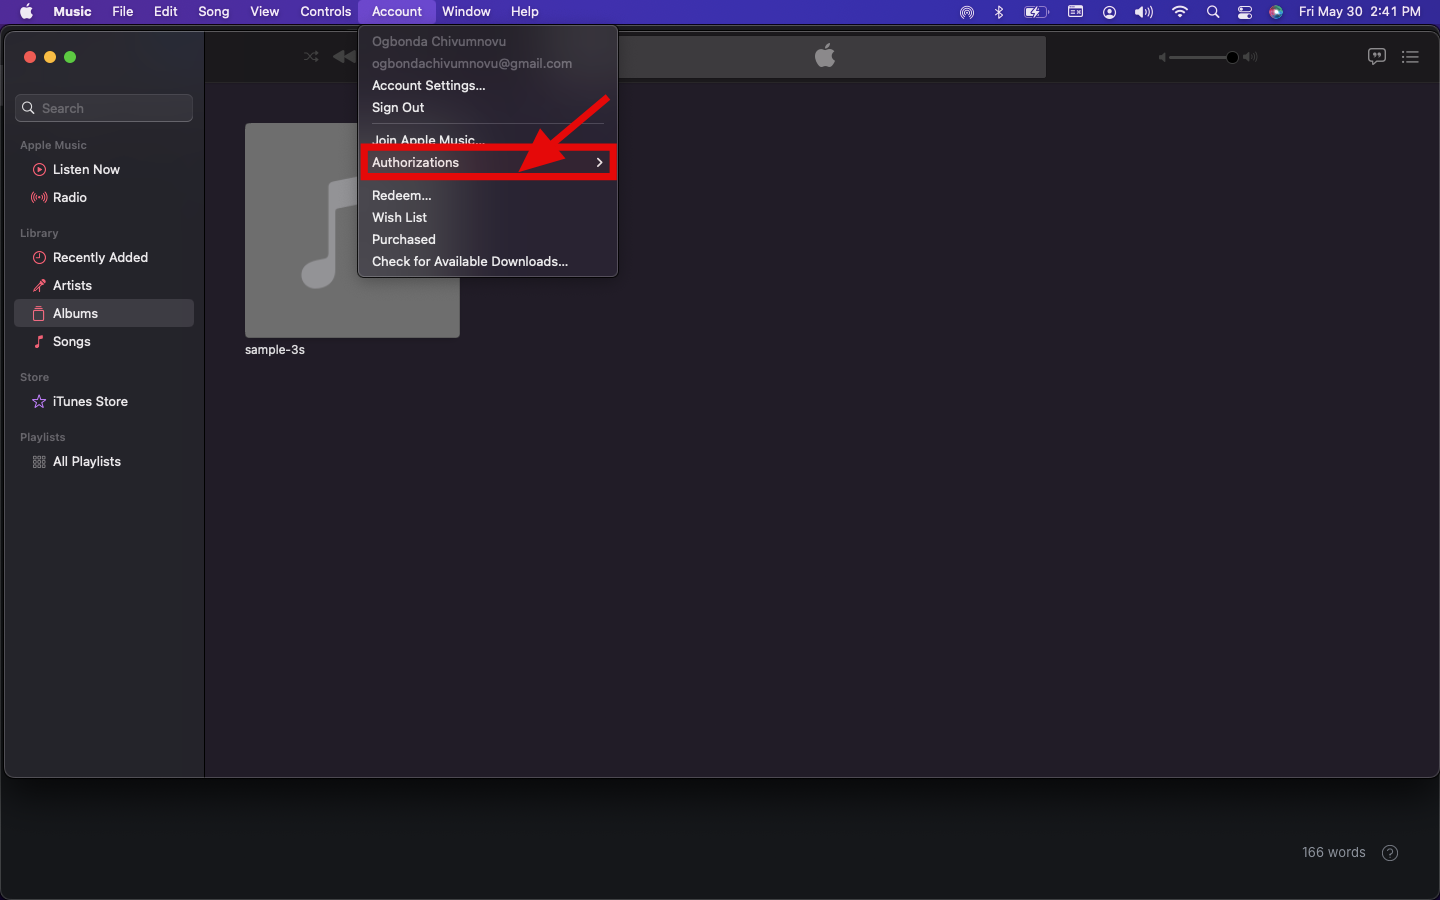
Step 5: Go back to Account, then click on Authorizations
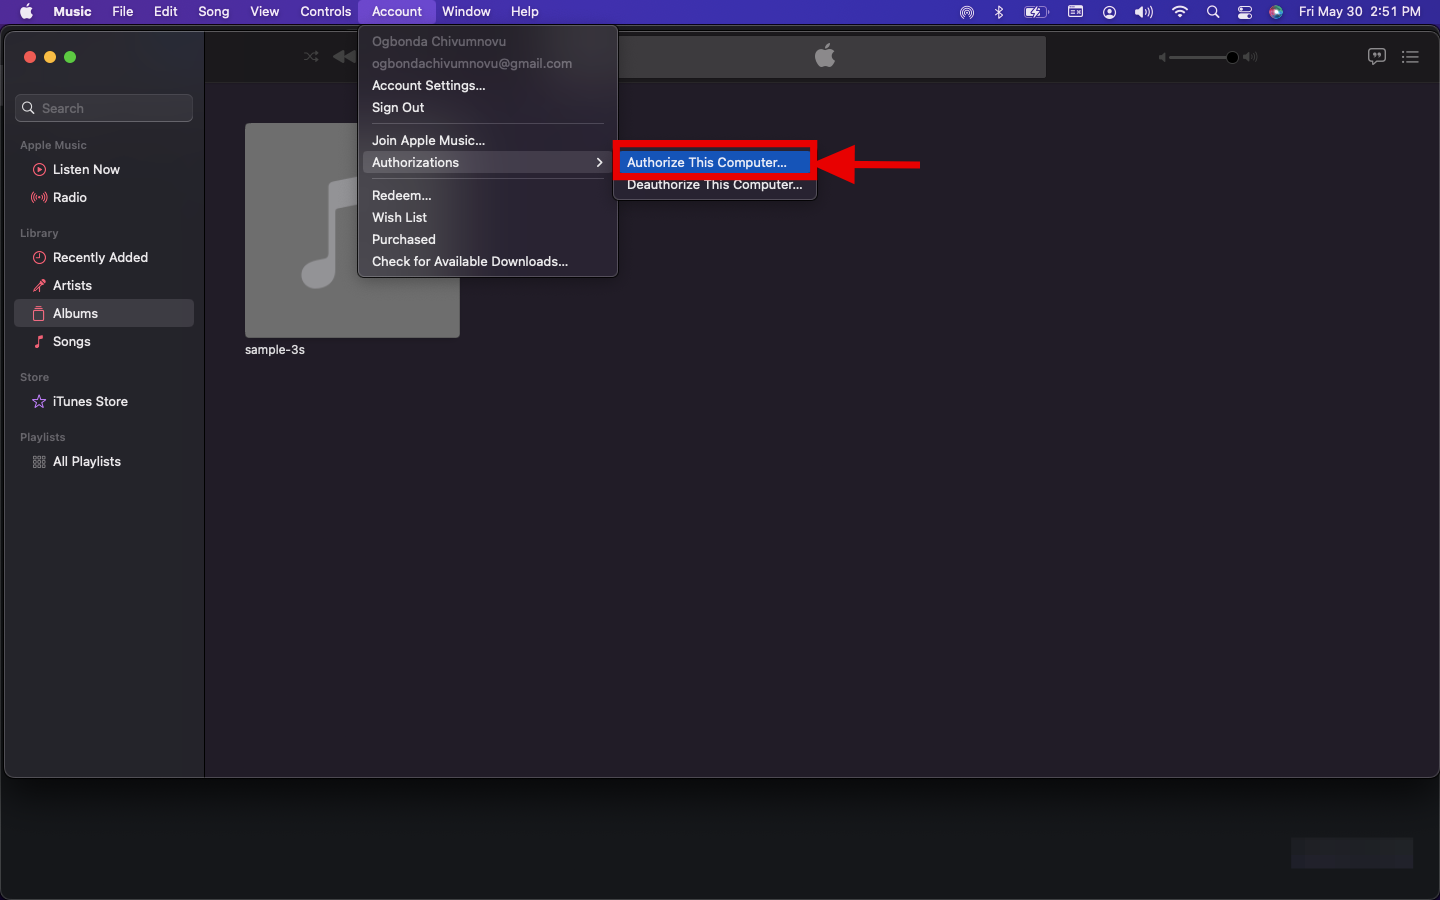
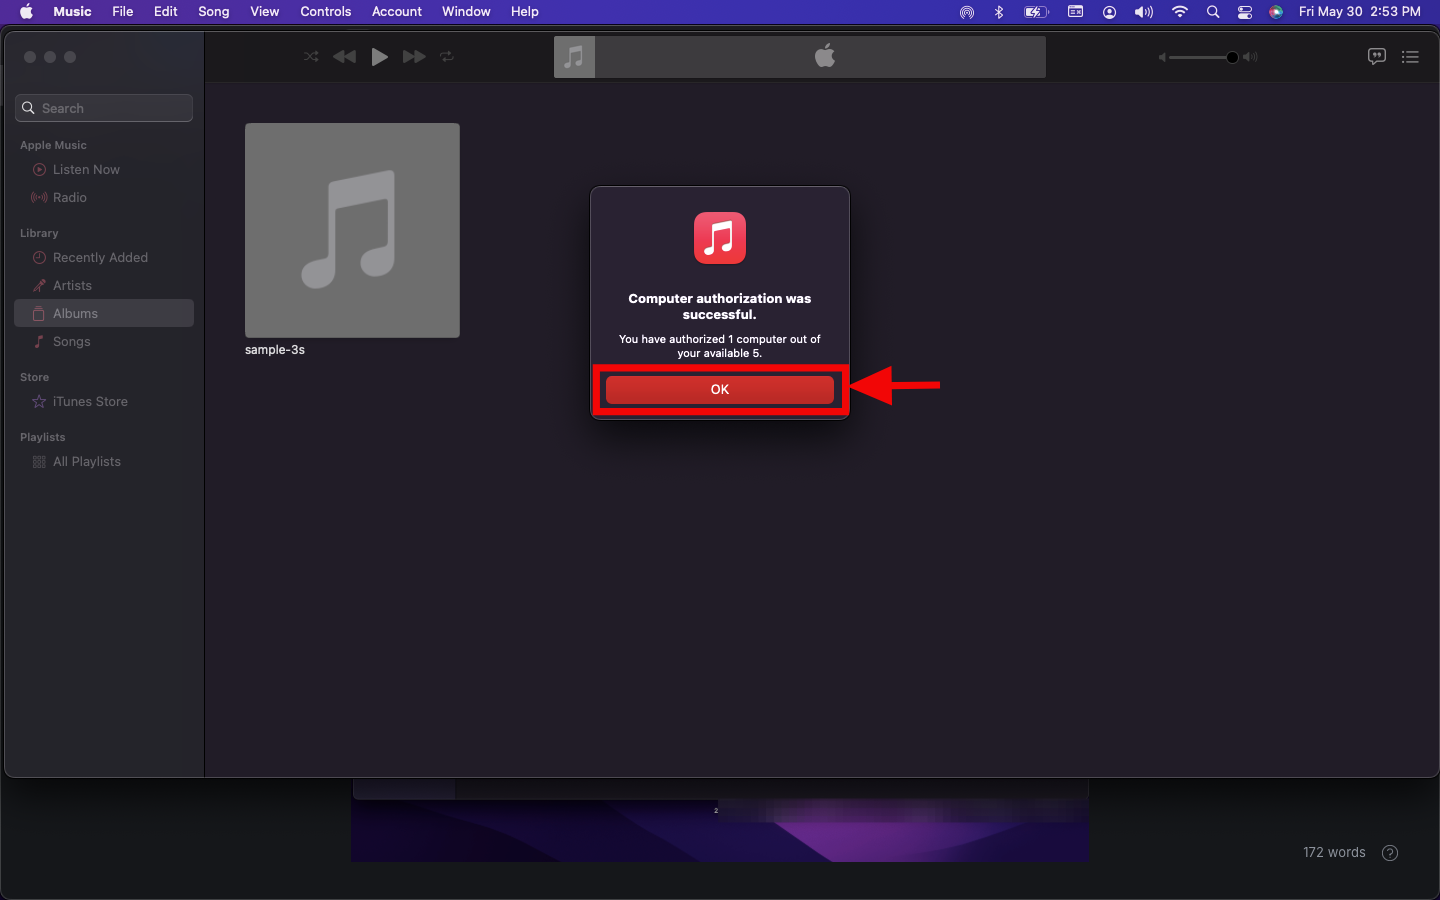
Step 6: Click on Authorize This Computer, then enter your Apple ID and Password. Click on Authorize, once complete, you'll see a message on your screen that says authorization was successful, then you click on Ok

Step 7: To Deauthourize, go back to accounts and click Authorization> Deauthourize. Then re-enter your Apple ID and Password and click on Deauthourize
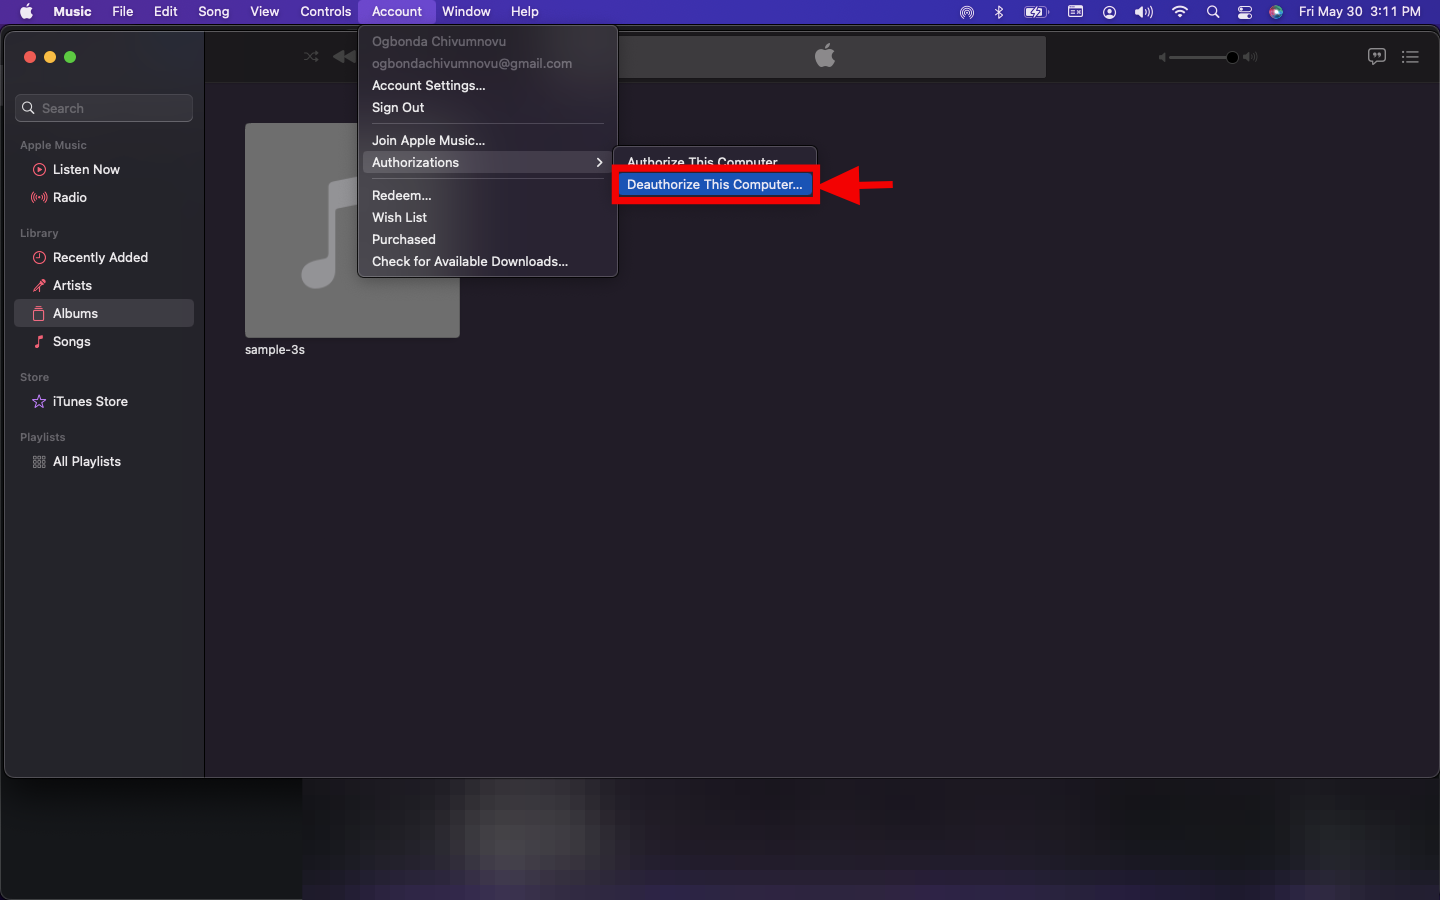

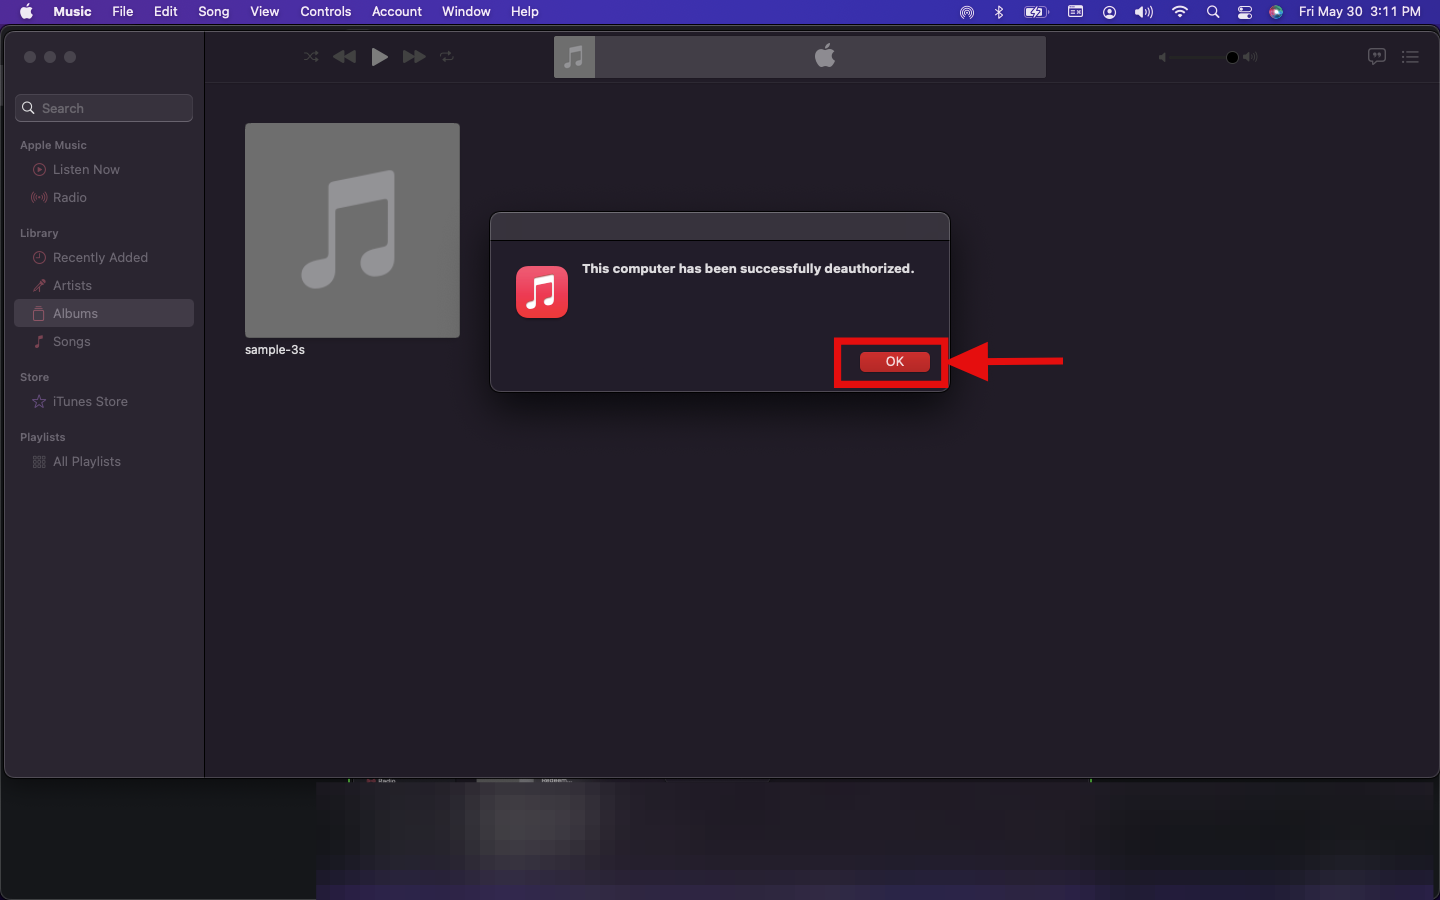
Step 8: You'll be prompted on your screen that your computer has been successfully be deauthorized then you can click on Ok
Conclusion
Authorizing your Mac on Apple Music ensures you can enjoy your purchased media without restrictions, while deauthorizing helps keep your device list tidy and secure, especially when you’re upgrading or handing over your computer. It only takes a few clicks, but it goes a long way in managing your Apple ID and digital library across devices.