

When I switched from Android to iPhone, I was disappointed to see green text bubbles instead of blue. I wanted to experience the seamless stickers, full-resolution photos, and message effects that only iMessage offers, but didn't know how to activate iMessage.
iMessage isn’t just a messaging service—it’s tied to your identity on your iPhone. When enabled, your texts to other Apple users switch to those iconic blue bubbles, and you gain access to special features like read receipts, screen effects, and syncing across your Apple devices. It’s handy, it’s private, and it's native to iOS.
Turns out enabling iMessage on your iPhone isn't really difficult if you know your way around the iPhone settings. Here's how to do it.
Steps to Enable iMessage on an iPhone
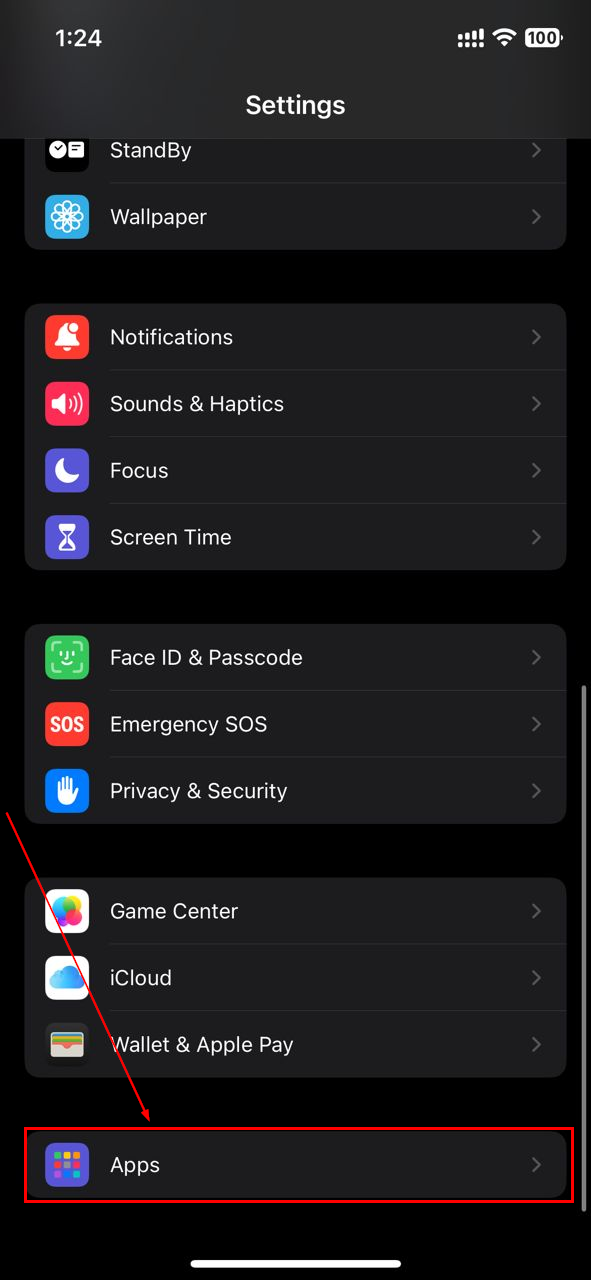
Step 1: Open the Settings app on your iPhone, scroll down, then select "Apps"
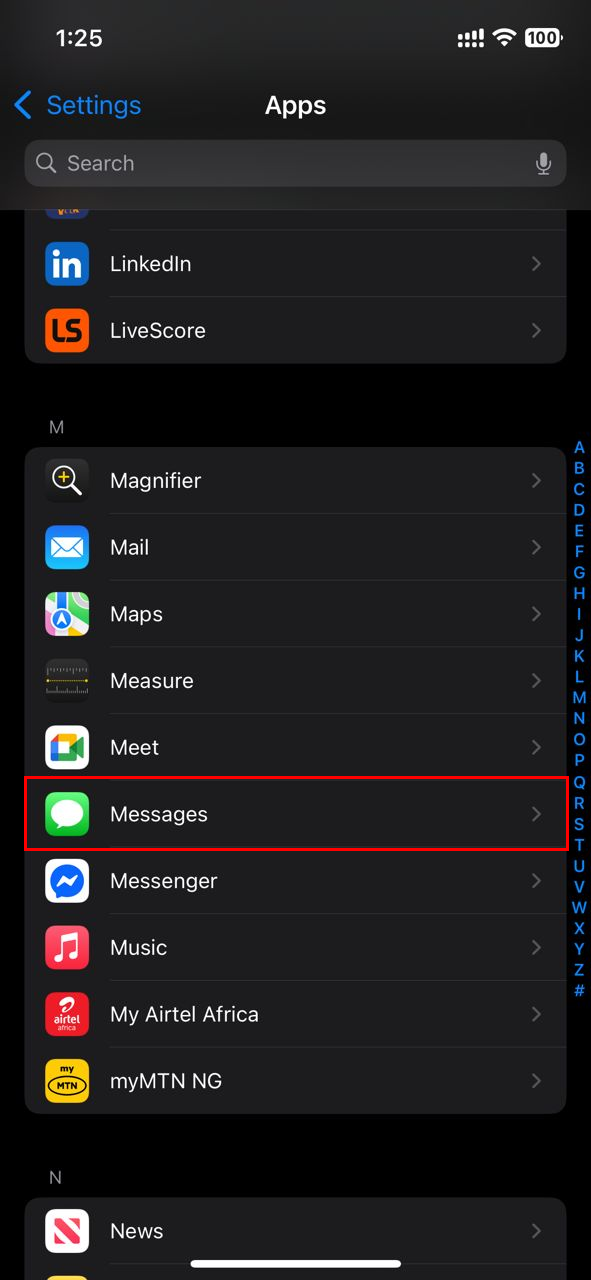
Step 2: Find and tap "Messages"
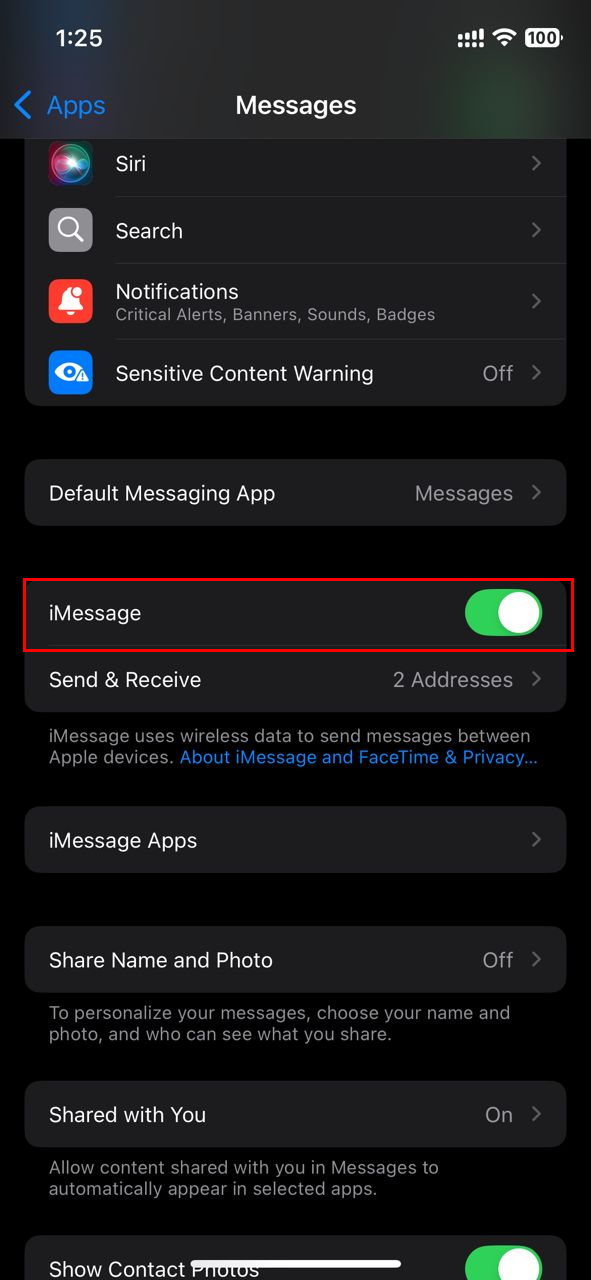
Step 3: Toggles on "iMessage" (the slider turns green when active)
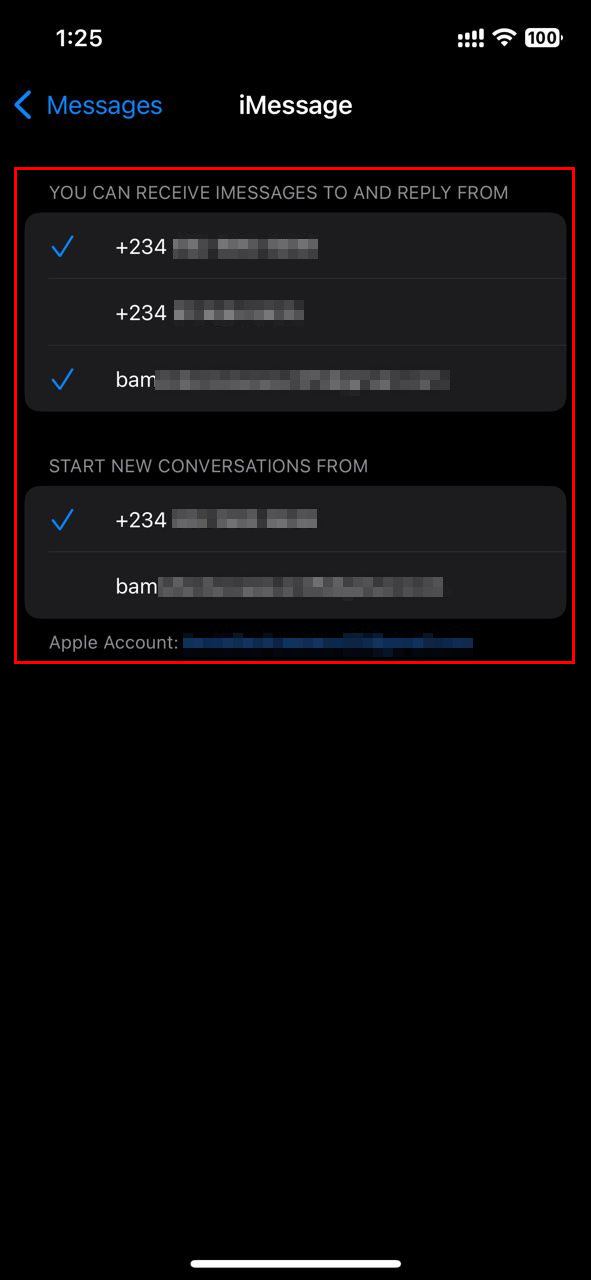
Step 4: Following that, select "Send & Receive"
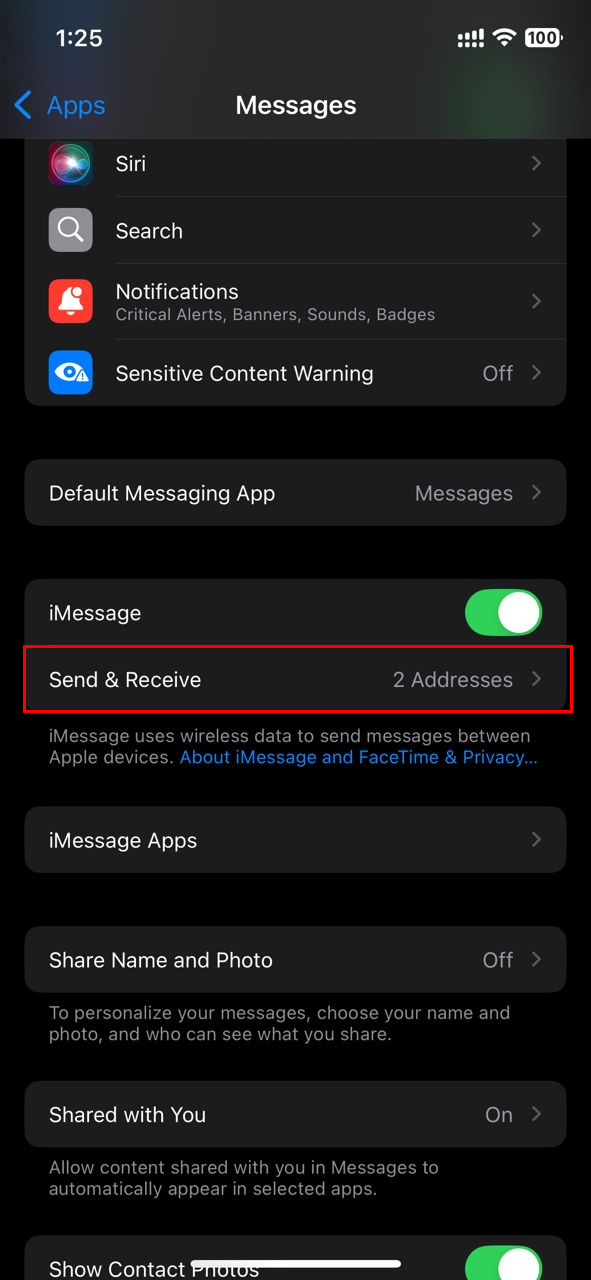
Step 5: Now, click on a phone number or email you wish to send or receive iMessages.
- You can also select a phone number or email from which you wish to start a new iMessage conversation. (A check mark will appear next to the account when enabled)
Conclusion
Turning on iMessage gives your texts an upgrade; not only do they look better, but you also get richer features and seamless syncing across devices. It takes just a few taps to activate and configure your receiving options, and you’ll quickly appreciate benefits like full-resolution photo sharing, message effects, and read receipts.
If you're messaging from an iPhone, I highly recommend enabling iMessage. It’s the most feature-packed way to text fellow Apple users.


