

If you travel frequently, adjusting your email settings to match your new locations can help you stay organized. By changing your default timezone, you can ensure that emails are timestamped correctly and align with the local time of your current location.
By default, Google assigns a Gmail timezone based on your IP address or device settings. However, you may want to manually change it to align with your preferred timezone, regardless of your current location. This gives you more control over how your emails are timestamped and helps you manage your communication better.
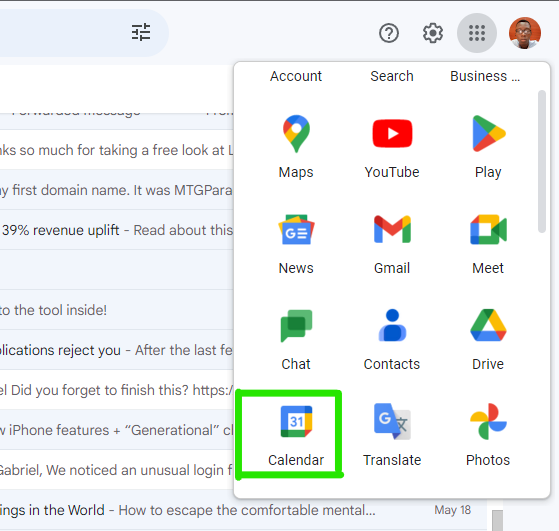
- Log in to your Gmail account on a web browser.
- In the upper right-hand corner, click Google Apps then select Calendar.
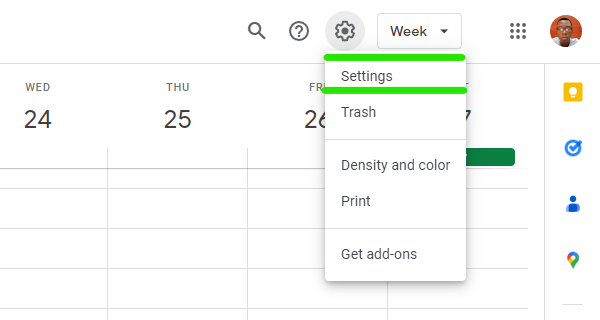
3. Within the Calendar, Look for the gear icon located in the top right-hand corner. Click on the gear icon to reveal a drop-down menu, and from there, select Settings.
4. On the General tab of the Settings page, you'll find the Time Zone section. Scroll down and you'll see a drop-down menu or select Time Zone at the left section.
5. From the drop-down menu, select a new Primary time zone to set as your default.
6. If you'd like to view multiple time zones on your calendar, you can also choose a Secondary time zone. Before selecting it, ensure that the Display secondary time zone checkbox is enabled. You can even assign labels to each time zone, such as "work" or "home" for better organization.
7. If you want your time zone to automatically update based on your current location, make sure the Ask to update my primary time zone to the current location checkbox is enabled.

Rest assured that any modifications you make to the settings mentioned above will be saved automatically and will be applied across all your Google services, including Gmail. Once you've completed these changes, your emails will display accurate timestamps based on your selected time zone.
Conclusion
If you collaborate with colleagues or clients from different time zones, having the right timezone set in Gmail can prevent misunderstandings and missed deadlines. It allows you to accurately schedule meetings, reply to emails promptly, and coordinate tasks effectively.
Image Credit: Gabriel Ojeh / Techloy.com


